Box Bottom Bag Lining Tutorial
Make a roomy, box-bottom bag lining, complete with a pocket! It’s easier than it sounds, and this tutorial will walk you through it, step-by-step. Try it out in the Classic Cables Tote Bag pattern!

This content is protected by copyright. See this Terms of Use / Copyright page for more information.
This post contains sponsored content and/or affiliate links. If you click an affiliate link and make a purchase, I may get a commission.
Bag Along CAL
The bag shown in this video is the Classic Cables Tote Bag pattern. You can find the full written instructions for the bag in that pattern.

This is the fifth of 6 bag patterns in the 2022 Bag Along CAL. See the full schedule and learn how to join in the fun, in the main Bag Along CAL post.
What is a Box Bottom Bag?
Sewing a front and back panel together gives you a flat bag with no depth. Cutting and folding the corners creates that depth, by stealing a bit of width from each panel to make the sides. The math seems a bit complicated at first, but is actually relatively straightforward
Adjusting the size
The video shows the 14 x 14 x 3 inch bag lining for the Classic Cables Tote, with 1/2 inch seam allowances. But you can use this same method to make a box bottom bag of any size. Here are the calculations you’ll need.
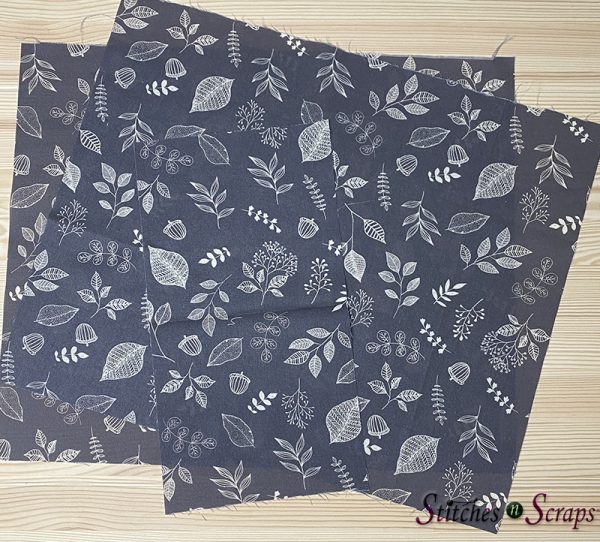
Panels
Using a 1/2 inch seam allowance as shown in the video, each panel has the following dimensions.
- Width = width of bag + depth of bag + (2 x seam allowance)
- Height = height of bag + 1/2 depth of bag + (2 x seam allowance)
So for the 14 x 14 x 3 inch bag with 1/2 inch seam allowances, each panel is 18 inches wide by 16.5 inches tall.

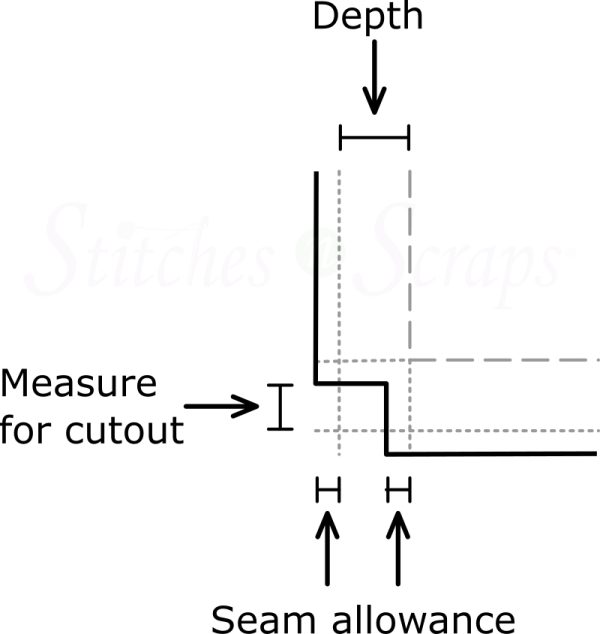
Box Bottom Corner
To make the boxed bottom, you need to cut out a square from each bottom corner. Each side of this square = 1/2 the depth of the bag – seam allowance. For this bag, that works out to 1-inch square.
The patch pocket can be any size you want it to be, as long as it fits in the bag. To make placement easy, I made mine 1/3 of the width of the panel, plus 2 times the seam allowance. In other words, 6 + 1 = 7 inches.
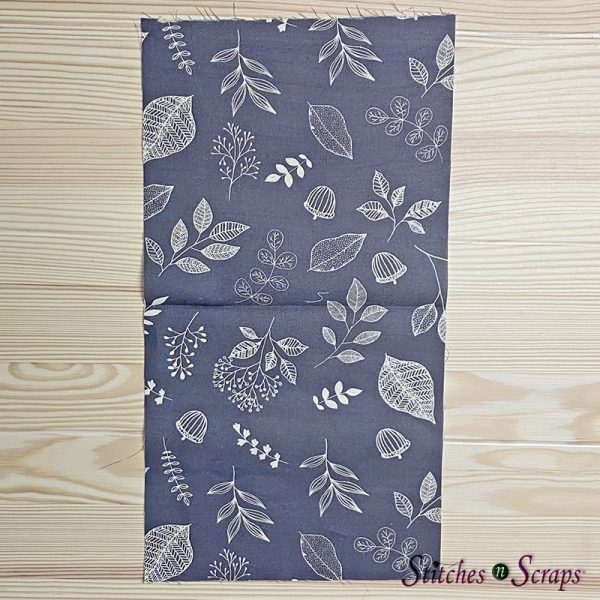
Whatever you want the finished length to be, double it and add the seam allowance. I kept it simple and cut my pocket piece out at 7 x 14 inches.
Featured in this Video – Knit Picks Mighty Stitch Worsted
WeCrochet provided the Knit Picks Mighty Stitch Worsted yarn for the Classic Cables Tote Bag design shown in the video. The blend of acrylic and superwash wool is strong and squishy, with a subtle sheen, and comes in a wide variety of colors.

Box Bottom Bag Lining Video Tutorial
Share this tutorial on Pinterest! Here’s an image perfect for pinning:

Rate this Box Bottom Bag Lining Tutorial!
Do you want the best of Stitches n Scraps delivered right to your inbox? Don’t miss a stitch – Subscribe now!


2 Comments
barbra
Hello I have been trying to figure this out for years my big problem too is when it comes to the same allowance so using your dimensions of the desires tote bad size I’m not understanding if I want the depth to be let’s say a one inch box bottom for the full death when I do I cut out 1 inch from the bottom or do I cut out 1 and a 1/2 inches If I have a 1/2 inch SIM allowance I know this sounds confusing but it’s confusing to me too can you please explain this
Pia Thadani
hi Barbra 🙂 Ok so when you’re cutting out, you want to cut out LESS fabric (not more) to account for the seam allowance. If you cut out 1 inch from each SEAM (remember, measure from the side and bottom seams, not from the edge of the fabric) and do 1/2″ seam allowances, you will get a 3″ bottom That’s because you get 1″ from each side you cut out, PLUS 1/2″ from each side for the seam.
So if you wanted a 1″ bottom, you really wouldn’t cut anything at all. Just sew your seam and then trim the allowance down a bit in the corner.
(1/2 the depth you want for the bag) – (desired seam allowance) = how much to cut out on each side of the corner – measured from the bag seams. See the diagram under the “Box Bottom Corner” paragraph in the post.
So in your example, (1″/2) – (1/2″ seam allowance) = 0.
In the post example, (3″ / 2) – (1/2″ seam allowance) = 1.