Crochet Tutorials
Ready for a new crochet stitch, technique, or pattern? You’re in the right place! Browse all the crochet tutorials, or select a category from the dropdown menu. What will you learn today?


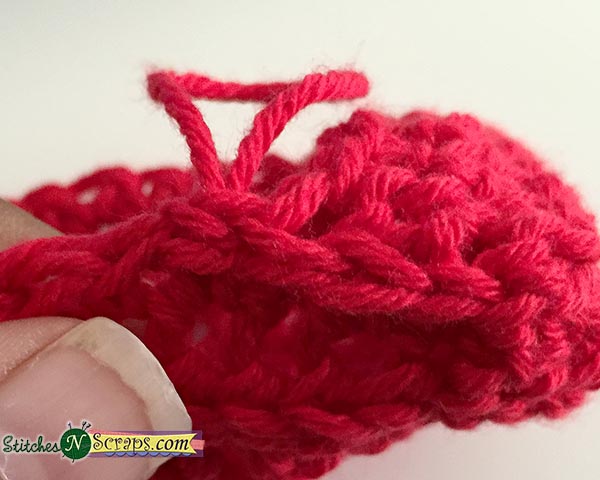
Turn 3 stitches into 1 with the Double Crochet 3 Together (dc3tog) decrease! This standard double decrease starts with 3 ...More


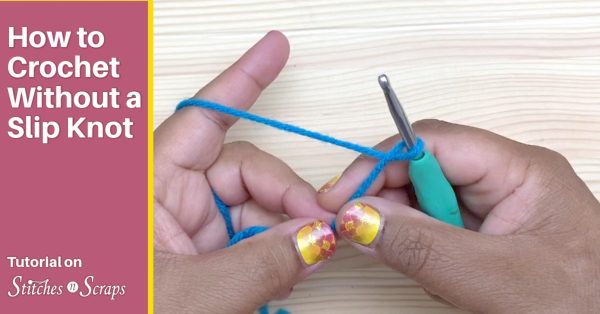
Most of us learned to start our crochet by making a slip knot. It's so annoying to squish some soft, ...More

The traditional half double crochet 2 together (hdc2tog) decrease can be bulky, particularly at the edges of the fabric. This ...More
