Surface Crochet Over Seams
Visible seams can make or break the overall look of a project, particularly if multiple colors are involved. In this tutorial, learn how to surface crochet over seams to create a sharp, clean transition!

This content is protected by copyright. See this Terms of Use / Copyright page for more information.
This post contains sponsored content and/or affiliate links. If you click an affiliate link and make a purchase, I may get a commission.
Bag Along CAL
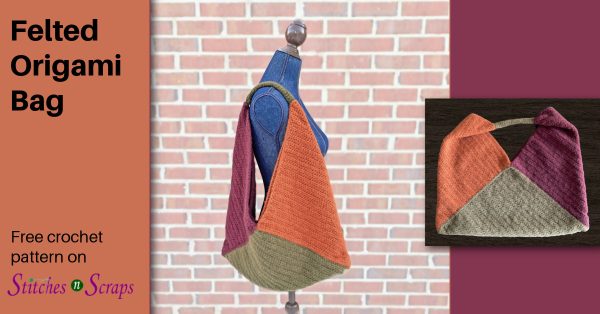
The sample shown in this video is the Felted Origami Bag. This is the first pattern in the 2022 Bag Along CAL. See the full schedule and learn how to join in the fun, in the main Bag Along CAL post.
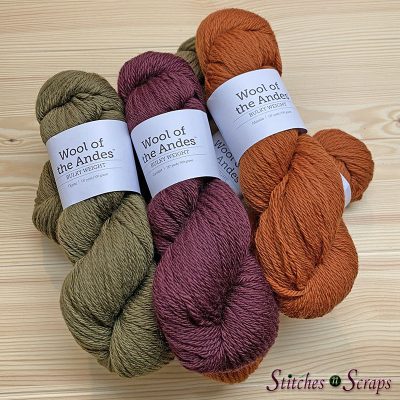
Featured in this tutorial – Knit Picks Wool of the Andes Bulky yarn
WeCrochet provided the Wool of the Andes Bulky yarn that I used for the origami bag design. In the video you will see the colors Masala, Thyme, and Currant.
Why Surface Crochet Over Seams?
This surface crochet is pretty, but do you really need it? In many situations you can use an invisible seaming method, or even a decorative seam. Surface crochet is still a nice decorative touch, but not exactly necessary in those cases. It’s helpful though, for those situations where you need to make two different types of transitions match.
The bag shown in this video has an unusual construction, which ends up placing a sewn seam and a crocheted color change next to each other. You can sew as carefully as you like, but the seam is never going to look exactly like the color change. For this bag, I wanted both to look as similar as possible.
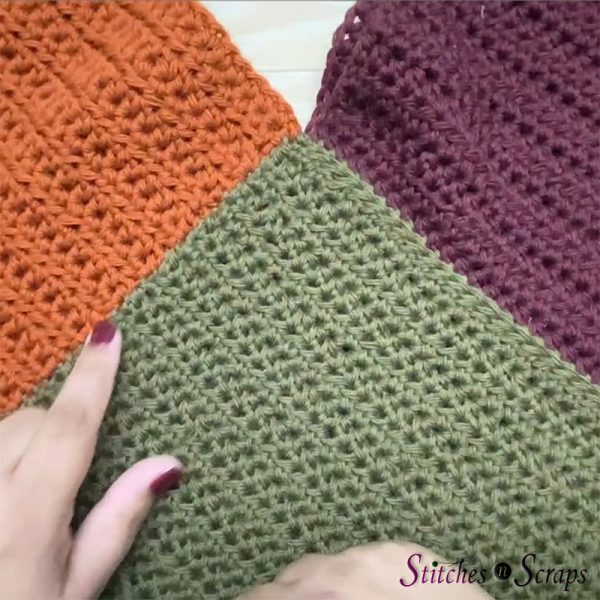
One answer would be to crochet each color separately and sew everything together, and surface crochet is another option. In an earlier tutorial, I showed you how to surface crochet over the color changes. Now let’s look at how to surface crochet over the seams.
A note about hook size
Even and fairly loose tension is key when you surface crochet over seams. You can use the same size hook as your project, or you may even want to go up a size. Experiment and see what looks best to you. If your fabric puckers, go up a hook size. If it looks floppy or flares out, go down a hook size.
How to Surface Crochet Over Seams
Direction of work
Surface crochet slip stitches make V shapes that open in the direction of the work. So looking at a row of surface crochet, the points at the bottom of the V point to where you started, and the openings at the top of the V point to where you end.

If you’re trying to match your surface crochet over seams, pay attention to which direction you want your stitches to go. This will determine which end of the seam you want to start with.
Scroll down for the video tutorial.
Starting the seam
Seams can be open on the end, with no fabric next to them like at the opening of this bag. Or, they can be closed on the end, like at the bottom corner of the bag.
When starting at an open end of a seam, make the first stitch wrap around the edge. Start by placing a slip knot or twisted loop on your hook, outside of the fabric.

Then work your first slip stitch. This brings the working yarn over and around the edge for a smooth finish.

When starting at a closed end of a seam, there’s nothing to wrap around. Instead, put your working yarn under your fabric, and use your hook to pull up a loop.

Either way, be sure to leave enough of a tail to weave in later.
Slip stitch surface crochet
Spacing the slip stitches
In my example, I used fairly evenly spaced whipstitches in my seam. I was then able to make one slip stitch over each stitch. If you used a different type of seam, or if your seam stitches are too far apart, you may have to experiment with different placements.

The important part is there needs to be something under each stitch to hold it in place. Be sure not to stick your hook into the same space twice.
Making the slip stitches
Keep the working yarn behind your work, and insert your hook into the seam. Yarn over and draw up a loop, then draw that loop through the loop that was already on your hook. This completes a surface crochet slip stitch.

Repeat across, as evenly spaced as possible. The slip stitches should cover the seam, creating a nice smooth edge.

Finishing the seam
When ending at an open end of a seam, work one more slip stitch over the edge of the fabric, so that the yarn wraps around the edge. Then fasten off and weave in the end.

When ending at a closed end, there’s nothing to wrap around. Simply fasten off and weave in your end.

Surface Crochet Over Seams video tutorial
Share this tutorial on Pinterest! Here’s an image perfect for pinning:

Rate this surface crochet video!
Do you want the best of Stitches n Scraps delivered right to your inbox? Don’t miss a stitch – Subscribe now!


You May Also Like
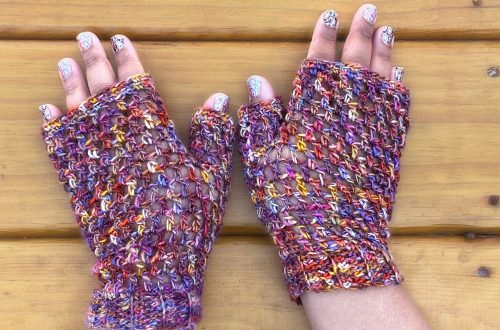
Crochet Fingerless Mitts for Spring – Mesh Mitts

Scrappy Stitchers Link Party #19
