Mattress Stitch Crochet Side Edges – Seaming Tutorial
Many methods of seaming crochet, particularly along the sides of the rows, can create a visible seam or bulky ridge. Learn how to mattress stitch crochet side edges together for a nearly invisible seam!

This content is protected by copyright. See this Terms of Use / Copyright page for more information.
This post contains sponsored content and/or affiliate links. If you click an affiliate link and make a purchase, I may get a commission.
When mattress stitch is useful
I find mattress stitch particularly useful for stuffed items. When you get the last seam on a pillow, or in a lot of places on amigurumi, you can’t really turn your work inside out to sew the seam.
Since you work mattress stitch from the right side of your fabric, there’s no need to access the inside.
Textured Stripes Pillow
I used this technique in my Textured Stripes Pillow pattern. I first grafted the top and bottom ends of a rectangle together to make a seamless tube. Then I used mattress stitch to sew the side edges closed.

Side to side
In this tutorial, we’re specifically looking at how to mattress stitch two crochet side edges together.
You can also use mattress stitch on top and bottom edges, or even to join a top or bottom edge to a side edge. The technique is similar, but the loops you pick up will be different depending on the edge you are working with.
Nearly invisible
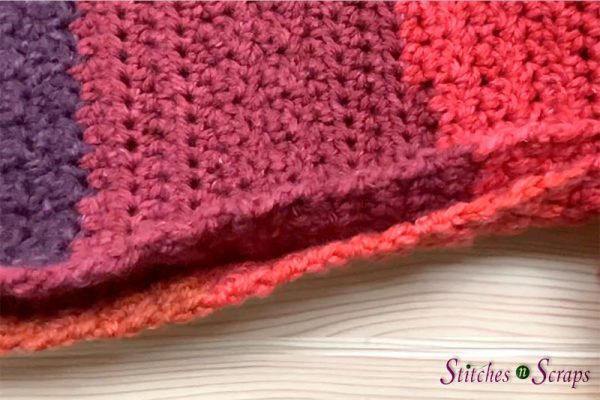
Mattress stitch creates a nearly invisible seam, particularly when working with a solid color. The pillow I’m working with has color changes, so there are parts where you can see the stitching a bit if you look for it. But it’s still pretty close to invisible!

The seam pulls the two crochet side edges together so they butt up against each other without truly overlapping. This means there’s no bulky ridge.
How to mattress stitch crochet side edges together
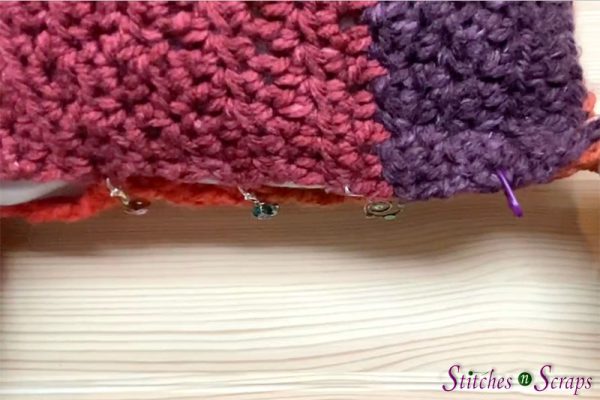
Cut a piece of yarn at least twice the length of your seam and join it at one corner. Then line up your two side edges. Placing stitch markers at even intervals along the edge can help you to keep your seam even all the way across.
Zig zag stitches
Starting from either side, choose one loop very close to the side edge. Look for a loop that is small and resting towards the wrong side of the fabric if possible.
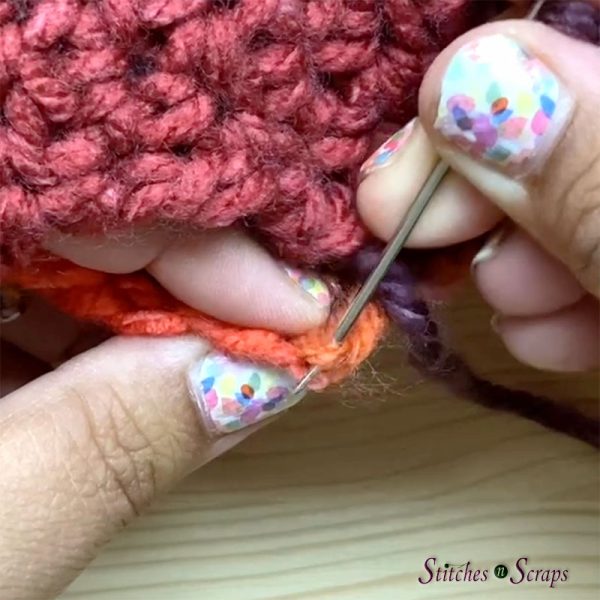
Sew through this loop. You can choose to go either from the outside (top) to the inside (bottom) of your fabric, or from the inside to the outside.

Now make a similar stitch on the opposite side edge. Go in the same direction (outside to inside or inside to outside) that you did for the first stitch.
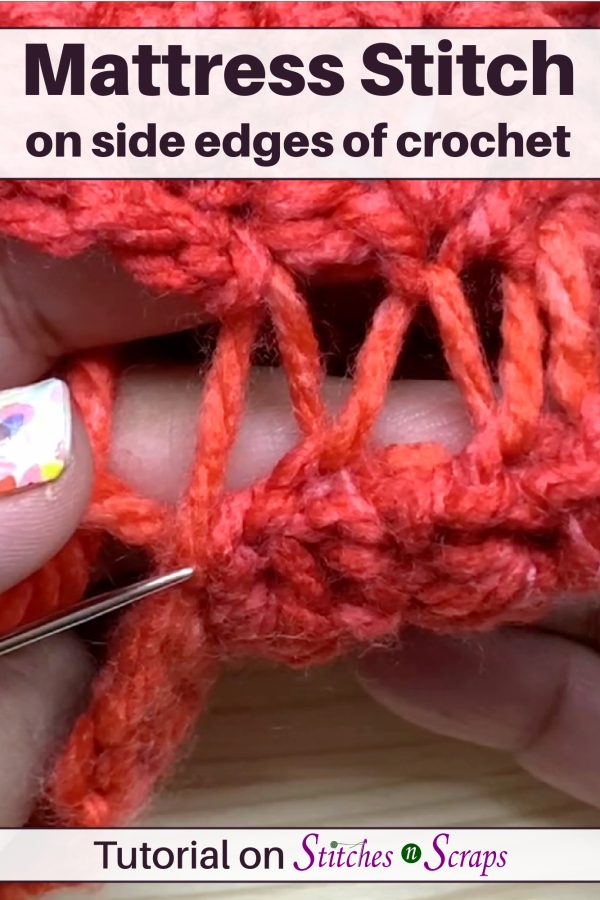
Continue making stitches, always in the same direction, alternating from one side edge to the other. After a few stitches, you’ll see a zig zag seam forming.

Straightening the seam
This is where the magic happens! Pull the seam taught so that zig zag turns into a straight line. As it does, it will bring the two side edges together.

Depending on the length of your seam, you can do this every few stitches, or wait and do it at the end. Be careful not to pull so tightly that you create gathers or ruffles, or even snap your yarn.

Gently ease more yarn into any tight areas before you weave in your tail.
Mattress stitch for crochet side edges video tutorial
Seam Strength
At the end of this mattress stitch process, you have just one straight line of yarn pulling the two side edges of crochet together. That one piece of yarn needs to hold up to whatever strain is going to be put on the seam.
For a throw pillow in this bulky, acrylic yarn, it’s more than strong enough. If I was using a particularly delicate or fragile yarn, I might choose a bulkier seam like whipstitch. The same holds true for objects that take a lot of abuse, like a child’s toy or a market bag.
If you really want to use a mattress stitch seam in these situations, try using 2 strands of yarn held together, sewing into 2 loops at a time instead of one, and/or making your stitches closer together.
Rate this mattress stitch for crochet side edges tutorial video!
Do you want the best of Stitches n Scraps delivered right to your inbox? Don’t miss a stitch – Subscribe now!


You May Also Like

How to Wind Yarn from a Hank

Scrappy Stitchers Link Party #52
