Free Crochet Patterns
Find the perfect, free crochet pattern for your next project! Browse them all, or select a category from the dropdown menu. Where will your creativity take you today?

Always on the move? Take the Dynamic Duo Scarf with you! This striped crochet scarf pattern mixes different yarn weights, ...More

Indoors or out, bring the gold and orange hues of a summer sunset to your next gathering with Summer Sunset ...More

Bobbles emerge from behind post stitches and bloom into a 12-petaled flower in the Blooming Bobbles Square. This 12-inch crochet ...More

Buddy the Beaver is always busy! Whether building, burrowing, or barking, his days are certainly never boring. Make your own ...More

Dress up your doorway (or that bare spot on the wall...you know the one) with this crochet embroidery hoop wreath! ...More

Toys, snacks, knick-knacks, or (of course) yarn, the Task-it Basket is perfect for small storage tasks. This chunky, crochet basket ...More
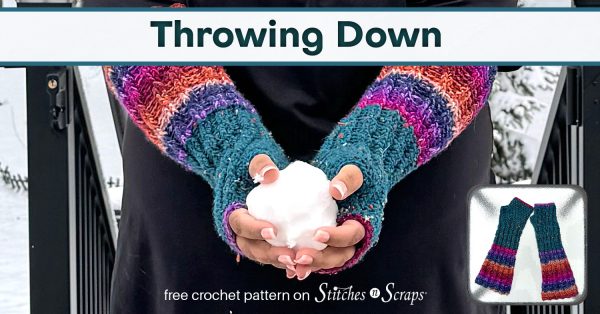
Ready to crochet your new favorite pair of fingerless mitts? Challenge accepted! Throwing Down crochet gauntlets are fun at your ...More
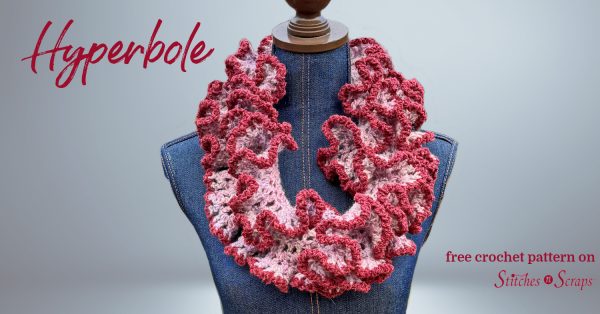
This ruffled mobius crochet cowl is a lovely statement piece that instantly adds romance to an outfit. It combines a ...More
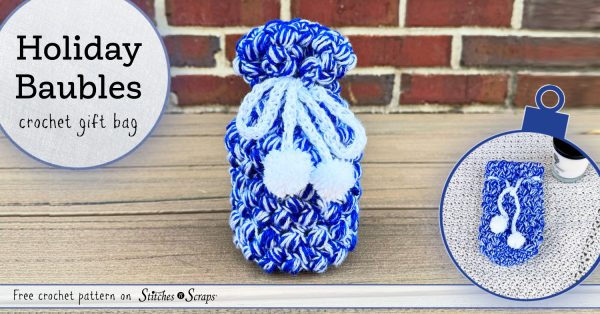
Add a personal touch to your holiday gifts with a Crochet Holiday Gift Bag! The Holiday Baubles bag is fast ...More

Feeling the chill where you shouldn't be? Block drafty windows and doors with a Crochet Pencil Draft Stopper! Customize the ...More