Free Crochet Patterns
Find the perfect, free crochet pattern for your next project! Browse them all, or select a category from the dropdown menu. Where will your creativity take you today?
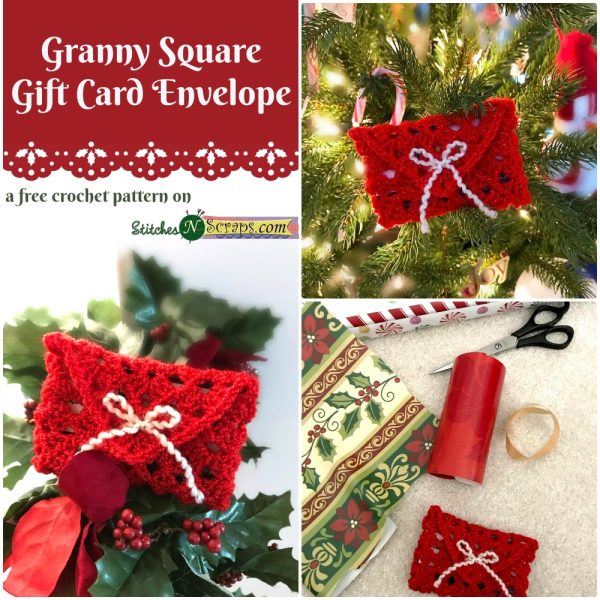
Giving a gift card? Personalize it with this fast and easy gift card envelope! Made from a simple granny square, ...More
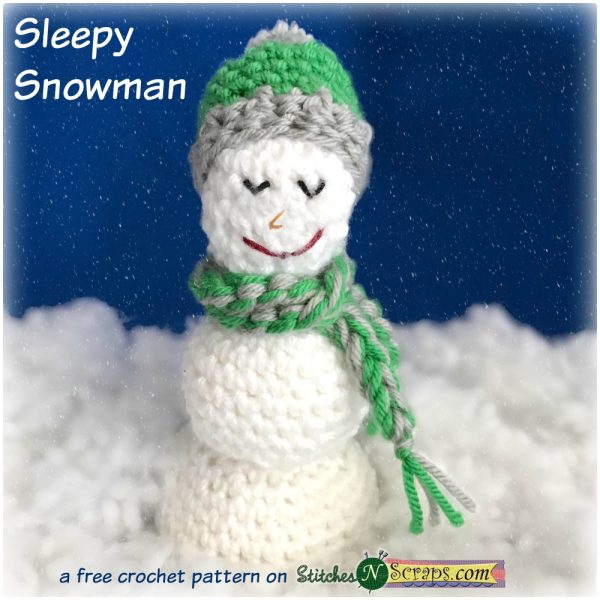
Shhhh! This sweet little snowman is sleepy. He's had a busy day playing in the freshly fallen snow, and now ...More
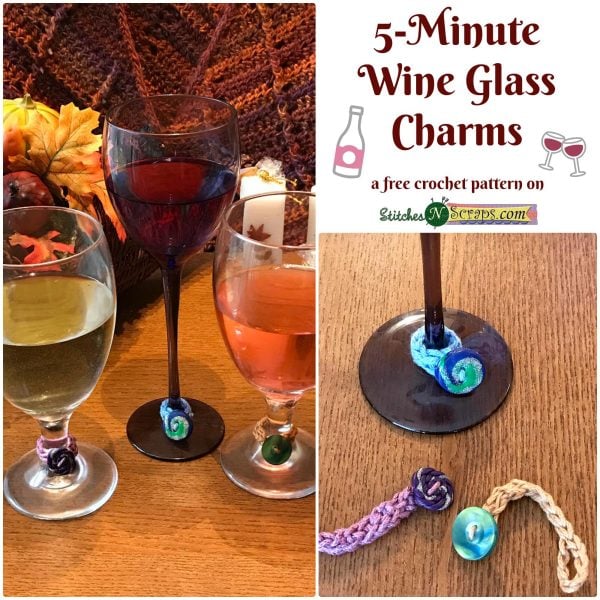
Grab your box of buttons - you know the one. In just 5 minutes, take your mismatched favorites and turn ...More

A little bit casual and a little bit quirky, the Avondale Scarf could easily become your go-to accessory for the ...More

Stay warm and cozy without a lot of bulk! The Streeterville cowl works up quickly, and the linen stitch pattern ...More

Stay toasty all day with these cozy leg warmers that combine retro fun with a bit of modern style! The ...More
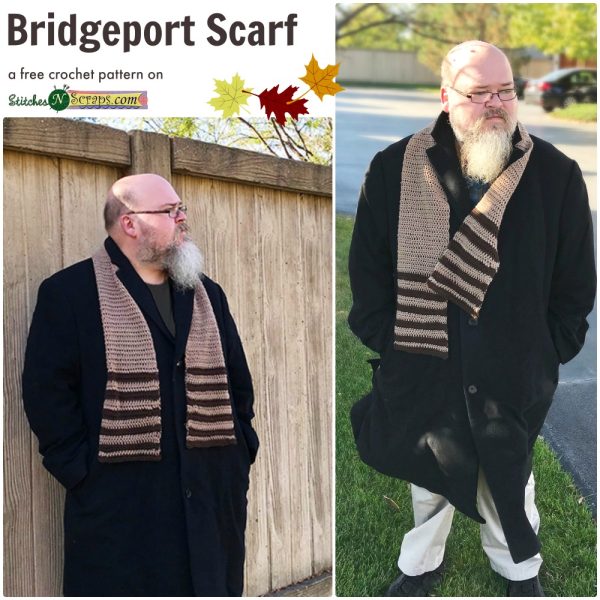
Make the classic, striking, and uncomplicated Bridgeport Scarf in all your favorite colors! Keep it neutral for a business casual ...More
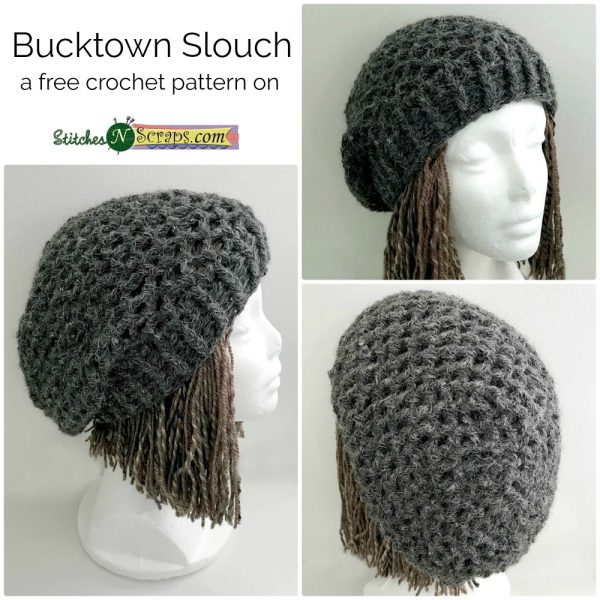
The Bucktown slouch is great for gifting, but you'll want to make one for yourself too! It features an open ...More
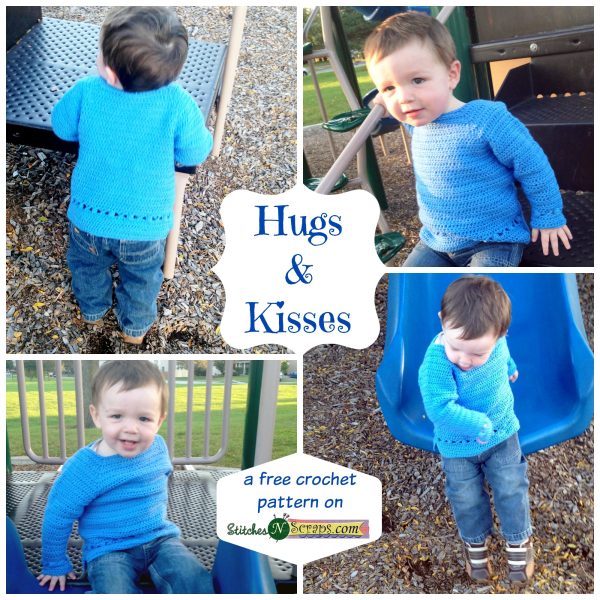
Wrap your child in love with this lightweight, tunic length pullover. The hugs & kisses detail on the hem and ...More

This easy design is decorated with pretty ruffles around the collar, hem, and sleeves. With a lightweight yarn and frilly ...More