Free Crochet Patterns – Home Décor
Find the perfect, free crochet pattern for your next project! Browse them all, or select a category from the dropdown menu. Where will your creativity take you today?

Quick and easy mini scrubbies combine to form this cute crochet caterpillar scrubby set, perfect for gifting! Each scrubby takes only ...More
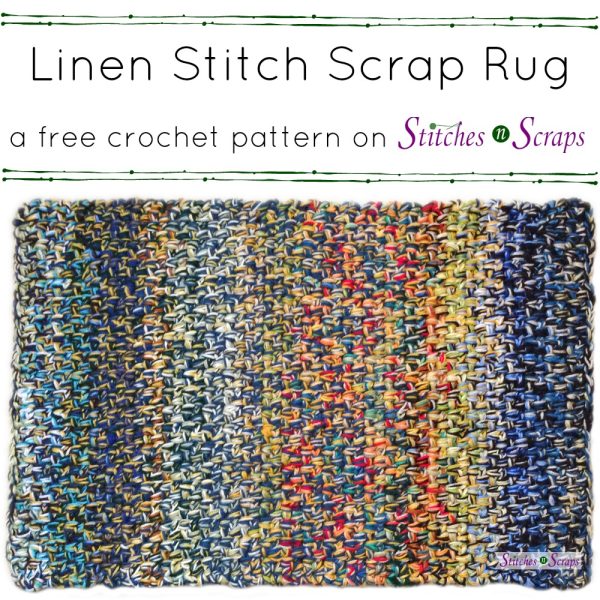
Use up all your yarn scraps with a Linen Stitch Scrap Rug! This crochet stash buster is thick, soft, and ...More


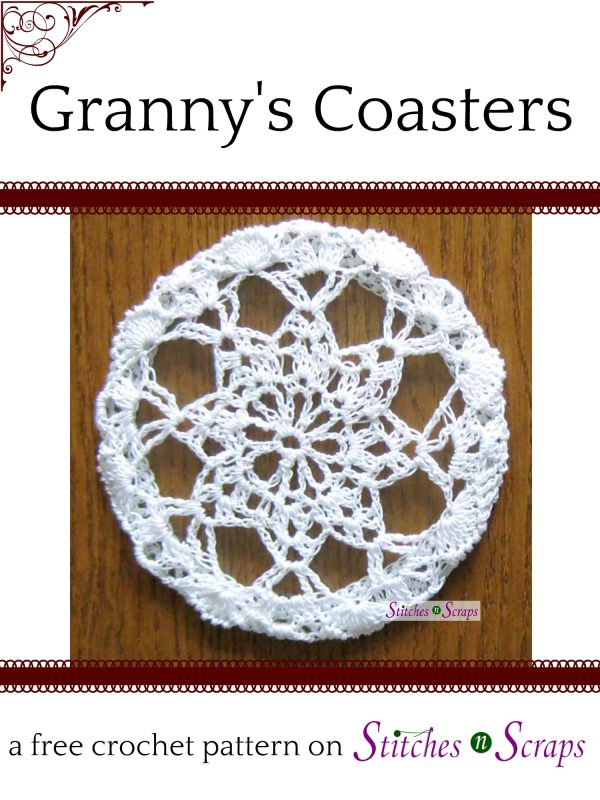
My Granny was a talented crocheter, and one of my mother's prized possessions is a set of crocheted coasters that ...More