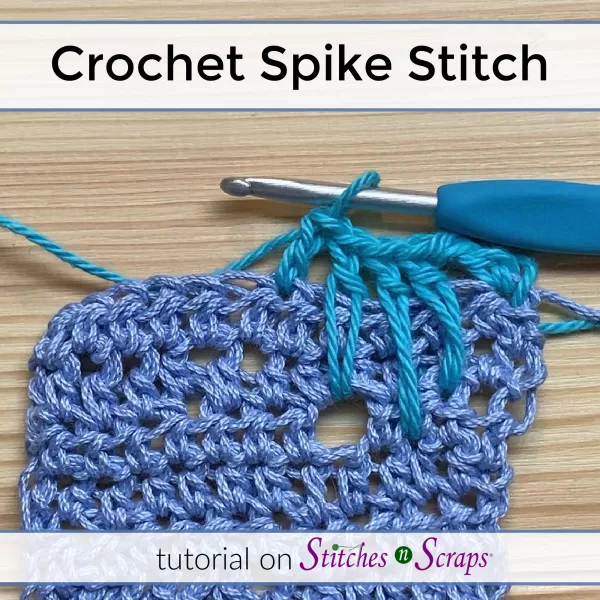
Crochet Spike Stitch Tutorial
Dip down into previous rows and draw up a crochet spike stitch! These extra long stitches add texture and interest to any project. Almost any crochet stitch can be a spike stitch. Learn how in this tutorial.
This content is protected by copyright. See this Terms of Use / Copyright page for more information.
This post contains sponsored content and/or affiliate links. If you click an affiliate link and make a purchase, I may get a commission.
What is a Spike Stitch?
What defines a stitch as a spike stitch is where you place your hook. A crochet spike stitch is placed below where you would normally make a stitch. It can be one row below or several.
Where to Put Your Hook
This part is sometimes confusing because it is worded differently in different patterns. Pay attention to the syntax of the instructions:
“Next stitch x rows below”
If the instructions say “below” without anything after it, you can mentally add the words “where your hook is” to the end. So “next stitch 2 rows below” becomes “next stitch 2 rows below where your hook is.”
This means the next stitch you would normally work into is actually the “next stitch 1 row below.”

“X rows below the next stitch”
Sometimes instructions will say something like “below the next stitch” or “below the next chain space”. In this case, you don’t have to add any words. The instructions are telling you where to start counting from. Instead of counting from the hook, you start counting from the indicated stitch, space, or whatever the instructions state.

So “2 rows below the next stitch” is the same thing as “3 rows below (where your hook is).” Note that in the illustration, I used a random stitch and not actually the next stitch, just to make it easier to see.
How to Crochet a Spike Stitch
Once you’ve determined where your hook goes, you’re ready to crochet your spike stitch! Almost any stitch can be worked as a spike stitch. The “spike” part refers to drawing up a loop from below, and the rest of the stitch name tells you what stitch to make. So a spike dc is a double crochet drawn up from below.
Draw up the loop
First, do anything you would normally do before drawing up a loop. For a spike double crochet, do a yarn over first, just like you would for a normal double crochet. For a spike single crochet, there’s nothing to do first, just insert your hook.
Then insert your hook in the indicated stitch or space. It should go exactly where you would normally work into that stitch or space, for example, under the top 2 loops for a regular stitch. You’ll probably see the legs of a previous stitch already coming out of that same spot.

Stick your hook all the way through to the back of the work, then yarn over and pull up a loop. This will make the yarn wrap around your fabric, encasing any stitches above the spike stitch.
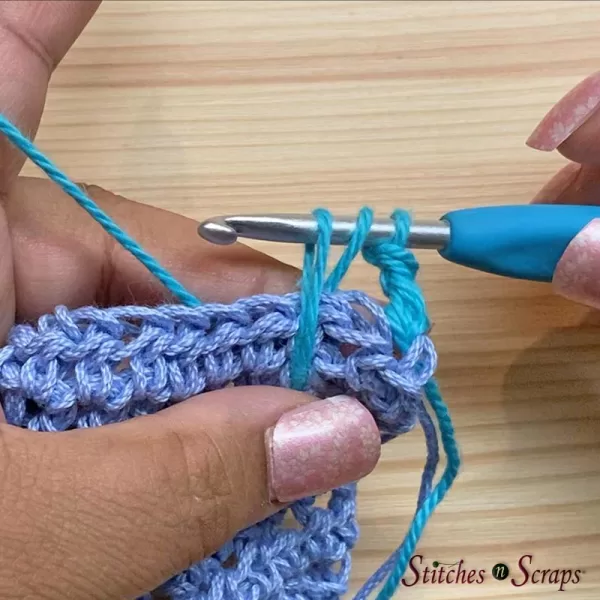
Pull that loop up nice and big to the top of the fabric. It should be all the way up at the same level as a regular stitch. This loop is what makes the stitch a spike stitch.
Finish the stitch
Now finish the stitch as you normally would. For a double crochet, this means [yarn over and pull through 2 loops on your hook] twice.

If you’re working a more complex stitch, like a puff stitch or cluster, you may need to pull up more loops. Every time you need to pull up a loop, do it in the indicated stitch below and make sure to pull it up nice and big like you did the first time.
Skip a stitch
The instructions should specify whether or not to skip the stitch above your spike stitch, i.e. the stitch that is encapsulated inside your spike stitch. If it doesn’t specifically say, assume you are to skip that stitch, and continue your pattern from the next stitch.
Try it out!
Now that you know how to crochet a spike stitch, try out your new skills on this Patio Chair Caddy pattern! It uses spike half double crochets for an all-over texture.

Crochet Spike Stitch Video Tutorial
Embed not working? Watch this video on YouTube. Want to jump to a specific section? Click on the timestamp below to go directly to that spot in the video! These links open on YouTube, in a new window or tab.
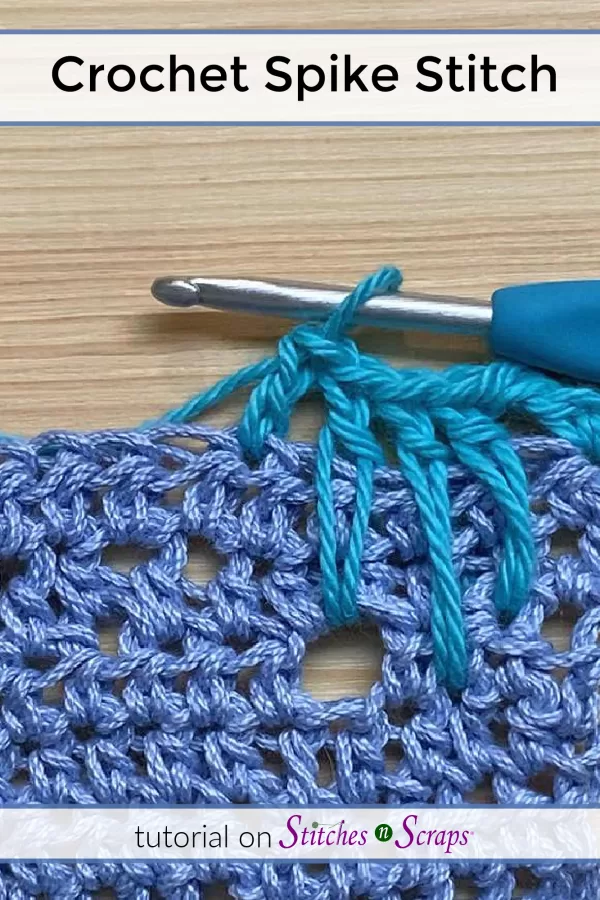
Share this tutorial on Pinterest! Here’s an image perfect for pinning:
Rate this Crochet Spike Stitch tutorial!
Do you want the best of Stitches n Scraps delivered right to your inbox? Don’t miss a stitch – Subscribe now!


2 Comments
Trish
Thank you for this detailed tutorial with clear instructions and supportive photos. It’s the little details that are most helpful (eg. skip a stitch) when trying this stitch for the first time. I like the look of this stitch but some things seem like too much of a challenge on a bad day. This tutorial should help a lot! I think that I need to try this on a mug rug or a dish cloth first just to practice. Thank you for sharing your expertise.
Pia Thadani
You’re so welcome 🙂 I’m glad you found it helpful.