Free Crochet Patterns
Find the perfect, free crochet pattern for your next project! Browse them all, or select a category from the dropdown menu. Where will your creativity take you today?
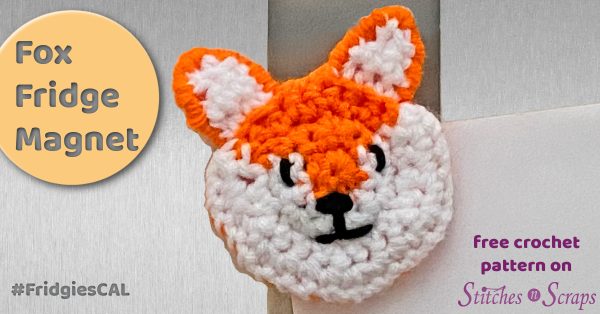
What has this sly fox been up to? Crochet your own with this quick fox fridge magnet pattern, and put ...More

Keep the cold out with this Tunisian crochet ear warmer! It's big on style, but still easy to make. Just ...More

This darling little bear is happy to hold your photos and notes for you. Did you know a group of ...More
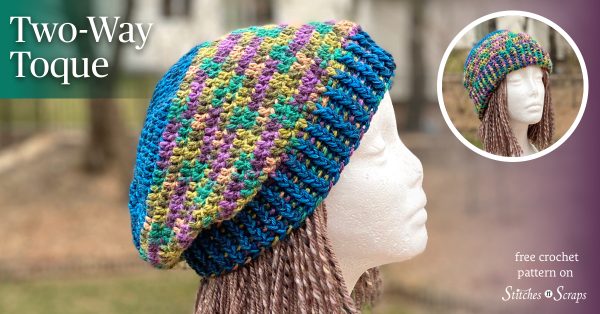
Make a crochet hat has two looks in one! Wear the ribbing folded down for a contrasting edge, or fold ...More

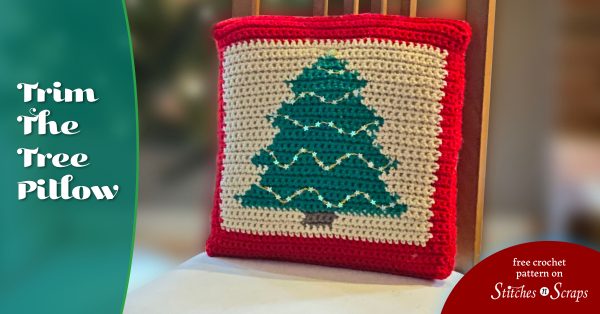
Deck your halls with this Christmas crochet pattern! Just like a real tree, this festive holiday pillow is a blank ...More

Did you ever make Christmas ornaments by gluing wedges of scrap fabric to a foam ball? This Scrappy Crochet Christmas ...More
Deck your halls with this Christmas crochet pattern! Just like a real tree, this festive holiday pillow is a blank ...More

Crochet a baby blanket of interwoven "bubbles" in bold candy colors. The Electric Bubblegum Baby Blanket pattern is easy to ...More

Big dots, little dots, I'm seeing lots of spots! Protect your eyeglasses with the Seeing Spots crochet glasses case. This ...More

Are there any gift cards on your holiday gifting list this year? Add a personal touch to your gift with ...More