Bear Fridge Magnet Crochet Pattern
This darling little bear is happy to hold your photos and notes for you. Did you know a group of bears is called a sleuth? With this quick bear fridge magnet pattern, you can crochet a whole sleuth of bears for your fridge!

This content is protected by copyright. See this Terms of Use / Copyright page for more information.
This post contains sponsored content and/or affiliate links. If you click an affiliate link and make a purchase, I may get a commission.
2021 Fridgies CAL
This bear fridge magnet is the first pattern in the 2021 Fridiges CAL! Crochet along through 12 magnet patterns. At the end of the year, you’ll have an adorable set of fridgies for yourself or for a gift! You may want to make 2 sets, so you don’t have to decide.

Enter the Giveaway
There will be several giveaways throughout the Fridgies CAL. This quarter, you could win a zippered pouch from Global Backyard Industries!

Learn all about the Fridgies Crochet Along here, including how to enter the giveaways for a chance to win some fabulous prizes too!
Lion Brand DIY Yarn
Lion Brand provided all the yarn for this crochet along. Their DIY yarn comes in small balls, which is just perfect for the small amounts needed for each magnet. For the bear fridge magnet, you will need: White, Camel, Black, and Hot Pink.
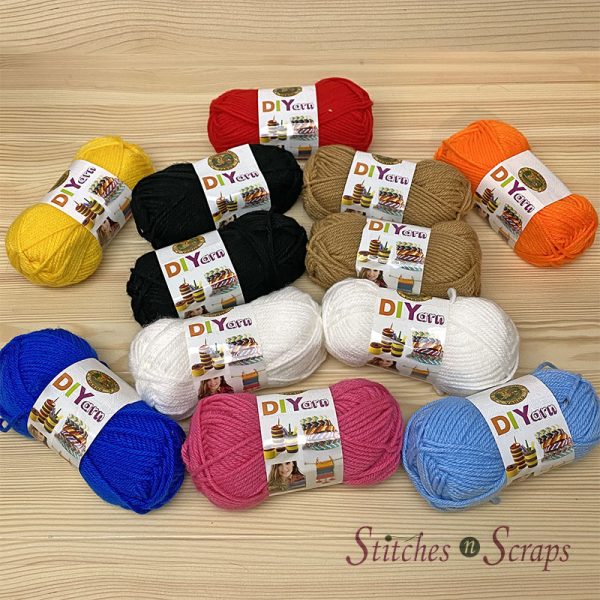
If you’re not able to get this yarn or the colors you need, Lion Brand Vanna’s Choice or Basic Stitch are also good options.
Xyron Glue Gun
The easiest way to attach your magnet to your crochet is with hot glue. For my magnets, I’m using this mini hot glue gun that Xyron gave me to try out.
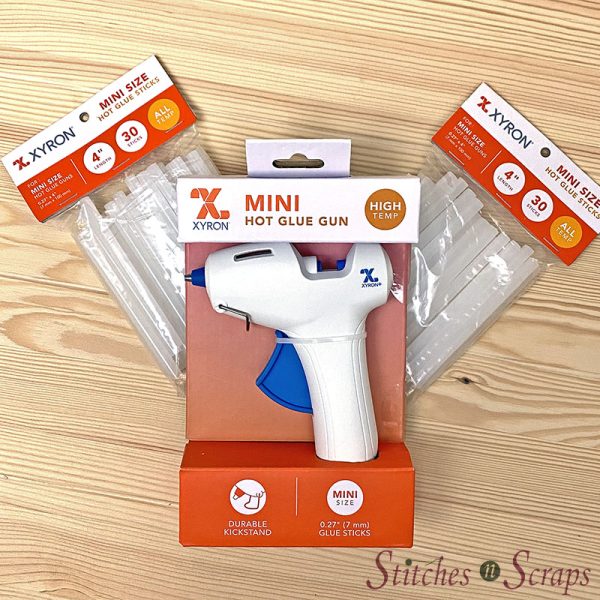
I used it on this bear fridge magnet and was very happy with it. It heated up quickly and produced a nice steady bead of glue. Watch it in action in the tutorial video below!


Materials
- Yarn: Lion Brand DIY Yarn
- 30 yds Camel
- 5 yds each Hot Pink (pink) and White
- 2 yds Black
- Hook: Size H / 5 mm crochet hook or size needed to match gauge.
- Notions:
- Yarn Needle
- Stitch marker or scrap piece of yarn.
- Strong, flat magnet that will fit inside the bear
- Xyron hot glue gun and glue stick
Project Level
Intermediate: Worked in the round with some sewing and embroidery required.
Size
About 2.5 inches in diameter, not counting ears.
Gauge
12 sc x 13 rounds = 4 inches
Use pattern as gauge swatch – back should measure about 2.5 inches in diameter. Exact gauge is not critical. Your fabric should be tight enough that the magnet won’t show through.
Abbreviations used
(Pattern is written in US terms)
ch = chain
sc = single crochet
hdc = half double crochet
dc = double crochet
inc = increase (see Special Stitches)
st(s) = stitch(es)
sl st = slip stitch
RS = right side
WS = wrong side
Recommended Resources
- To Knot or Not
- Back Loop Only and Front Loop Only
- Almost Invisible Single Crochet Increase
- 3 Ways to Weave in Ends
- How to Sew Crochet Pieces Together on Winding Road Crochet – shows both whipstitch and running stitch.
Special Stitch
Increase (inc): Sc in back loop only of indicated st, then sc in both loops of same st. This counts as two stitches in the end of round stitch counts.
See this tutorial for a more detailed look.

Instructions
The pattern is made in 3 separate sections: The back with ears and magnet, the front, and the muzzle. You can make these 3 sections in any order you prefer.
Join rounds where indicated with a slip stitch in the first stitch of the round. Slip stitches are not included in stitch counts.
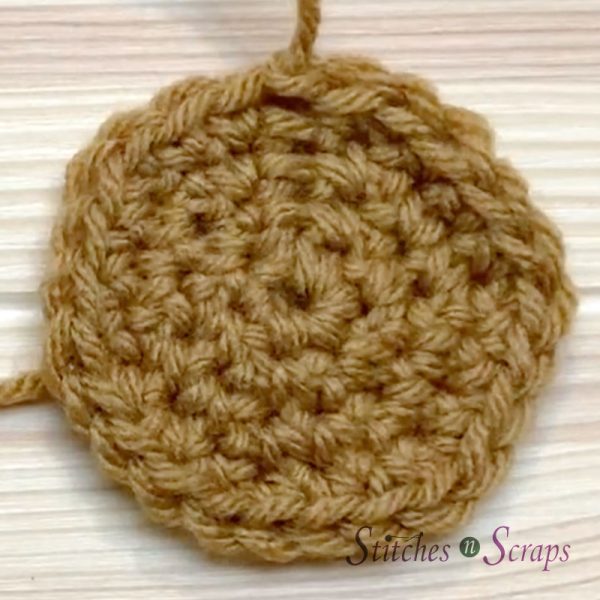
Back
Back circle
With Camel, ch 2.
Rnd 1 (RS): 6 sc in 2nd ch from hook, join. (6 sts)
Rnd 2: Ch 1, inc in each st around, join. (12 sts)
Rnd 3: Ch 1, sc in first st, inc in next st, (sc in next st, inc in next st) around, join. (18 sts)
Rnd 4: Ch 1, sc in first 2 sts, inc in next st (sc in next 2 sts, inc in next st) around, do not join. (24 sts)
Remove loop from hook and secure it with a stitch marker or scrap piece of yarn.

Work should now measure about 2.25 to 2.5 inches in diameter.
Ears
Turn work over to WS.
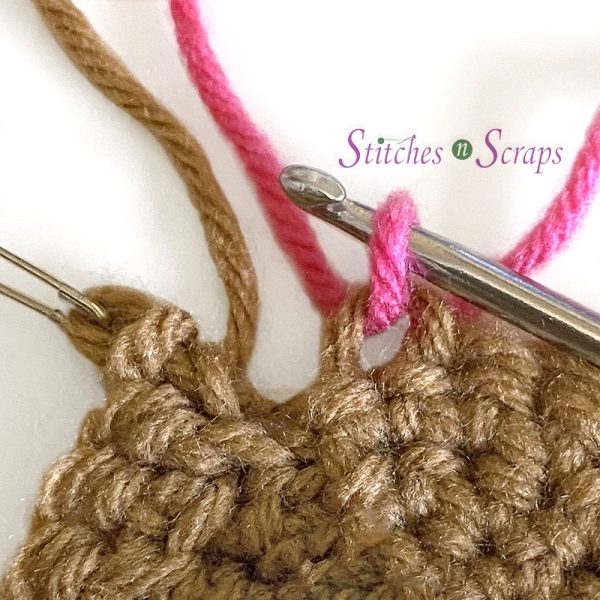
First inner ear:
Join pink with sl st in front loop only of the first st from rnd 4 as shown. This should be the stitch next to the working loop.
(Sc, hdc, dc, hdc, sc, sl st) in same front loop, fasten off pink. (5 sts)

2nd inner ear
Skip next 6 sts, join pink with sl st in front loop only of next st.
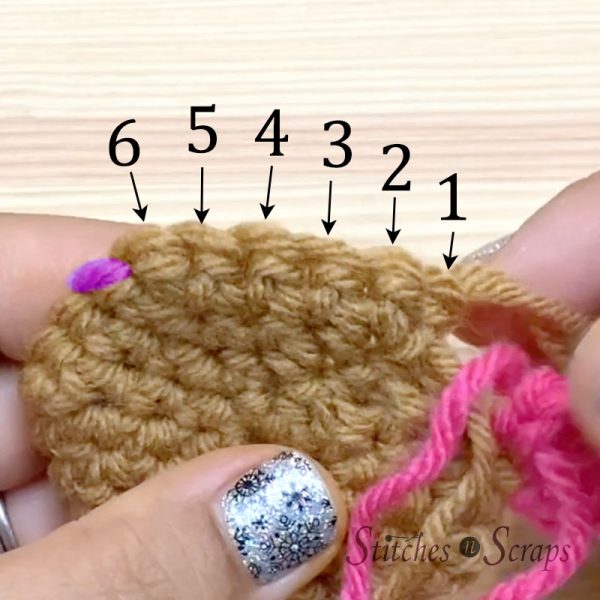
(Sc, hdc, dc, hdc, sc, sl st) in same front loop, fasten off pink. (5 sts).

Turn work so that RS is facing, and place working loop of Camel back onto hook.
1st outer ear:
Row 1 (RS): Sl st in unused front loop of the same st as first inner ear, ch 1, (sc hdc, dc, hdc, sc, sl st) in same loop. (5 sts)


Row 2 (WS): Turn, working through both inner and outer layers, (ch 1, sl st) in each st across ear, do not fasten off.
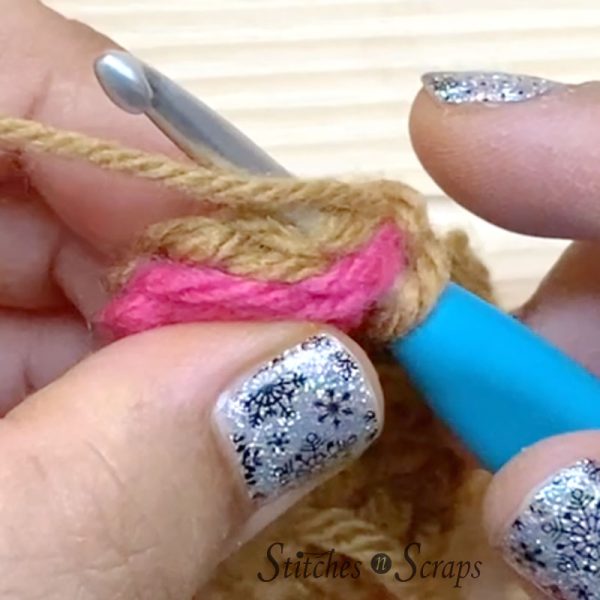
Sl st in front loop only of next 6 sts on back circle. (These are the 6 stitches between the two ears.)
2nd outer ear:
Sl st in unused (back) loop of the same st as second inner ear, turn.

Row 1 (RS): Ch 1, (sc, hdc, dc, hdc, sc, sl st) in same loop. (5 sts)
Row 2 (WS): Turn, working through both inner and outer layers, (ch 1, sl st) in each st across ear, fasten off.
Weave in all ends on the wrong side (where the pink of the ears is showing).
Magnet
Using hot glue gun, glue magnet to center of WS of work.

Set back piece aside.

Front
Rnds 1-4: Repeat rnds 1-4 of back. At the end of rnd 4, join and fasten off Camel, leaving an 18 inch tail for sewing.
Muzzle
With White, ch 2
Rnd 1 (RS): (2 sc, hdc, 3 sc, hdc, sc) in 2nd ch from hook, join. (8 sts)
Rnd 2 (RS): Ch 1, sc in first st, [(sc, hdc) in next st, 2 hdc in next st, (hdc, sc) in next st], sc in next st, repeat [ ], join, fasten off leaving a 12 inch tail for sewing. (14 sts)
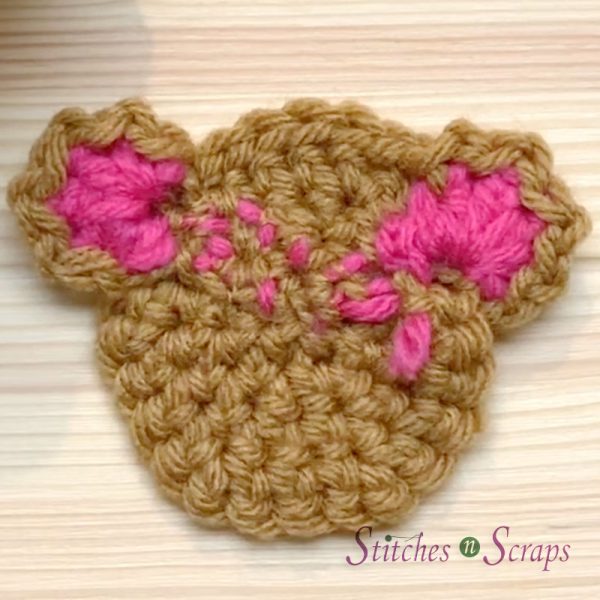
Assembly
Using long White tail, sew muzzle to right side of front, so it rests along the edge as shown. Place muzzle so that it covers up the “seam” where you joined your rounds.

Embroider nose, mouth, and eyes with Black yarn.

Line up front and back with wrong sides together. The magnet should be on the inside and the ears should line up appropriately with the face. With the face on top, you should be able to see the pink side of the ears.

Using long Camel tail, sew front and back pieces together around edge with a whipstitch up to the first ear.

When you get to the ear, use a running stitch across the front of the ear, and then continue whipstitching around to the next ear.

Use a running stitch across the second ear, and then continue whipstitching the rest of the way around.

Fasten off and weave in any remaining ends.
Video Tutorial
Watch This Video on YouTube

Rate this Bear Fridge Magnet Pattern!
I hope you enjoyed this Bear fridge magnet pattern. Big thanks to Karen Navoy for testing it!
A downloadable pdf of this pattern is available on Ravelry for a small fee. The fee for the pdf format is to offset the advertising revenue lost when you print or download the pattern rather than viewing it online.
Do you want the best of Stitches n Scraps delivered right to your inbox? Don’t miss a stitch – Subscribe now!


You May Also Like

15 Newbie tips for the Knit & Crochet Show
Linen Puff Crochet Washcloth Tutorial
