Crochet Tutorials
Ready for a new crochet stitch, technique, or pattern? You’re in the right place! Browse all the crochet tutorials, or select a category from the dropdown menu. What will you learn today?

There are several different ways to crochet into a chain, and all produce different results. My favorite for creating a ...More
When you see front post and back post stitches, you almost always see them done in double crochet. The reality ...More

Ready to add a bit of sparkle to your crochet? There are several different ways to add beads to crochet, ...More
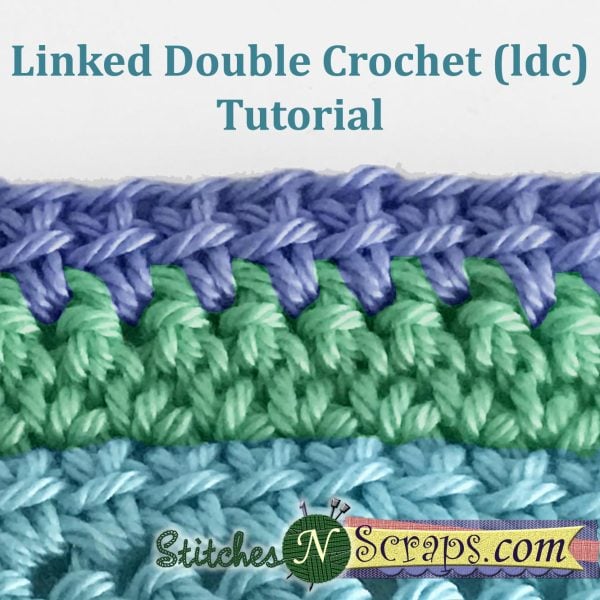
Double crochets are fast and easy, but for some applications they are too loose and leave unwanted gaps. Linked double ...More

Puff stitches are soft, squishy, versatile, and easy to make. Learn how with this tutorial! ...More

Welcome to the New Year, New Technique CAL! This week's technique is Bruges lace, and one of the patterns is ...More

Split or center stitches are just like normal stitches except for where you place your hook. It's much easier to ...More
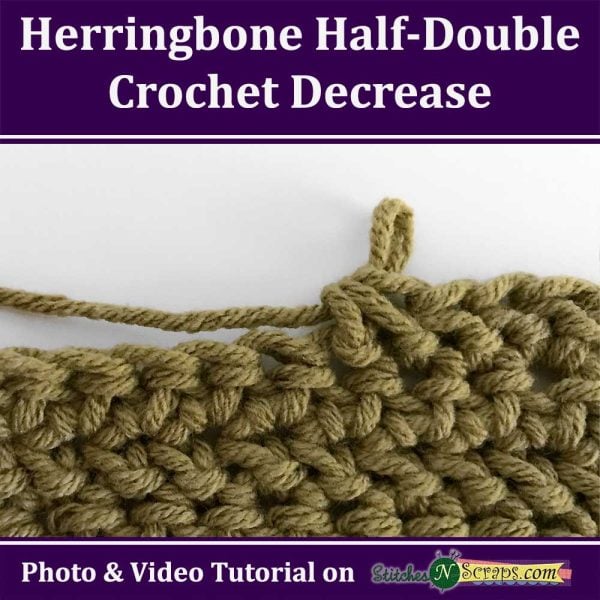
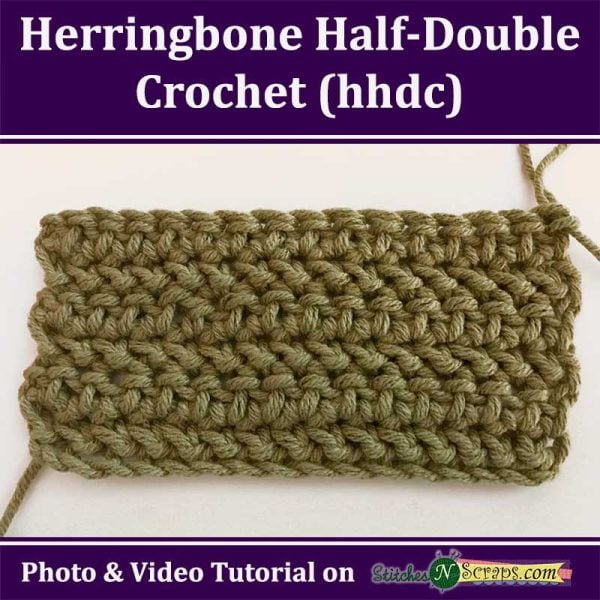
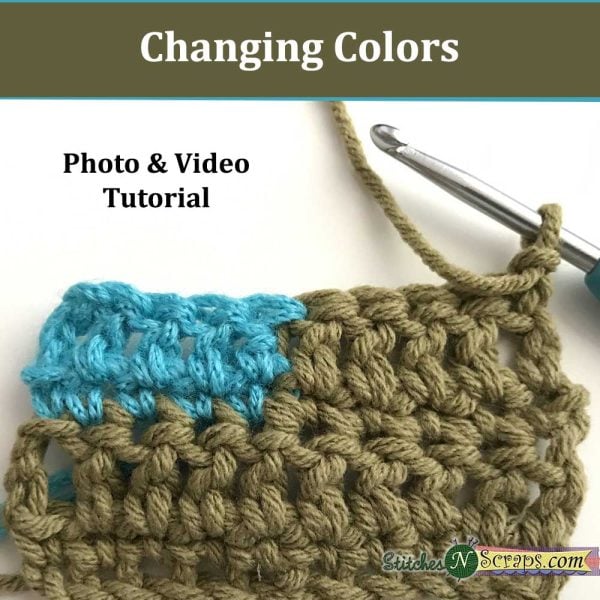
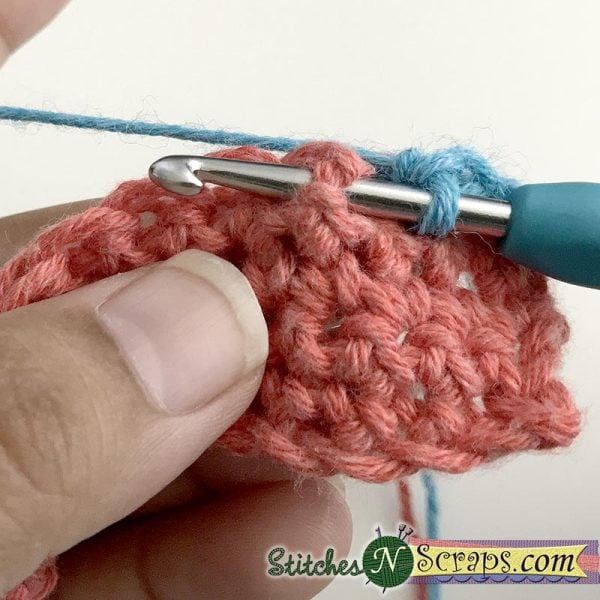
Earlier, I showed you how to do the herringbone half-double crochet stitch (hhdc). If you're not familiar with the hhdc ...More