

Linked Double Crochet (ldc)
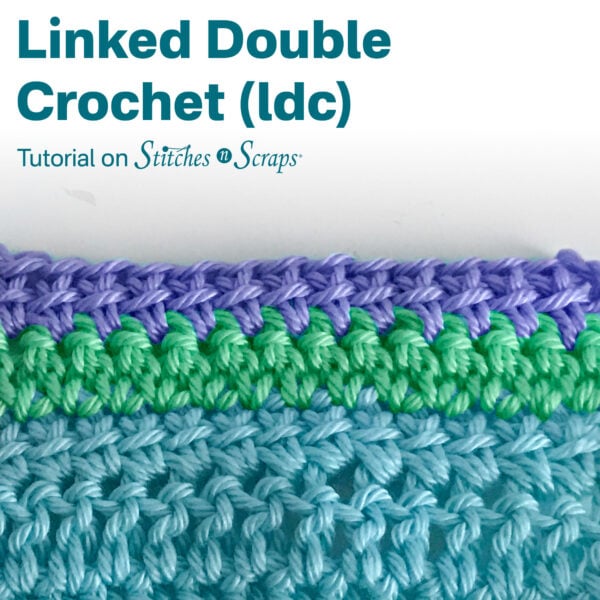
Close the gaps between double crochet stitches by linking them together in the middle! Firmer and denser than regular double crochet, but not as stiff or thick as single crochet, linked double crochet is a happy medium. Try it out for button bands, edgings, and more.
This content is protected by copyright. See this Terms of Use / Copyright page for more information.
This post contains sponsored content and/or affiliate links. If you click an affiliate link and make a purchase, I may get a commission.
What is Linked Double Crochet
Linked double crochet (ldc) stitches are a slight modification to a traditional double crochet. A loop picked up from the middle of the previous stitch replaces the usual yarn over, tying the 2 stitches together at the middle.
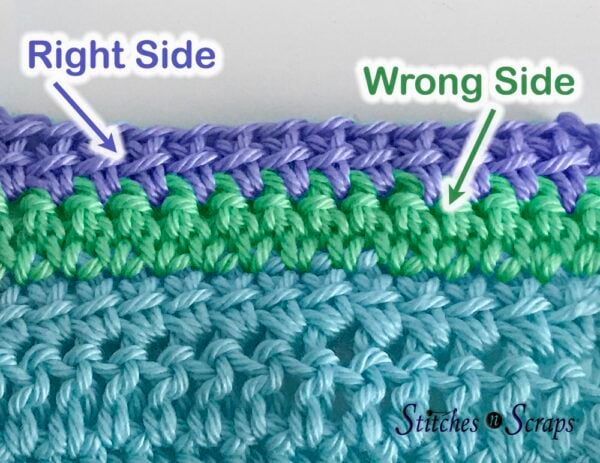
Because the normally diagonal bar of the yarn over sits horizontally in ldc, it can look like 2 right-side rows of single crochet, with the 2nd row worked in back loops. The wrong side of the work looks completely different, with a slight pucker across the middle. Working ldc back and forth in rows creates a fun striped effect.
When to use Linked Double Crochet
I particularly love ldc for borders on lacier items. It can add shape and structure to an otherwise floppy piece. It’s also great for things like pockets where you still want a little drape, but want to limit gaps.
Linked double crochet can be worked flat or in the round. You do need to be careful with gauge though, as it tends to pull the stitches in and make the row just a little bit narrower. If this becomes a problem, try using a larger hook for ldc.
How to work Linked Double Crochet
(scroll down for video tutorial)
The first 2 stitches
To start an ldc row, chain 3 and turn. This chain-3 counts as the first stitch.
For normal double crochet, each stitch begins with a yarn over. For linked double crochet, we replace that yarn over with a link to the previous stitch or chain. So instead of the yarn over, insert your hook into the 2nd chain, yarn over and pull up a loop.
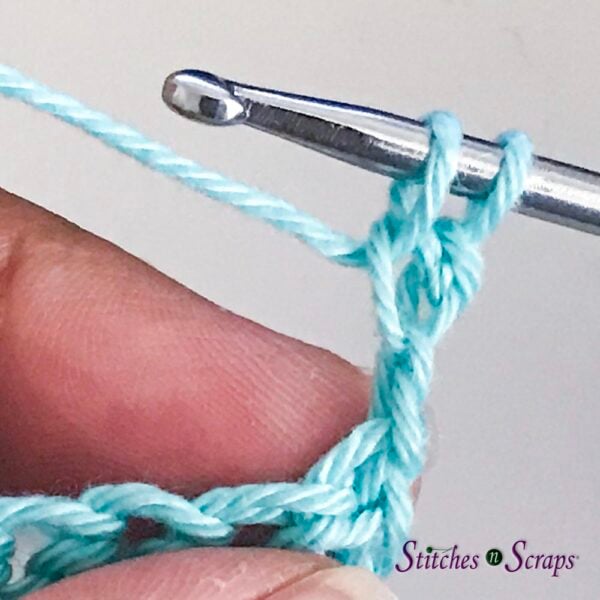
Insert the hook into the next stitch, yarn over and pull up a loop as you normally would for a double crochet. Now there are 3 loops on your hook.
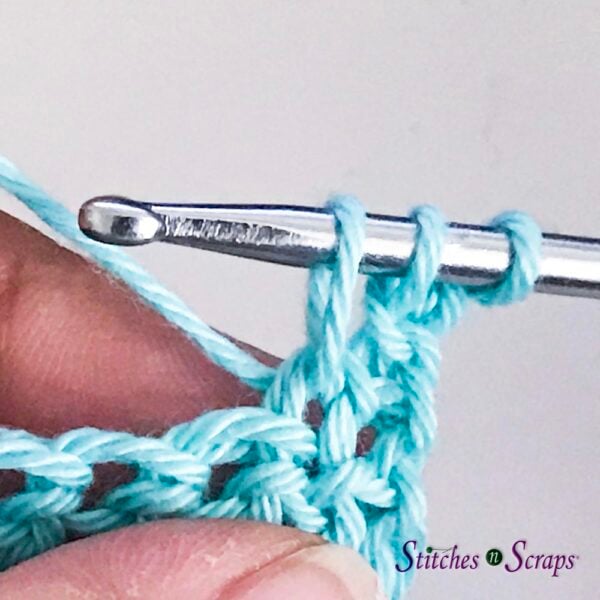
Finish the double crochet stitch as normal: (yarn over and draw through 2 loops) twice.
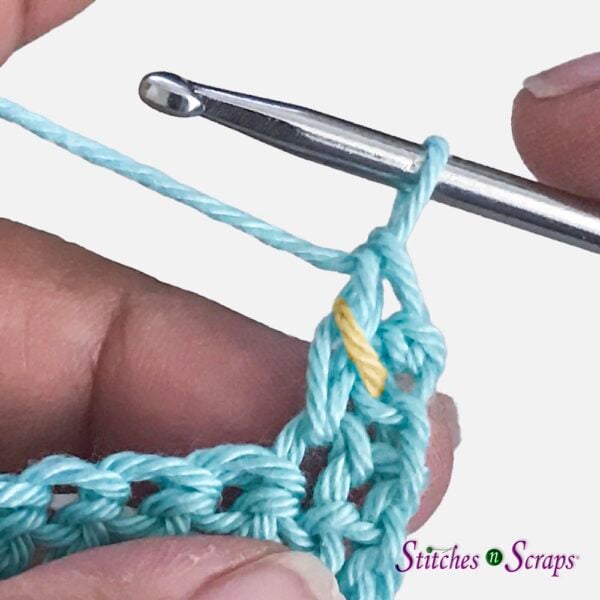
You can see that the finished stitch has a diagonal bar, just like a normal double crochet would. We are going to use that diagonal bar in the next stitch.
Remaining Linked Double Crochet
For remaining stitches, insert the hook into the diagonal bar of the previous stitch, yarn over and pull up a loop. Again, this replaces the beginning yarn over of the double crochet.
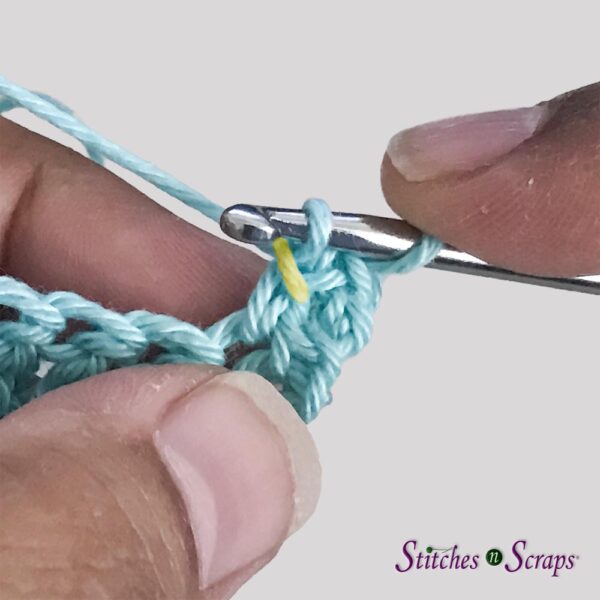
Then insert the hook into the next stitch, yarn over and pull up a loop. There are now 3 loops on the hook.
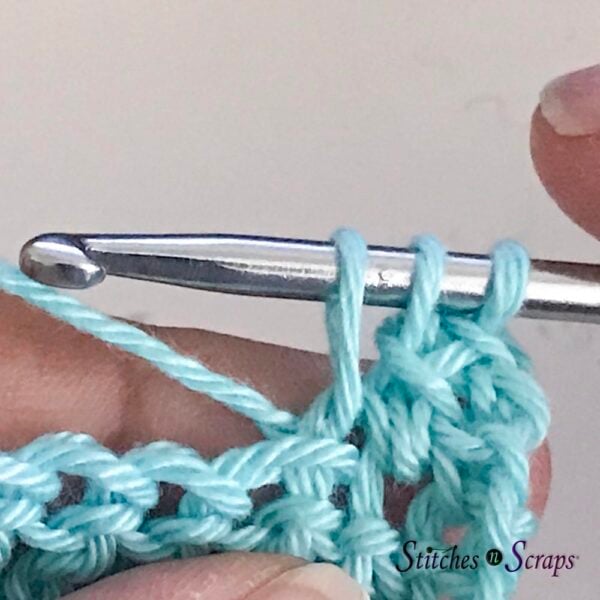
(Yarn over and draw through 2 loops) twice to complete the stitch.
Linked Double Crochet (ldc) Video Tutorial:
Embed not working? Watch this video on YouTube. Want to jump to a specific section? Click on the timestamp below to go directly to that spot in the video! These links open on YouTube, in a new window or tab.
Share this Linked Double Crochet Tutorial on Pinterest!
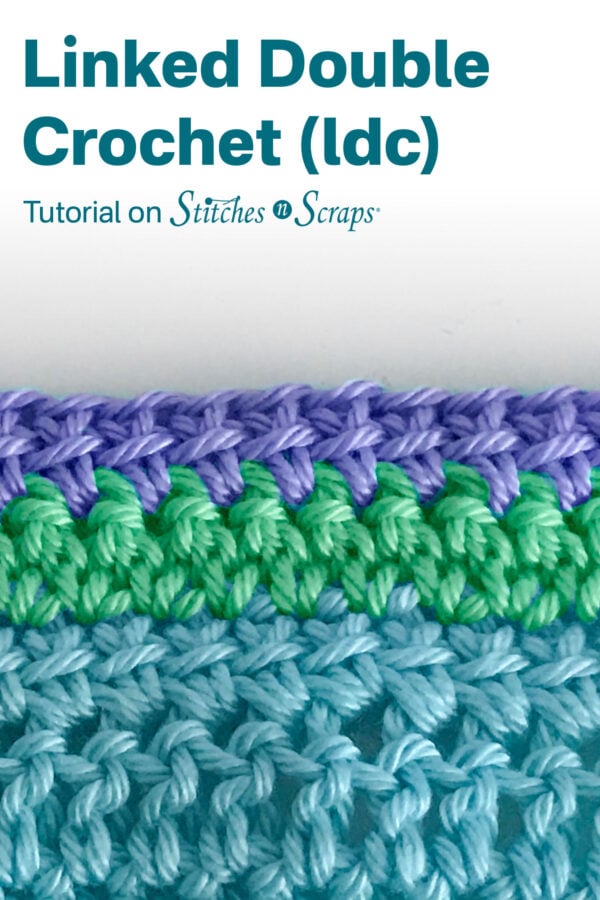
Here’s an image perfect for pinning:
Rate this Linked Double Crochet Tutorial!
Do you want the best of Stitches n Scraps delivered right to your inbox? Don’t miss a stitch – Subscribe now!



11 Comments
Nicole
I would like to have more free Crochet. Because I like what I see. You have the most beautiful pattern.
Pia Thadani
Thank you! That’s very nice of you to say 🙂 I know I’ve been slow in posting this summer, but I do have a new pattern coming out just as soon as I can get it written up – maybe today or tomorrow if I can get it done by then.
Kathy
love the linked double crochet. I often feel the regular double leaves too many open spaces. Will absolutely change to the linked double on a new project. Thanks for the video – very easy to understand
Karla
My pattern says to chain two at the beginning of my second row (which counts as my first ldc in the row). Then, I am to do a ldc in my first stitch! How do I do that as there is no horizontal bar in my chain. For the third row, I again chain two and then follow with a beginning ldc. Help!!
Pia Thadani
Hi Carla! If you’re working into a Ch 3, you would normally use the 2nd chain as your horizontal bar. But since there’s only a ch 2 I would probably use the bottom of the 2 chains. Or just make a chain three and do it like in this tutorial 🙂
Margaret
I’m doing a turning of a row completely different. At end of row after turning I make a slightly longer chain and then another smaller chain…yarn over and make a dc and then proceed with ldc. My only concern is my edges along end of row look like they will be impossible to go around blanket in sc to then proceed to border. Don’t know if I’m even making sense. Any idea?
Pia Thadani
You can work a border into anything 🙂 I would just work your stitches around or into your turning chains at the edge of each row like you normally would. It may be a tighter fit to get your hook in, but you should be able to find at least one loop to grab.
Nicole S
Thank you for this tutorial! I have been looking at a number of different sites to figure this one out and yours is THE BEST! so easy to understand the way you explain and your photos are perfect. You made this stitch so easy to do!!
Pia Thadani
Yay! I’m so glad you found it helpful 🙂
Trish
Thank you for this ldc tutorial. I have heard of this stitch and saw some examples of how to do it but some how just couldn’t wrap my brain around the process. This tutorial just makes it so clear and not complicated. Your photos really help. Thank you very much!
Pia Thadani
You’re very welcome!