Crochet Tutorials
Ready for a new crochet stitch, technique, or pattern? You’re in the right place! Browse all the crochet tutorials, or select a category from the dropdown menu. What will you learn today?

With one simple change, elongate a half double crochet stitch (hdc) and turn it into an extended half double crochet ...More

Learn how to make the crochet flower circle at the top of the Cherry Blossom Beret. Follow along with the ...More

Layers of mesh combine to make a warm, cozy, and super squishy scarf. This mesh tube scarf tutorial will show ...More

Follow along, step by step, through decorating the Snowflake Crochet Coin Purse! Learn how to add columns of surface crochet ...More
Follow along, step by step, through decorating the Snowflake Crochet Coin Purse! Learn how to add columns of surface crochet ...More

Split single crochet stitch is also known as waistcoat stitch. It's a slight modification in the placement of the single ...More

Make a roomy, box-bottom bag lining, complete with a pocket! It's easier than it sounds, and this tutorial will walk ...More
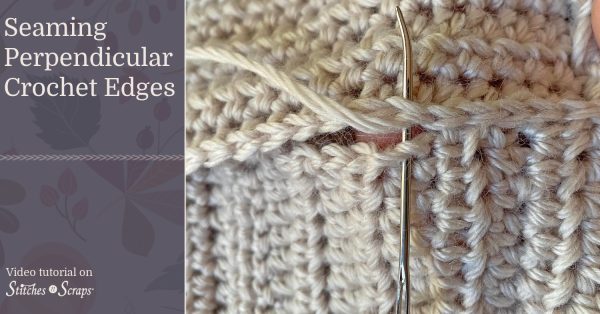
Seaming is a critical finishing step that can dramatically change the look of your crochet projects. Seaming perpendicular crochet edges, ...More

Layers of texture converge in the center of this lovely square. This crochet square tutorial will take you, step by ...More

Cables can create all sorts of complex designs. But when I think of cables, it's the simple, twisting columns of ...More