Crochet Tutorials
Ready for a new crochet stitch, technique, or pattern? You’re in the right place! Browse all the crochet tutorials, or select a category from the dropdown menu. What will you learn today?

Add a lovely finish to your crochet projects with a wrap-around single crochet edging! It all starts with a normal ...More
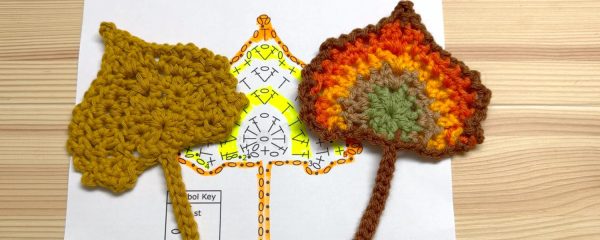
Crochet a lovely autumn leaf with this Eastern Cottonwood Leaf crochet tutorial! Follow along, step by step, with the free ...More
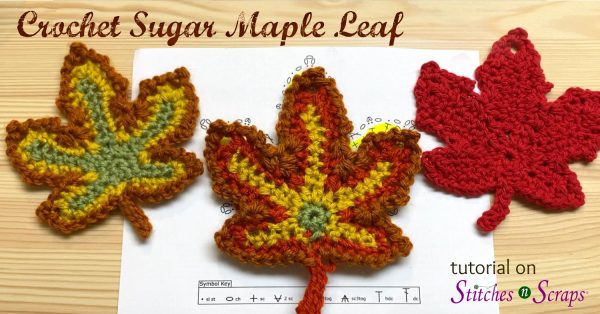
Crochet a lovely autumn leaf with this Sugar Maple Leaf crochet tutorial! Follow along, step by step, with the free ...More
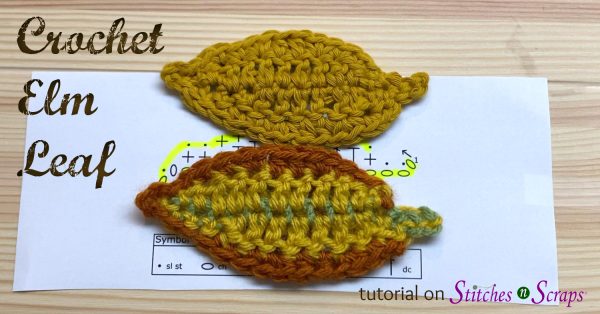
Crochet a quick and easy autumn leaf with this Elm Leaf crochet tutorial! Follow along, step by step, with the ...More

Grow a garden ringed with delicate crochet blossoms! The Primrose Garden Square pattern is equally delightful in one color or ...More

Add this mini crochet cauldron to your Halloween, Mabon, or Samhain decorations! Get the free written pattern and follow along ...More

Crochet a sparkly, striped bandana to slide over your dog's collar! Get the free written pattern in 6 sizes, and ...More

A triangle, a circle, and then a square. Crochet a fun and exciting square of constantly shifting shapes! Get the ...More

Dip down into previous rows and draw up a crochet spike stitch! You can work almost any crochet stitch as ...More

Jacob's Ladders add bold texture to any project. See a few different ways of making the necessary loops in both ...More