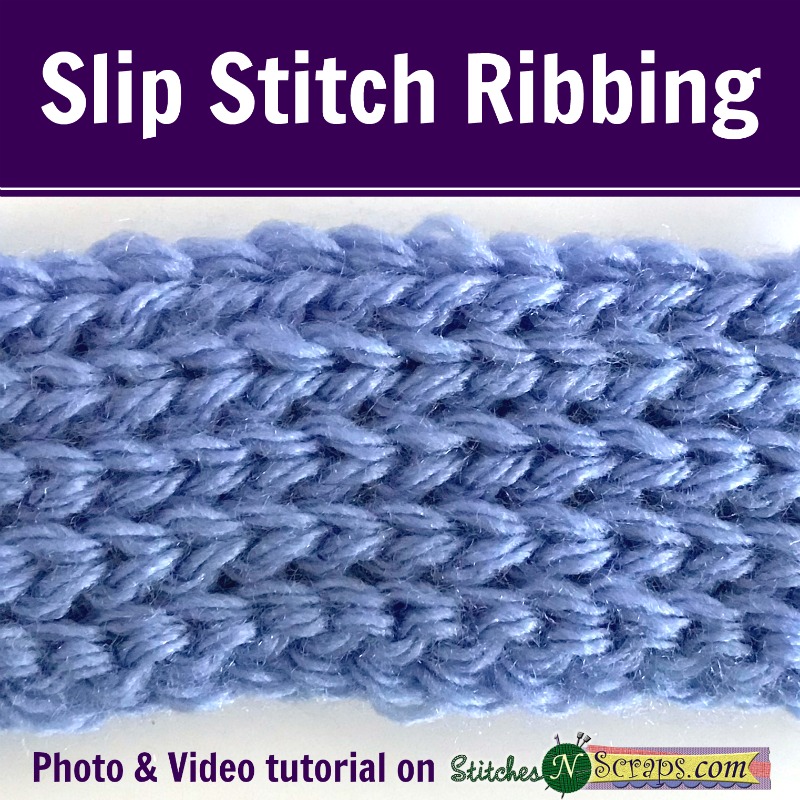
Tutorial – Slip Stitch Ribbing (sl st in blo)
Ribbing is a real workhorse, adding that perfect bit of stretch to collars, cuffs, waistbands, hats, and so much more. There are a ton of uses for ribbing, and there are lots of different techniques to create it as well! This particular technique of slip stitch ribbing produces an extremely stretchy fabric that mimics knitted ribbing.
This post contains affiliate advertisements (click for more info). If you click one of these links and then make a purchase, I may be compensated. You get the same great prices, and you will be helping to support this site!
Slip Stitch Ribbing (sl st in blo) Photo Tutorial
(scroll down for video tutorial)
For this technique, we will be working slip stitches (sl sts) into the back loop only (blo) of each stitch as we go across. Working in the back loop pushes the row of stitches to the back of the fabric. As we turn our fabric back and forth, that shift will end up alternating back and forth, creating the ribbing effect we’re looking for.
- Find the back loop: The back loop is the loop facing farthest away from you, on the top of the fabric.

- Insert hook into back loop of next stitch, yarn over, and pull up a loop.

- Pull that loop through the loop that was already on your hook to finish your slip stitch.

- Continue across the row, then chain 1 and turn to start the next row. Repeat until your ribbing is the desired length.


[the_ad_group id=”1380″]
Slip Stitch Ribbing (sl st in blo) Video Tutorial:


You May Also Like

Free Pattern – Angel Ornament

Scrappy Stitchers Link Party #54