Knitting Tutorials
Ready for a new knit stitch, technique, or pattern? You’re in the right place! Browse all the knitting tutorials, or select a category from the dropdown menu. What will you learn today?

Learn how to work the slip slip knit decrease, abbreviated as ssk. This is a very common decrease in knitting. ...More

Learn how to work the knit 2 together decrease, abbreviated as k2tog. This is one of the easiest and most ...More
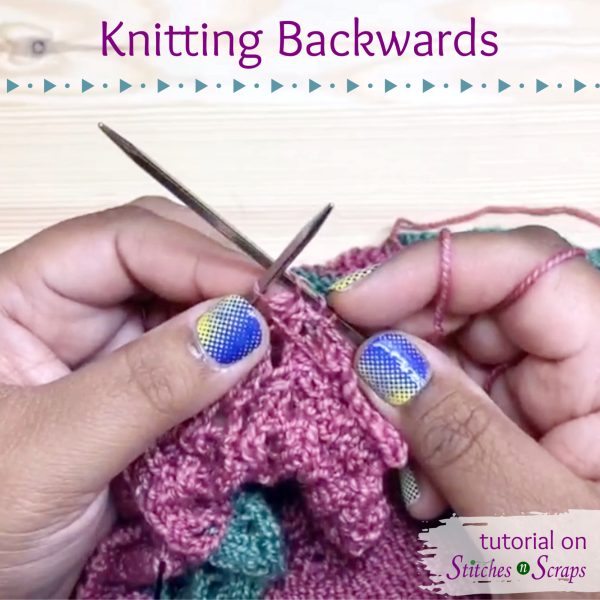
Have you ever knit something really narrow like a border or edging worked sideways? Turning your work after every few ...More

You've finished your double knitting project, now how do you bind off? There are lots of methods to choose from! ...More
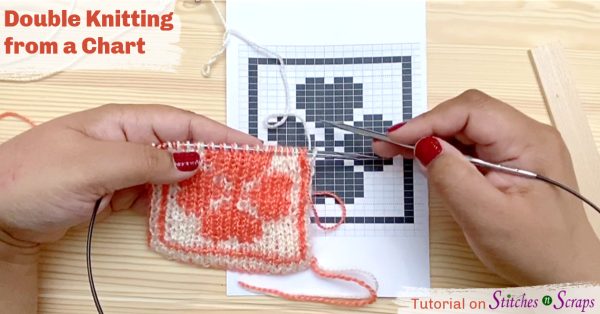
You know how to knit, but do you know how to double knit? Double knitting is a versatile technique that ...More
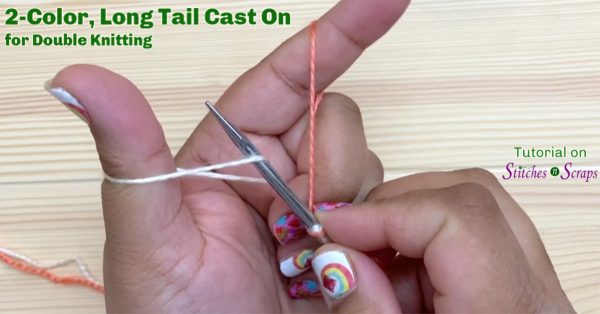
Create a smooth, low profile edge for your double knitting with the 2-color, long tail cast on! Using a 2nd ...More

Learn how to knit the rosette stitch! This lovely, textured stitch is easier than it looks. The simple, 4-row repeat ...More
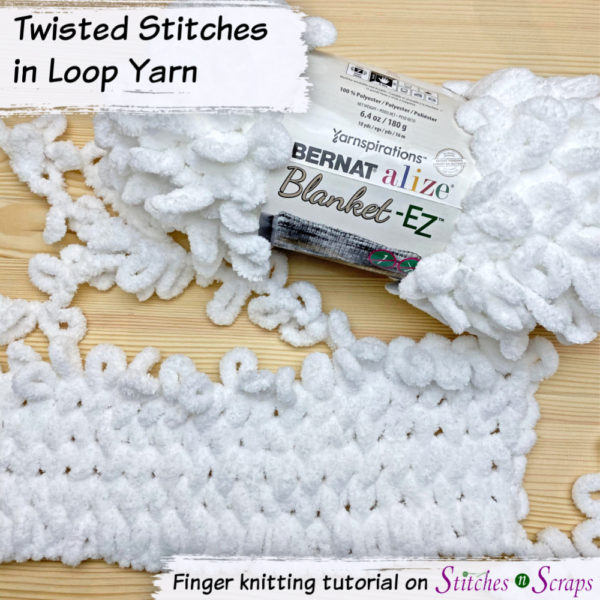
For normal knit stitches in loop yarn, we try not to let the loops twist. However, twisting them on purpose ...More

The Unbiased pillow pattern has an unusual construction. It is knit on the bias (diagonally) and seamed diagonally as well. ...More
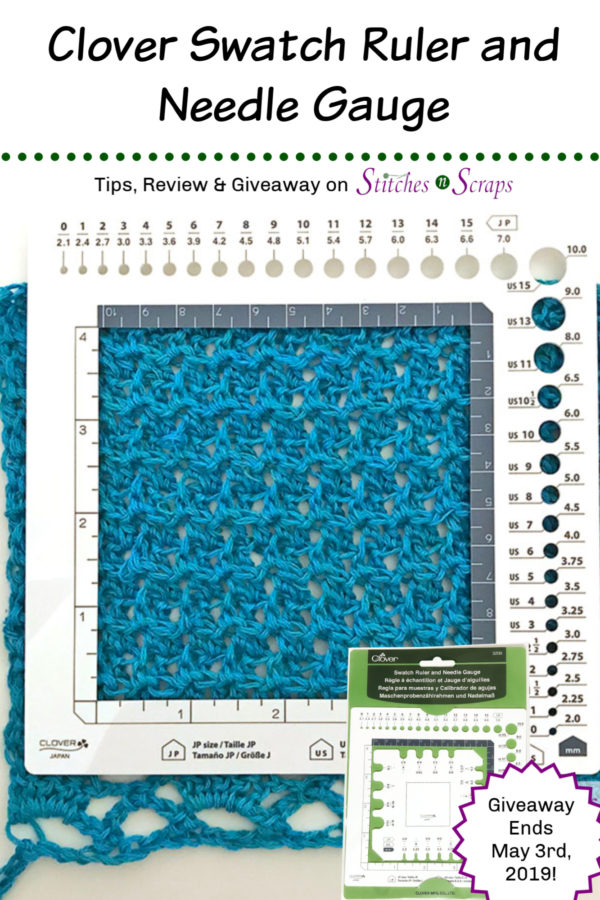
I know a lot of knitters and crocheters cringe at the words "gauge" and "swatching". But working up a gauge ...More