Knitting Tutorials
Ready for a new knit stitch, technique, or pattern? You’re in the right place! Browse all the knitting tutorials, or select a category from the dropdown menu. What will you learn today?

Learn how to knit wrap and turn short rows in garter stitch! Short rows are a great tool to add ...More
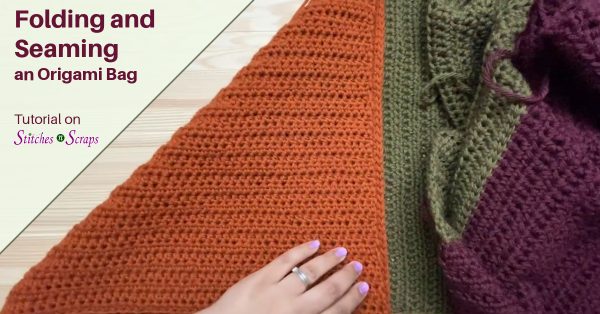
With some simple folding and seaming, you can turn a plain rectangle into an origami bag! This tutorial is designed ...More
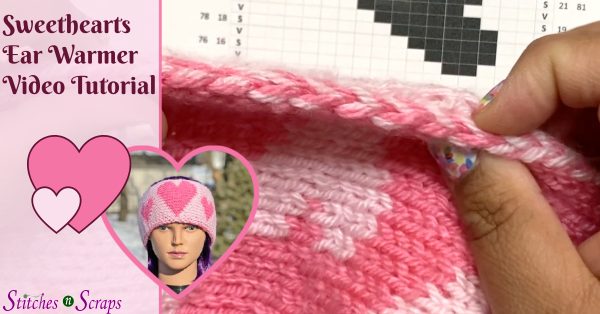
The Sweethearts Ear Warmer will keep your ears warm and cozy, with a reversible, double knit, heart design. Learn how ...More

The knit front and back (kfb) increase is one of the easiest to learn. It creates a visible bump, which ...More

Join 2 layers of knit fabric while binding off at the same time, and all without any sewing! The 3-needle ...More

Mosaic knitting is a colorwork technique using only 1 color at a time. The charts for mosaic knitting are just ...More

Clover sent me their new Wonder Knitter to try out and review. Learn how to knit a cord with it ...More
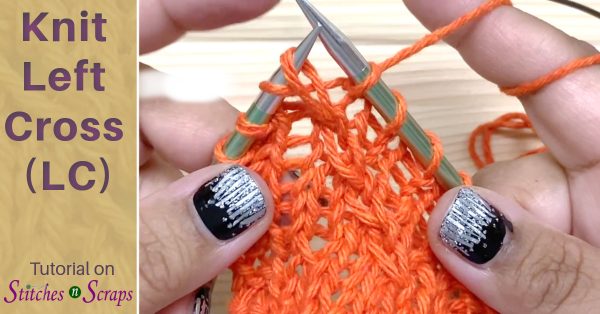
The left cross (lc) is a versatile stitch that can be used for delicate cables, swirls, and other fun textures. ...More
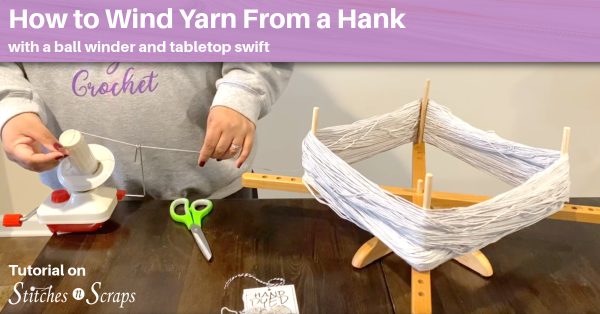
Some yarns, particularly hand dyed or artisan yarns, come in hank format. These yarns need to be wound into a ...More

Learn how to work the make 1 right (m1r) and make 1 left (m1l) increases. These right and left leaning ...More