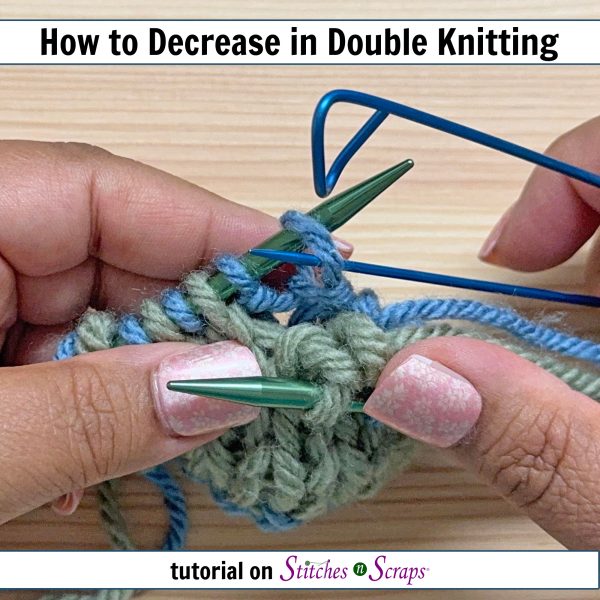
How to Decrease in Double Knitting
Double knitting projects can have shaping! By slightly rearranging the stitches, you can work decreases while maintaining the 2 separate layers. This technique is perfect for shaping hats, sleeves, and anywhere else you might want to decrease in double knitting!
This content is protected by copyright. See this Terms of Use / Copyright page for more information.
This post contains sponsored content and/or affiliate links. If you click an affiliate link and make a purchase, I may get a commission.
What is Double Knitting?
Double knitting is a technique of knitting two pieces at the same time by alternating stitches between the two pieces. The layers can be joined together or kept completely separate. In either case, the stitches alternate between a front layer and a back layer. Learn more about double knitting, including other tutorials and patterns, in this Guide to Double Knitting!
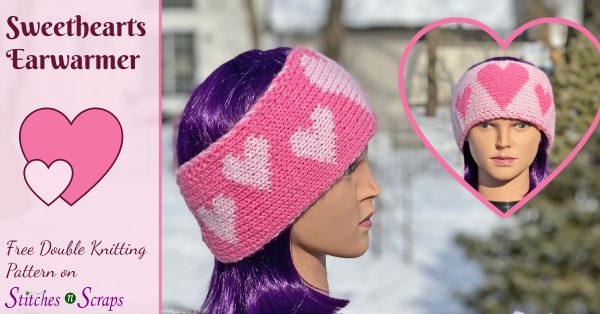
Double Knitting Colorwork
Switching the working yarns between the two layers is a common way to create colorwork. The crossed yarns join the layers together into one reversible piece, like in the Sweethearts Ear Warmer pattern.
2 Separate Layers
Carefully keeping the 2 working yarns separate and not allowing them to cross yields 2 independent layers that are not connected. This is most commonly used as part of a tubular bind-off, where ribbing is separated into 2 layers which are then grafted together.
It’s also a fun way to knit 2 matching pieces at one time! You can knit one sock or sleeve inside another and then pull them apart at the end.
2 Stitch Decrease in Double Knitting
(Scroll down for video tutorial)
You can work a decrease over any number of stitches in double knitting using the same concepts. Let’s first look at a basic decrease worked over 2 stitches.
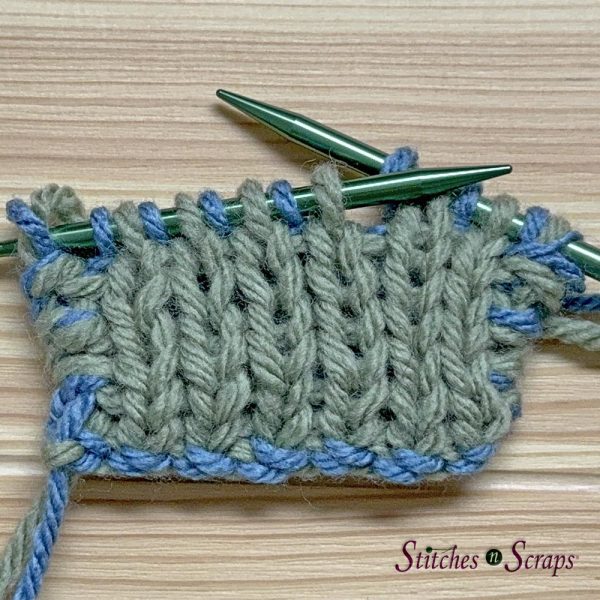
Identify the layers
In the sample shown here, the green front layer is worked from the right side, while the blue back layer is worked from the wrong side. The wrong sides of the 2 layers are together, with the right sides facing out. This is the most common arrangement used in double knitting, though other arrangements are also possible.
Working and Non-Working Needles
For this tutorial, the working needle (WN) is the needle in your dominant hand. This means the right hand needle if you are knitting right handed, and the left hand needle if you are knitting left handed. The non-working needle (NWN) is the needle in the opposite hand.
Swap the Stitches
Before working a decrease, we need the 2 stitches for the decrease to be next to each other on each layer. This means we need to swap the positions of the stitches.
First, slip the first front stitch to the WN.
Then remove the next (back) stitch from the NWN. Place it on a cable needle or stitch marker to secure it so it doesn’t pull out. Drop this stitch to the back of your work.
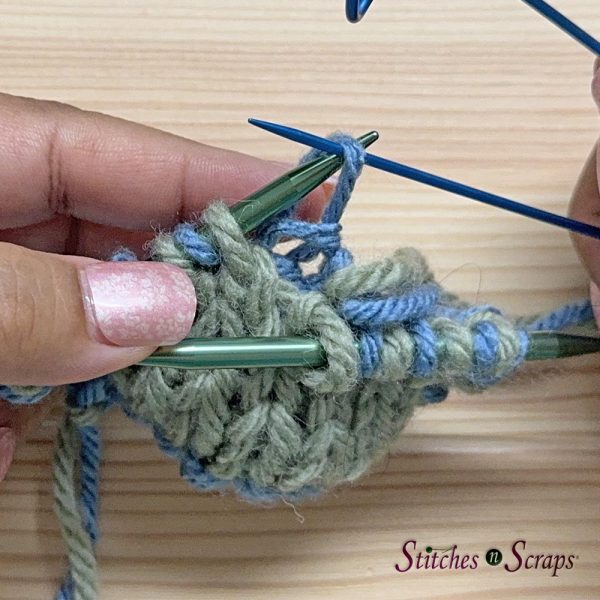
Place the previously slipped front stitch back onto the NWN. Now you have 2 front stitches next to each other and are ready to work the front decrease.
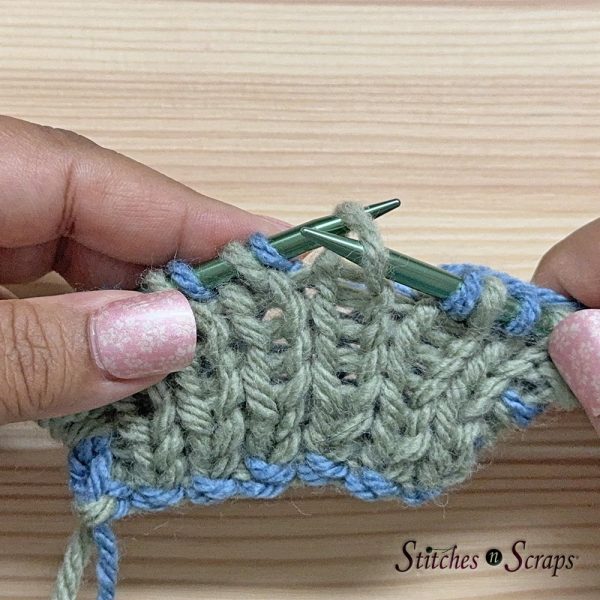
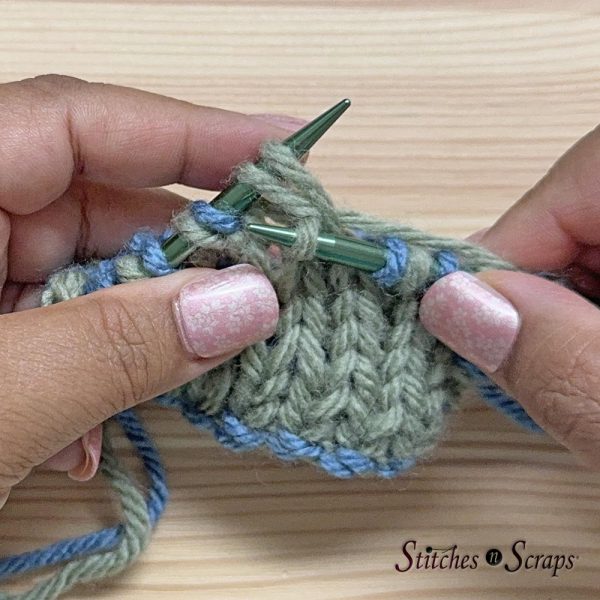
Front Decrease
Work the decrease over the next 2 stitches as normal. In this example, I am working a knit 2 together. Note that I’m only holding the cable needle up so you can see it in the picture. Normally, I would leave it hanging in the back while working the decrease.
Back Decrease
Next, transfer the dropped back stitch back onto the NWN. Now there are 2 back stitches next to each other. Work the back decrease as normal. In this example, since I am working the back layer from the wrong side of the fabric, it’s a purl 2 together decrease.
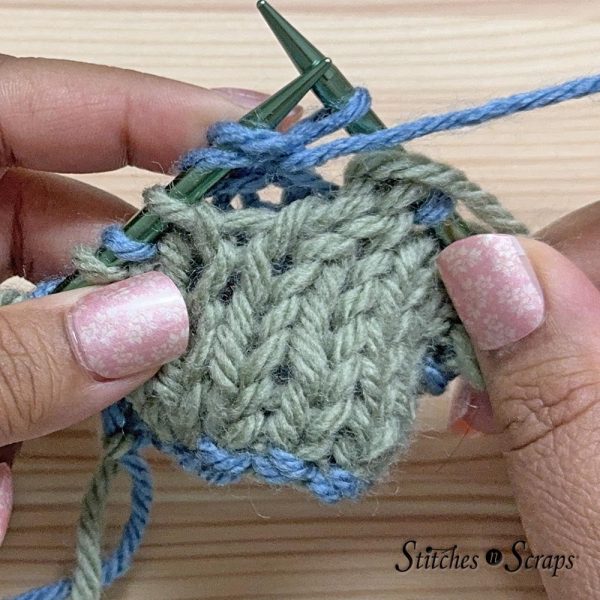
Each layer now has a matching decrease, and you can continue knitting as normal.
Double Knitting Decrease Over More Than 2 Stitches
To decrease over more than 2 stitches, re-arrange the stitches on the needle so that all stitches needed for the decrease are next to each other on each layer. Slip front layer stitches to the WN and move back layer stitches to a holder until you can put enough front layer stitches together to work your front decrease. Then put the back layer stitches back on the NWN and work your back layer decrease.
How to Decrease in Double Knitting Video Tutorial
Want to jump to a specific section? Click on the timestamp below to go directly to that spot in the video! These links open on YouTube, in a new window or tab.
Learn More
Visit this Guide to Double Knitting to learn more about the technique. The page includes additional information, tutorials, patterns, and more.
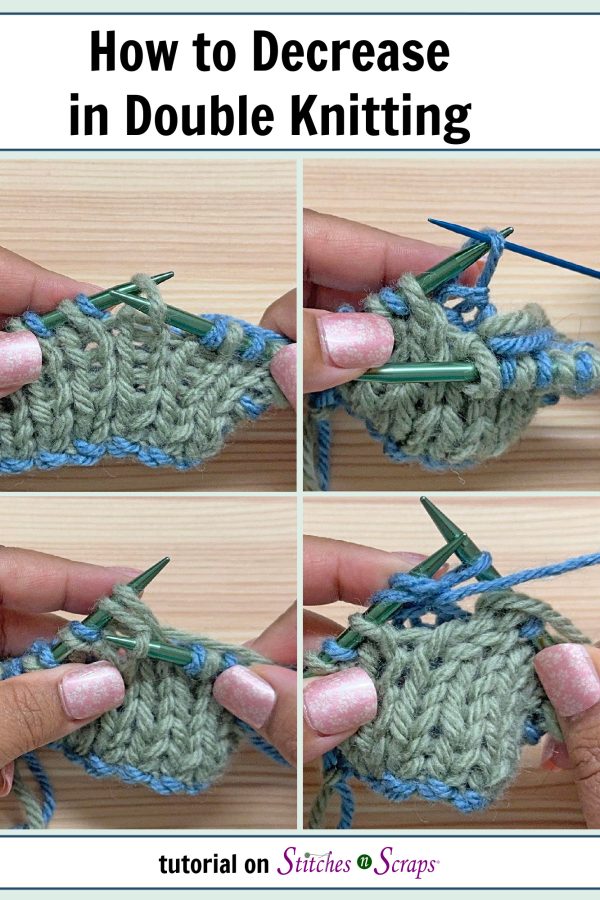
Share this Double Knitting Decrease Tutorial on Pinterest!
Here’s an image perfect for pinning:
Rate this Double Knitting Decrease Tutorial!
Do you want the best of Stitches n Scraps delivered right to your inbox? Don’t miss a stitch – Subscribe now!


10 Comments
The Knitterly Hooker
Great tut! I’m not at that level yet but I’ll keep this in my back pocket!
Stitches n Scraps
🙂
allnightknits
I love the tutorial – almost as much as I love those needles! 🙂
Stitches n Scraps
Lol thanks!
allnightknits
Welcome!!:)
MCD
Just what I needed, just when I needed it!
Pia Thadani
awesome! 🙂
AP
Thank you! Google sent me here and this was exactly the answer I needed. Easy and concise.
Pia Thadani
I’m glad it was helpful!
Pia Thadani
I don’t have a tutorial for increasing when double knitting. But I’ll keep it in mind to do one next time I’m double knitting something.