Free Knitting Patterns
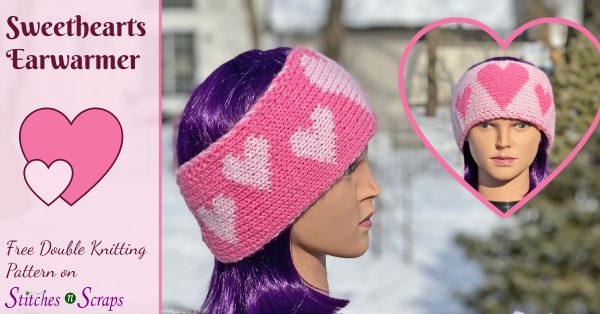
Warm your heart (and ears) with the Sweethearts Ear Warmer! This double knit ear warmer is worked flat and seamed, ...More

Snuggle up in billowy, cotton candy stripes! This knit scarf pattern has a fun, seed stitch texture, works up fast, ...More

Hang this adorable Halloween ghost ornament anywhere you need a little more holiday spirit! With a pretty beaded edge, they're ...More

It's time to sparkle! Bring a dramatic flair to your next night out with the Date Night Clutch. This easy, ...More

Soft, squishy garter stitch in striking geometric patterns - what's not to love? The mosaic sampler blanket looks complex, but ...More

Delicate diamonds flow into a ring of eyelets, wrapped in a cabled border. Dorothy's Square is a soothing mix of ...More

Spiraling winds set snowflakes in motion, swirling around a deep blue, winter sky. Stay warm through the wintry weather with ...More

Simple, snuggly, and oh so cute! The Simply Sweet knit baby sweater is fast and easy to knit. It makes ...More
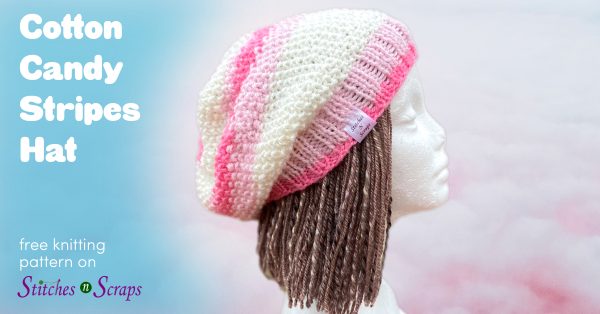
What could be sweeter than simple stripes in soft, pastel, cotton candy colors? This knit hat pattern has a fun, ...More

Mix them or match them, your hands will be toasty warm either way! These knit, reversible fingerless mitts have 2 ...More