Free Crochet Patterns
Find the perfect, free crochet pattern for your next project! Browse them all, or select a category from the dropdown menu. Where will your creativity take you today?

Whether you're hitting the books, or hitting the beach, the Hyde Park Tee has you covered! Wear it on its ...More

Keep your hands toasty warm, without burning them on hot drinks. This hand warmer coffee cup cozy protects your hand ...More
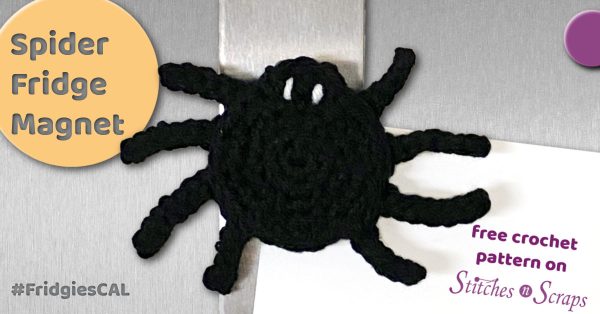
It's creepy, it's crawly, but it's oh so cute! Make this adorable spider fridge magnet for your fridge or magnet ...More
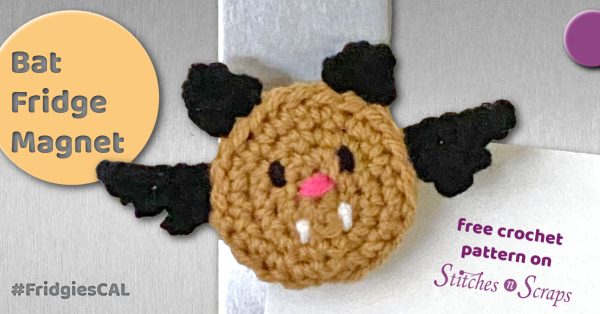
This little bat fridge magnet is trying hard to be spooky, but they're just too cute! Make your own sweet ...More

Add a creepy finishing touch to your look with Eyeball Earrings. This Halloween crochet pattern is frightfully fun and fast. ...More

Dress up your table or shelf with this scrappy, cabled runner! Three separate cables twist along the length of this ...More
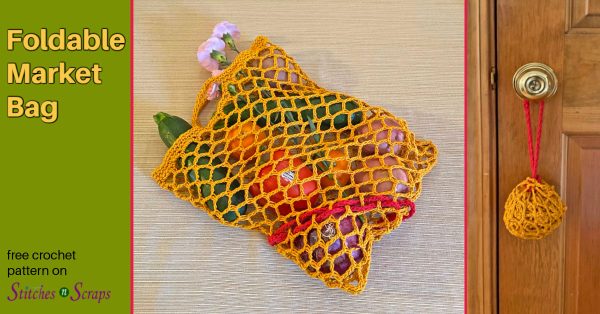
From farmer's markets to beach days, a good mesh bag is a must-have for summer. This foldable market bag tucks ...More

A wise old owl told me this owl fridge magnet pattern is a hoot! Make a feathered friend of your ...More

My, what cute ears they have! Protect your dog's sensitive ears from cold and wind, or just keep them out ...More

Go a little wild with an adorable, lion fridge magnet! This feline fridgie is a fun addition to any fridge ...More