Free Crochet Patterns
Find the perfect, free crochet pattern for your next project! Browse them all, or select a category from the dropdown menu. Where will your creativity take you today?

I love this style of sweeper/mop, but the disposable cloths get expensive over time. A reusable sweeper cover is so ...More
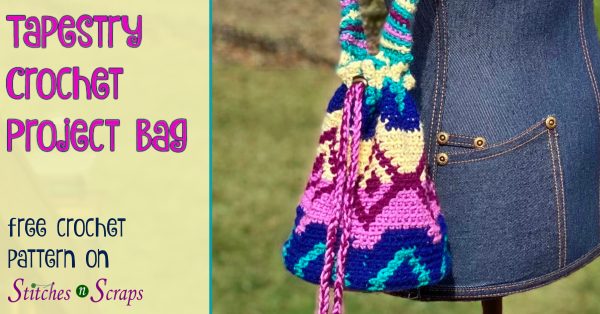
Crochet out loud with bright, bold colors and geometric patterns! This tapestry crochet project bag is just the right size ...More

Lacy diamonds sparkle in this crochet scarf or cowl. The lightweight, open design makes it a perfect transitional piece for ...More

Meet my new friend, Wittle Wubble! This cute crochet monster has long arms for hugging, hanging, and getting into all ...More

Get cozy with the textured crochet stripes pillow! This quick and easy pattern combines bulky yarn with subtle stripes of ...More
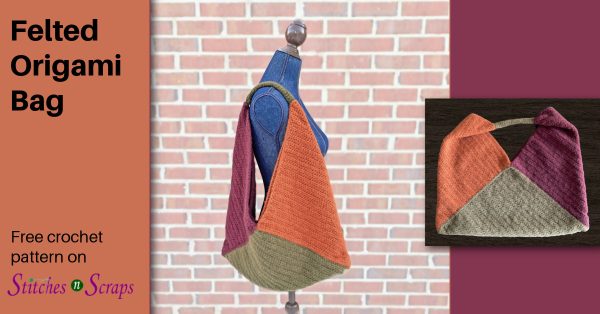
Turn a crocheted rectangle into a stylish tote, with just a few simple folds! This felted crochet origami bag is ...More
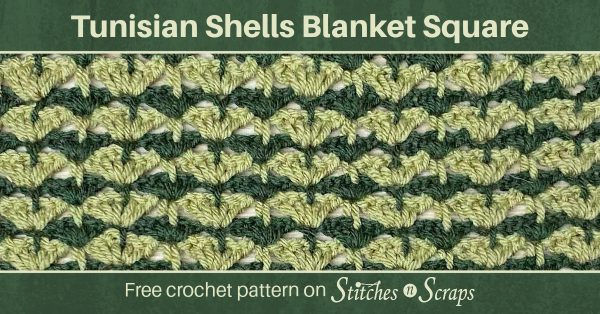
Layer Tunisian shells in alternating colors for a squishably soft blanket square. With a slightly different design on each side, ...More

I LOVE the snow! Does it snow in the winter where you live? Make this cheerful snowman fridge magnet for ...More

If your crochet blanket square smells like almonds...run. ...More

Need a holiday helper? Make this adorable elf fridge magnet for your fridge or magnet board. They'll happily hang on ...More