Free Crochet Patterns
Find the perfect, free crochet pattern for your next project! Browse them all, or select a category from the dropdown menu. Where will your creativity take you today?

Let's make some cookies! The other day, I wanted some cookies for a photo prop, and there were no actual ...More
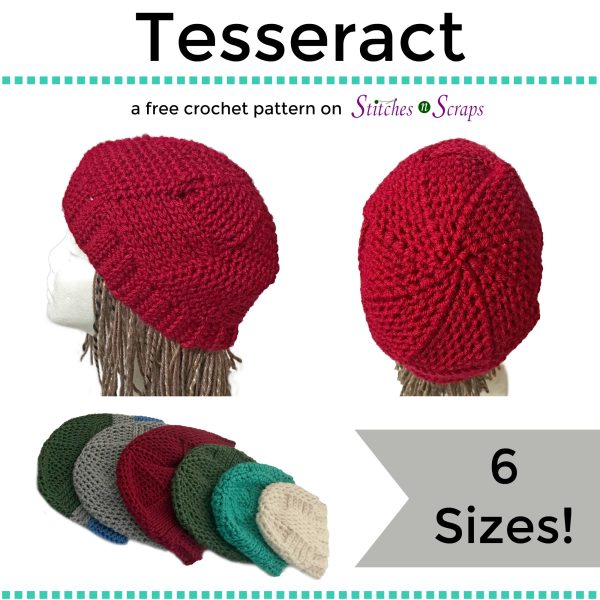
Blocks of alternating textures twist around this fun to make hat, capped off with a spiral design. Available in 6 ...More
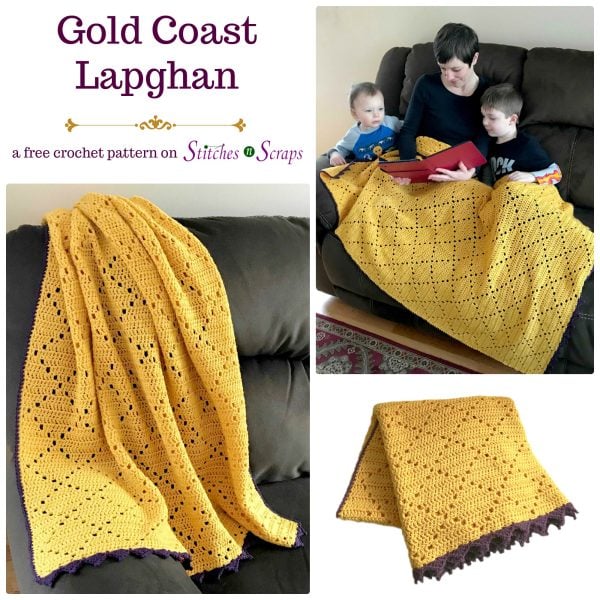
Throw it over a couch or chair for the perfect designer accent, or snuggle up under it for some cozy ...More
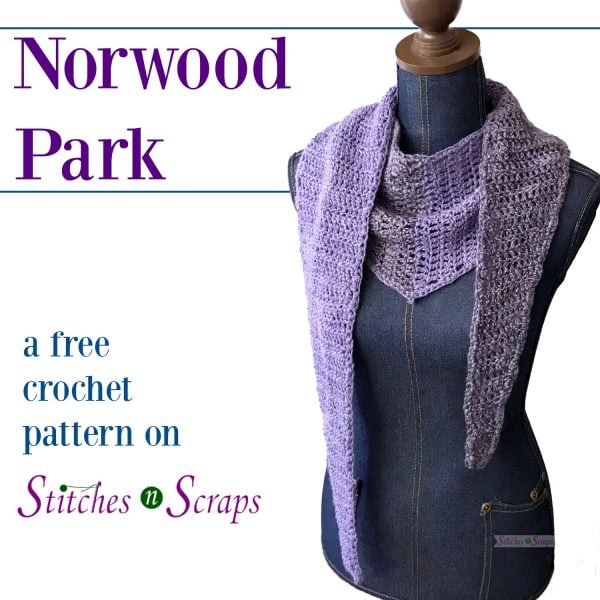
Norwood Park combines color blocking with a unique, asymmetrical, "V" shape. Lightweight yarn and tapered ends make it light enough ...More

Take in a lakefront stroll with the Edgewater bag. This roomy, felted purse is equally at home on the beach, ...More

With its urban style and a casual fit, the comfy, New Eastside cardigan may become your go-to jacket for spring ...More

Fall in love with the delicate, lacy texture of the Tryst crochet pillow! Tiny triangles inside of triangles give the ...More
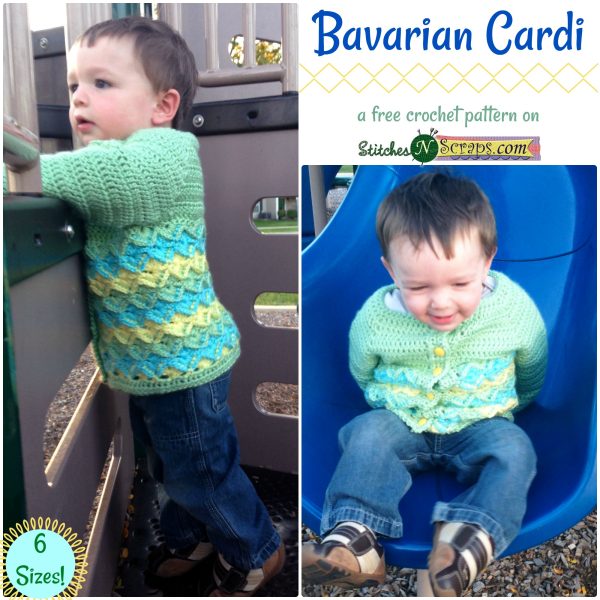
Comfy and warm, the Bavarian Cardi is heavy enough for layering on cold winter days. The stitch pattern is fun ...More
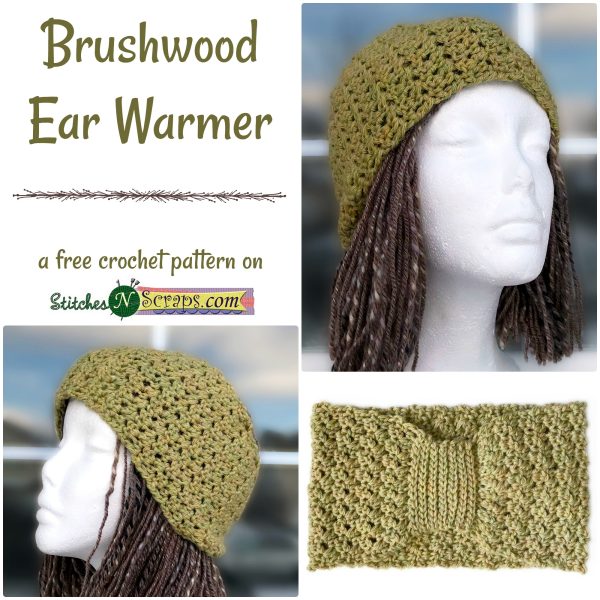
Stay warm in style with this cozy ear warmer! This beginner friendly pattern features a fun and easy texture stitch. ...More

Keep your hand warm and cozy while scraping ice off your windshield! The ribbed texture stretches to accommodate most basic ...More