Free Crochet Patterns
Find the perfect, free crochet pattern for your next project! Browse them all, or select a category from the dropdown menu. Where will your creativity take you today?

Halloween decorations, pumpkins, and trees kissed with hints of orange and brown - all sure signs that Autumn is settling ...More

Wrap yourself in tranquil, gently shifting shades of blue. This beginner crochet scarf pattern uses only single crochets and chains, ...More
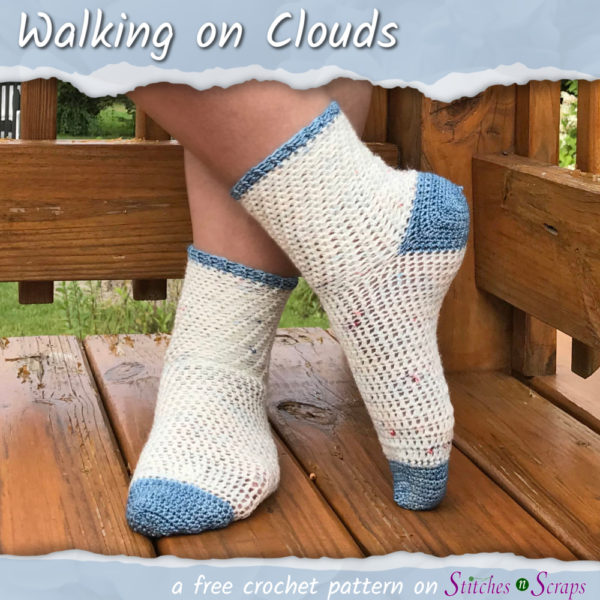
Treat your feet to these super soft, cushy, socks! This crochet socks pattern is great for first time sock crocheters, ...More

Add a peg doll angel to a holiday display, on the tree, or as a gift. This crochet angel pattern ...More

Wash up with this lightly textured, corner to corner crochet dishcloth. The bright colors and simple texture works equally well ...More
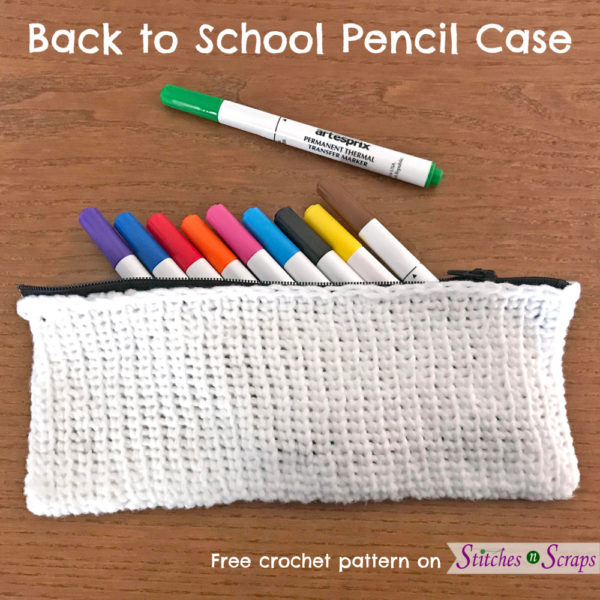
It feels like summer came late this year, so it's hard to believe it's back to school time already! Whether ...More

Give the gift of warmth this holiday season with Simply Slippers! This easy, crochet slippers pattern comes in 4 adult ...More
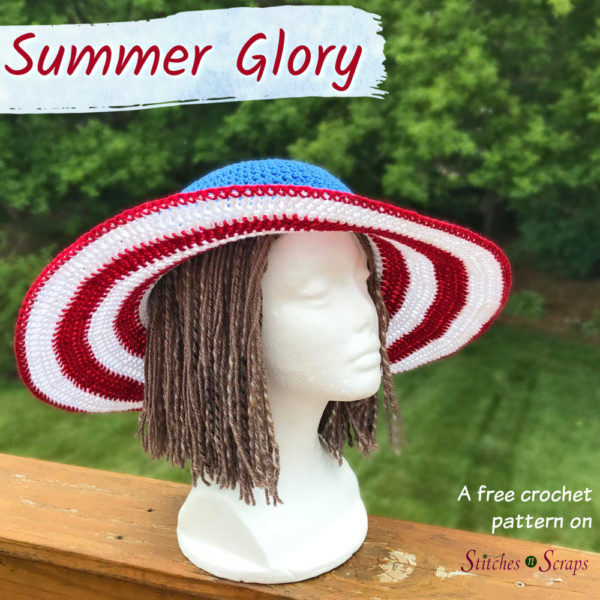
Fireworks, gardening, a walk on the beach, or a summer concert - whatever takes you outdoors this summer, bring your ...More
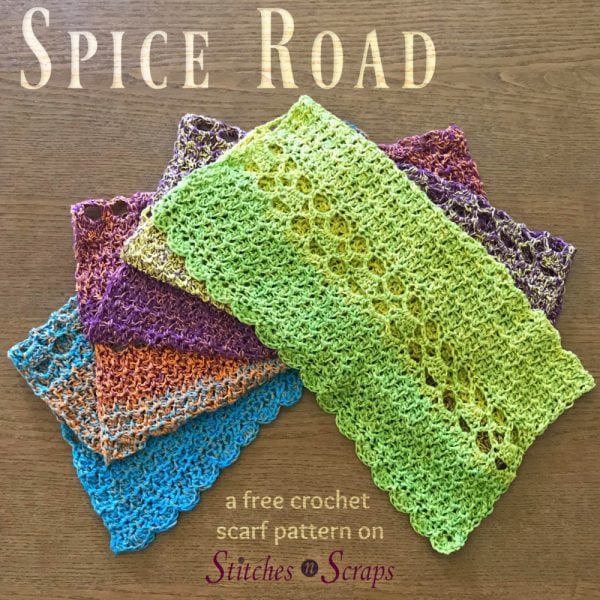
Follow the ancient spice roads across land and sea, to the rich, earthy colors of cinnamon, cardamom, ginger, and turmeric. ...More
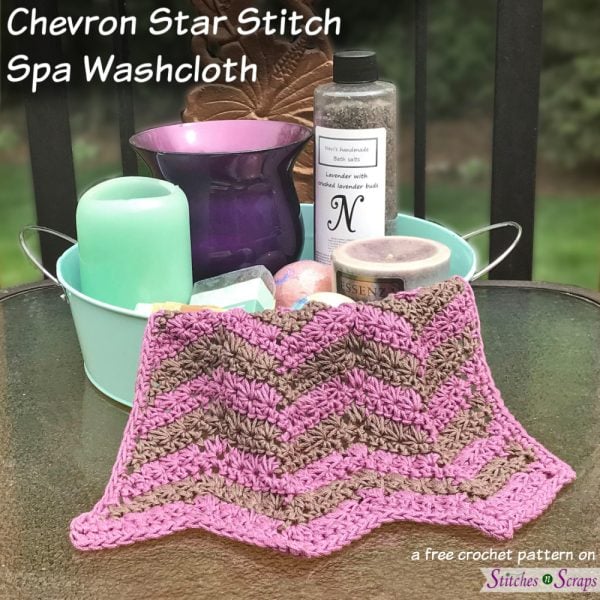
Treat yourself to a spa day with the Chevron Star Stitch Spa Washcloth. Bold chevron stripes and a rich texture ...More