Free Crochet Patterns
Find the perfect, free crochet pattern for your next project! Browse them all, or select a category from the dropdown menu. Where will your creativity take you today?

Early spring brings some crazy weather. It can go from sunny and warm to windy and cold, sometimes even in ...More

The snow may still be falling here and there, but spring is pushing through anyway. Bring a touch a spring ...More

Embrace the offbeat with the far out, beatnik basketweave beanie. This crochet hat combines Tunisian and regular crochet techniques together, ...More
Wrap yourself in warmth with the fast and easy, Chevron Stripes Ruana! Through Spring and Fall, and even milder winter ...More

Don't let colder weather ruffle your feathers! Stay warm with the Snowbird cowl. This easy, crochet cowl pattern has a ...More

Welcome guests with a jingle when you hang this mini crochet Christmas wreath on your door! Hang one on your ...More
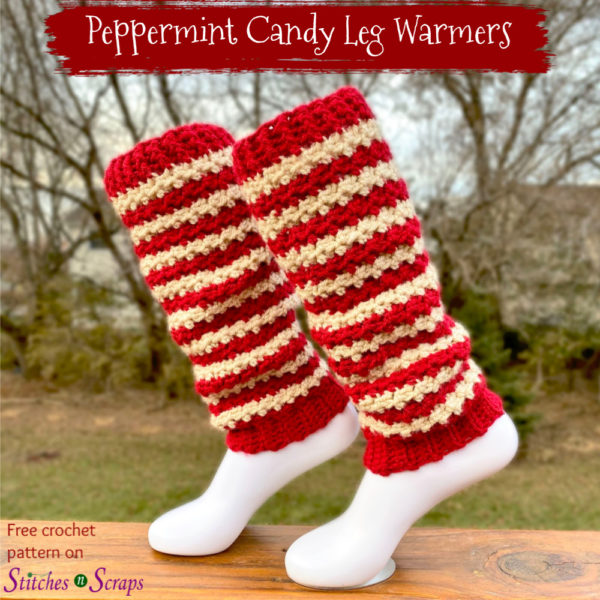
Make crochet leg warmers that really fit! All-over stretch, combined with mix and match size and shape options make these ...More

This small crochet bag is big on style! Contrasting accents, rich texture, and a folded cuff add a unique, personal ...More
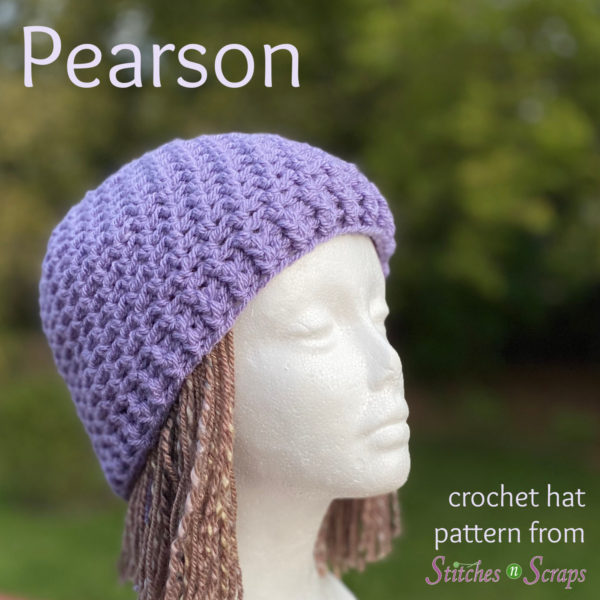
Warm up with the squishy, soft texture of the Pearson hat. I originally designed this crochet chemo cap for a ...More

Explore the shifting, layered textures of the Supernova Square. A starburst at the center sets this crochet afghan block in ...More