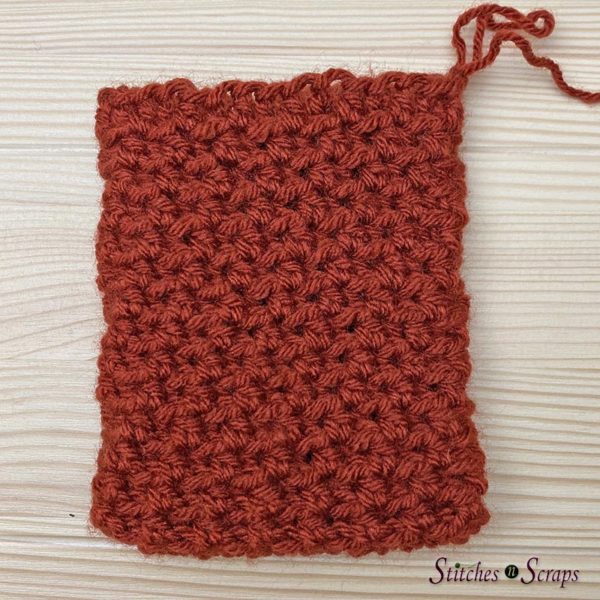
Small Crochet Bag Pattern – Textured Treat Bag
This small crochet bag is big on style! Contrasting accents, rich texture, and a folded cuff add a unique, personal touch to your gift giving any time of year. Use this textured treat bag for candy, gift cards, or other small items.

Mini-Mystery Crochet Along
This pattern was originally released in 3 parts, as a mini crochet along in collaboration with Jennifer of A Crocheted Simplicity. She does a series of these Mini-Mystery Crochet Alongs, and this was my first time participating. It was a lot of fun! Be sure to check out her MMCAL info page for more information on how they work, and how you can join in next time.
This post contains sponsored content and/or affiliate links. If you click an affiliate link and make a purchase, I may get a commission.
Yarn Selection
This small crochet bag is pretty flexible as far as yarn choice goes. It will work with acrylic, cotton, wool, or other fibers. You may want to choose a yarn that won’t sag too much if a little weight is put on it, but other than that, anything goes! You can even use a different size of yarn, though it will affect your finished dimensions and the amount of yarn needed.
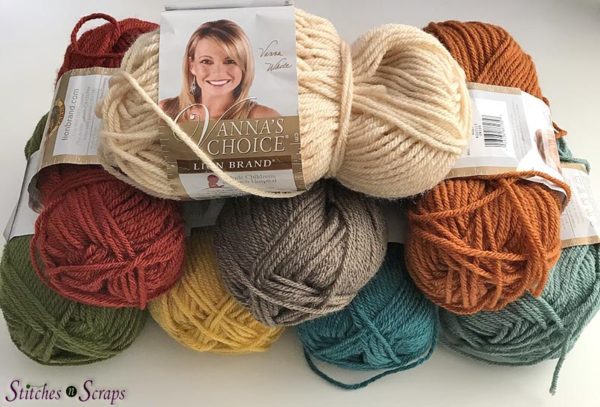
I used Lion Brand Vanna’s Choice yarn. Lion Brand originally sent me this yarn for free for another design, and I have quite a bit left over. The Brick color (#133) is a warm red that I love for this time of year. Paired with Beige (#123), it works equally well for both fall and winter holidays.
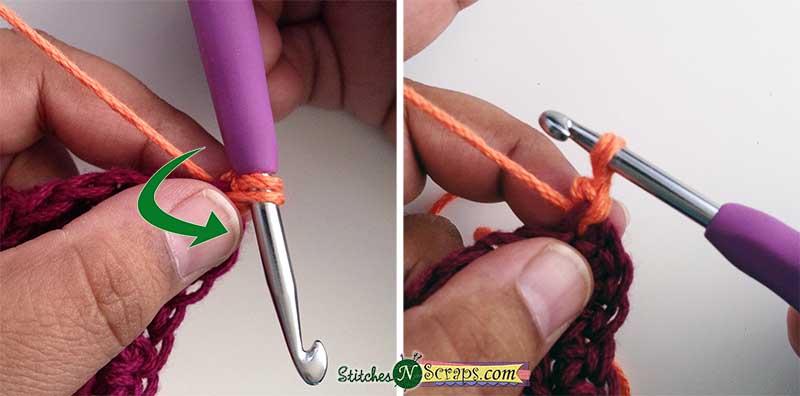
Working into the 3rd loop
The textured first section of this small crochet bag is created by alternating between normal half double crochet stitches, and half double crochet stitches worked into the third loop. The third loop is in the back, and just below the front and back loops that we normally work into.

For a more detailed look at working into the third loop of hdc, see this tutorial
Textured Treat Bag


Add this to your Ravelry queue
Materials
- Yarn: Worsted weight yarn
- 60 yds main color (A)
- 10 yds accent color (B)
- Hook: Size H/8 5mm crochet hook or size needed to match gauge.
- Notions:
- Yarn Needle
- Several stitch markers, or a scrap of yarn to use as a running stitch marker (optional)

Project Level
Intermediate: Working in the round and in rows, working in third loops only, and crab stitch or twisted single crochet.
Size
4 x 6 inches
Gauge
12 hdc x 9 rows = 4 inches. Use pattern as gauge swatch. At the end of rnd 15, your work should measure approximately 4 inches wide x 5.25 inches tall. Exact gauge is not critical.
Abbreviations used
(Pattern is written in US terms)
ch = chain
sc = single crochet
hdc = half double crochet
tlo = third loop only
st(s) = stitch(es)
sl st = slip stitch
sk = skip
sp = space
ch sp = chain space
RS = right side
WS = wrong side
Recommended Resources
- Working into the third loop of half double crochet
- Why Continuous Rounds Shift
- Continuous Rounds and Running Stitch Markers
- Crab Stitch and Twisted Single Crochet
Special Stitch
Twisted single crochet: Insert hook into next st and draw up a loop, as for a normal single crochet. Twist hook counterclockwise, so that the two loops on your hook twist around each other. Finally, yarn over and pull through both loops on hook. See this tutorial for a more in depth look at this stitch.
Instructions
Bag
This main portion of the bag is worked in continuous rounds. Do not join or turn unless indicated. Mark the first stitch of each round.
With A, ch 16
Rnd 1: Sc in 2nd ch from hook, hdc in each remaining ch across, rotate to work in bottom of chains, hdc in each ch across. (30 sts)

Rnds 2 – 15: (Hdc in next st, hdc in tlo of next st) around.
Partial round / adjustment: (Hdc in next st, hdc in tlo of next st) 3 times, sc in next st, sl st in next st.
The partial round adjusts for the natural shift when working in continuous rounds. It should bring you to the side edge of your piece. This adjustment is only done once, at the end of the segment. Your work should now measure approximately 4 inches wide and 5.25 inches tall.
Cuff
Make sure your working loop is at the side edge of your work, as shown above, before starting the cuff. You may find it helpful to mark the ch-1 sps on rnds 16 and 19 with scraps of yarn, as they can be hard to see later.
Rnd 16: Ch 1, sc in first 4 sts, (ch 1, sk next st, sc in next 2 sts) around to last 2 sts, sc in last 2 sts, join with sl st to first st. (22 sc, 8 ch-1 sps)
Rnd 17: Ch 1, hdc in each st and ch-1 sp around, join with sl st to first st. (30 hdc)
Rnd 18: Ch 1, (hdc in next st, hdc in tlo of next st) around, join with sl st to first st, sl st in next st. (30 hdc).
For the remainder of the cuff, you will be working on the wrong side.
Rnd 19 (WS): Ch 1, TURN, sc in first st, (ch 1, sk next st, sc in next 2 sts) around to last 2 sts, ch 1, sk next st, sc in last st, join with sl st to first st. (20 sc, 10 ch-1 sps)
Rnds 20-21: Do not turn. Repeat rnds 17-18, change to color B and fasten off A at the end of rnd 21.
Edging
Choose one option below. See this tutorial for a more in depth look at these two options
Option 1 – Crab stitch: Ch 1, do not turn, working from left to right (or opposite your normal direction of work), sc in each st around. (30 reverse sc)
or
Option 2 – Twisted sc: Ch 1, do not turn, twisted sc (see Special Stitches) in each st around. (30 twisted sc)
Fasten off, sew tail through beginning of edging round to join.
Weave in all ends.

Drawstring
With B, Ch 80, sl st in back bump of each ch across, fasten off.
Assembly
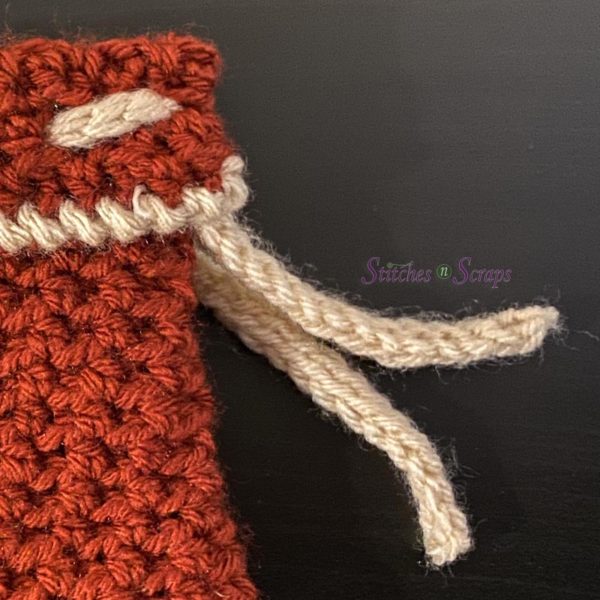
Fold top of cuff down so that the ch-1 sps from rnds 16 and 19 match up. Rnd 19 has an extra ch-1 sp at the start and end of the round.
Bring drawstring up, from bottom to top, through the first (extra) ch-1 sp on rnd 19.
Now working through both layers, weave drawstring up and down through the ch-1 sps around to the last (extra) ch-1 sp.
Bring drawstring down through the last (extra) ch-1 sp on rnd 19. Adjust drawstring so ends are even.
The two ends of the drawstring should now stick out from between the layers, while the rest goes through both layers. Pull both ends of drawstring to close bag.
Rate this Crochet Drawstring Bag Pattern!
I hope you enjoyed this Textured Treat Bag pattern. A downloadable pdf of this pattern is available on Ravelry for a small fee. The fee for the pdf format is to offset the advertising revenue lost when you print or download the pattern rather than viewing it online.
Do you want the best of Stitches n Scraps delivered right to your inbox? The Stitches n Scraps email newsletter includes highlights from the blog as well as special features not available elsewhere. Don’t miss a stitch – Subscribe now!


You May Also Like
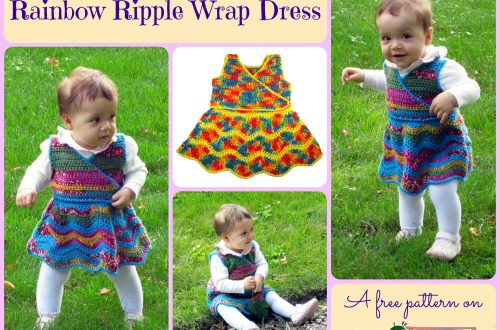
Free Pattern – Rainbow Ripple Wrap Dress
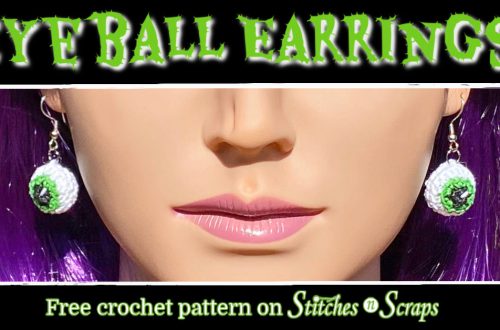
Halloween Crochet Pattern – Eyeball Earrings
