Free Crochet Patterns – Home Décor
Find the perfect, free crochet pattern for your next project! Browse them all, or select a category from the dropdown menu. Where will your creativity take you today?

Bobble "pearls" dance in intertwining lines over a plain background, forming circles to cradle a centerpiece or other table decorations. ...More

Need a sturdy, stylish storage solution? Make this drawstring basket! Tight stitches in a unique combination of yarns makes it ...More

I love this style of sweeper/mop, but the disposable cloths get expensive over time. A reusable sweeper cover is so ...More

Get cozy with the textured crochet stripes pillow! This quick and easy pattern combines bulky yarn with subtle stripes of ...More

I LOVE the snow! Does it snow in the winter where you live? Make this cheerful snowman fridge magnet for ...More

Need a holiday helper? Make this adorable elf fridge magnet for your fridge or magnet board. They'll happily hang on ...More

Keep your hands toasty warm, without burning them on hot drinks. This hand warmer coffee cup cozy protects your hand ...More
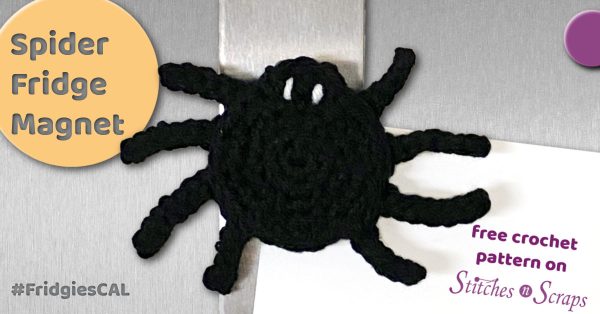
It's creepy, it's crawly, but it's oh so cute! Make this adorable spider fridge magnet for your fridge or magnet ...More
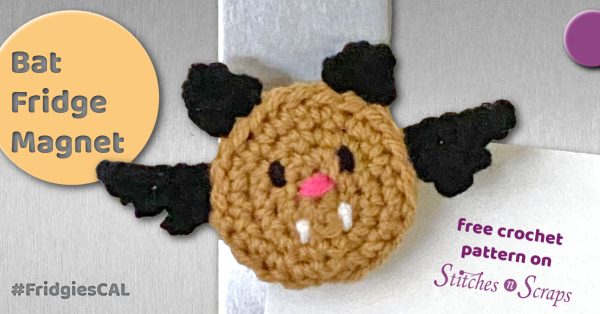
This little bat fridge magnet is trying hard to be spooky, but they're just too cute! Make your own sweet ...More

Dress up your table or shelf with this scrappy, cabled runner! Three separate cables twist along the length of this ...More