Crochet Technique and Stitch Tutorials
Tutorials for crochet techniques and stitches, not entire patterns.
-
Tutorial – Crocheting with Beads (pre-strung)
Ready to add a bit of sparkle to your crochet? There are several different ways to add beads to crochet, and all end up having a slightly different effect. In this tutorial we're looking at crocheting with beads that have been pre-strung. This means we string the beads onto the yarn first, and then work them in as we go along.
-
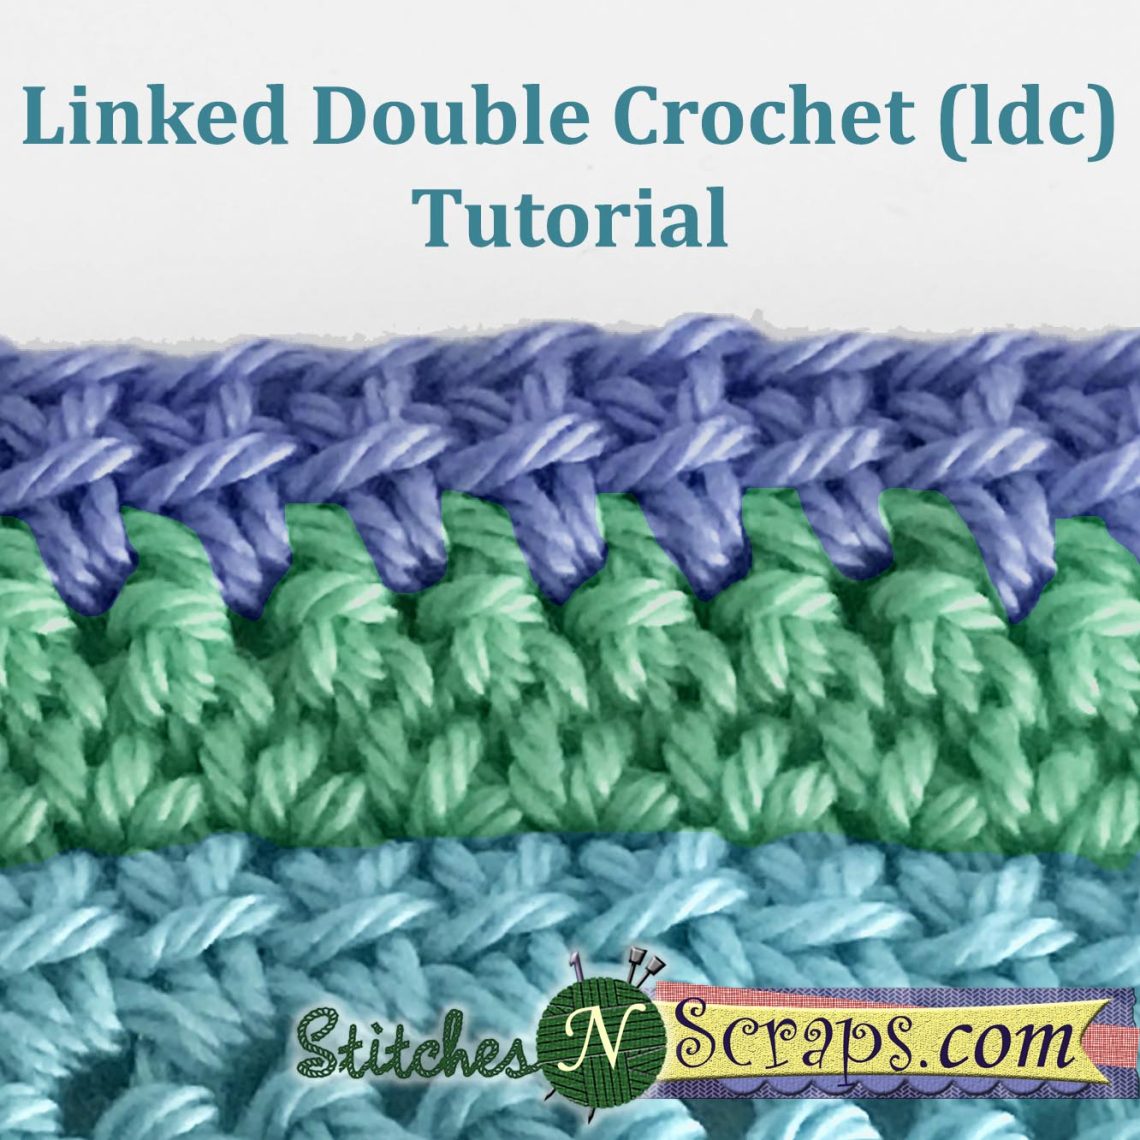
Tutorial – Linked Double Crochet (ldc)
Double crochets are fast and easy, but for some applications they are too loose and leave unwanted gaps. Linked double crochet (ldc) stitches close those gaps by linking the stitches together in the middle. This creates a firmer, denser fabric that's not quite as stiff or thick as single crochet. I love ldc for borders on lacier items. It can add shape and structure to an otherwise floppy piece, while creating a decorative edge. It's also great for things like pockets where you still want a little drape, but want to limit gaps.
-
Tutorial – Puff Stitches
Puff stitches are soft, squishy, versatile, and easy to make. Learn how with this tutorial!
-
Tutorial – Introduction to Bruges Lace
Welcome to the New Year, New Technique CAL! This week's technique is Bruges lace, and one of the patterns is my Bruges Lace Napkin Ring. If you've never done Bruges lace before, this pattern is a wonderful introduction.
-
Tutorial – Split / Center Stitches in the Round
Split or center stitches are just like normal stitches except for where you place your hook. It's much easier to work split stitches from the right side than from the wrong side, so they're particularly great for working in the round without turning your work. Normal stitches are staggered between the stitches from previous rounds. As we've discussed before, this can cause the rounds to shift. Split stitches, on the other hand, line up directly above the stitches below them, so there's no shifting!
-
Tutorial – Herringbone Half-Double Crochet Decrease
Earlier, I showed you how to do the herringbone half-double crochet stitch (hhdc). If you're not familiar with the hhdc stitch, please take a look at that tutorial first. Now let's look at how to decrease (and increase too) in hhdc.
-
Tutorial – Herringbone Half-Double Crochet (hhdc)
The herringbone half-double crochet stitch creates a lovely, reversible texture, with stitches leaning to the left on one row and the right on the next row. It sounds much more complicated than it is. It’s really just a slight variation on the half-double crochet. Herringbone Half-Double Crochet (hhdc) – Photo Tutorial: (scroll down for video tutorial) Half Double Crochet (hdc) Let’s first look, in detail, at how a normal half double crochet works. As you know, you start with a yarn over, then insert your hook in the next stitch, yarn over and pull up a loop. In the picture below, the purple loop is the one that was already on the…
-
Tutorial – Changing Colors
When changing colors, the goal is (usually) to get a nice, clean edge between your color sections. You don’t want to end up with any part of the first color showing in the stitches of the 2nd color. Changing Colors – Photo Tutorial: (scroll down for video tutorial) Here I have a row with a few single crochet, and I’m going to change from green to blue. Take a look at the green working loop that comes out of the last stitch. That loop is going to become the top of the next stitch. If we just start the next stitch with blue, we would end up with the bottom of the stitch…
-
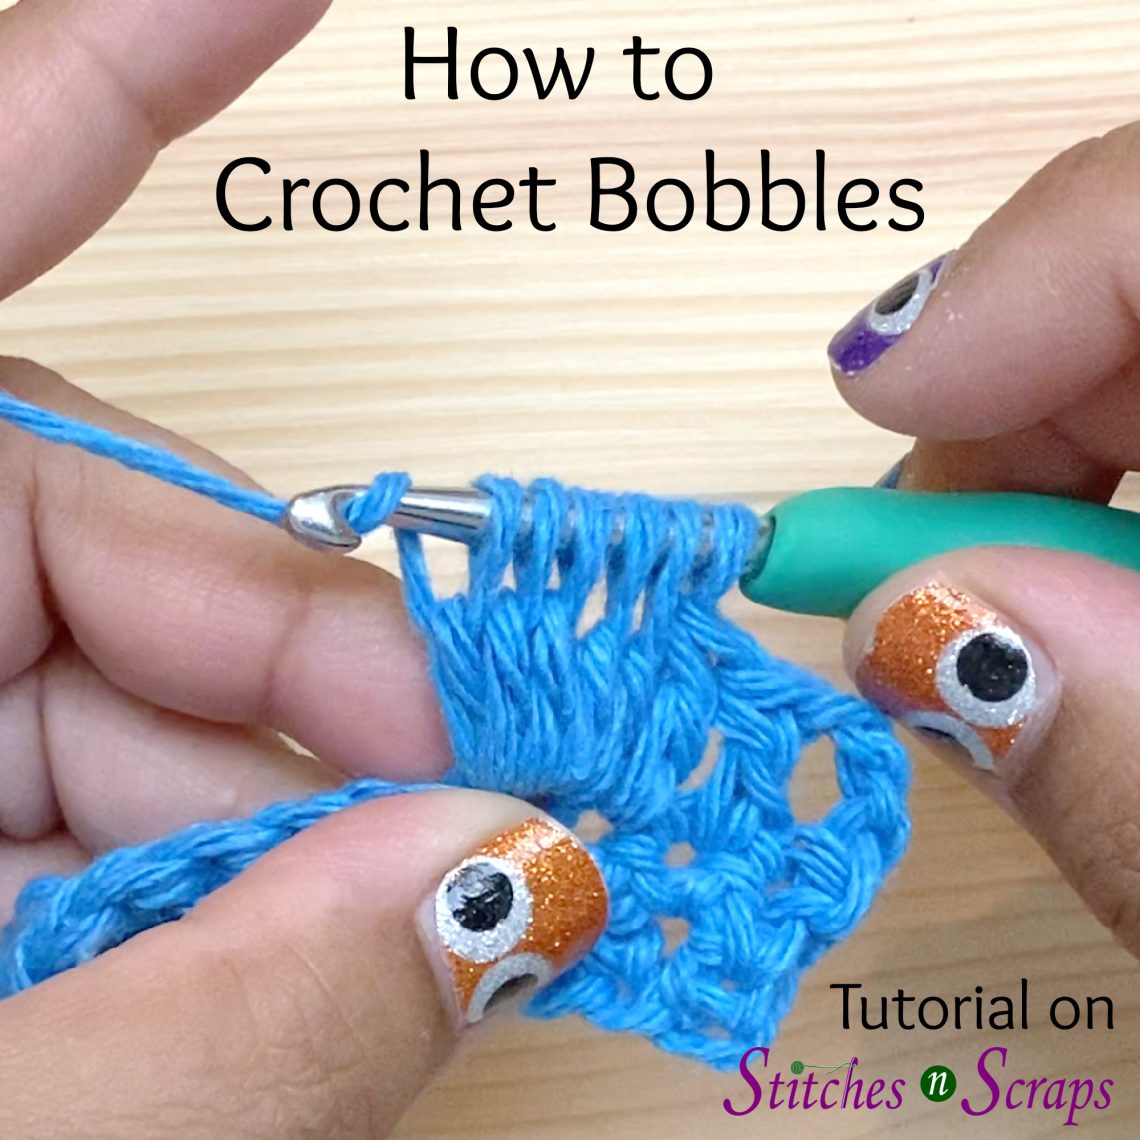
How to Crochet Bobbles – Photo and Video Tutorial
Bobbles, sometimes called clusters, are a wonderful way to add texture to a project. They are more of a technique than a specific stitch, because there are so many ways to make them. Learn how to crochet bobbles, and some of the things you can change to achieve different looks.
-
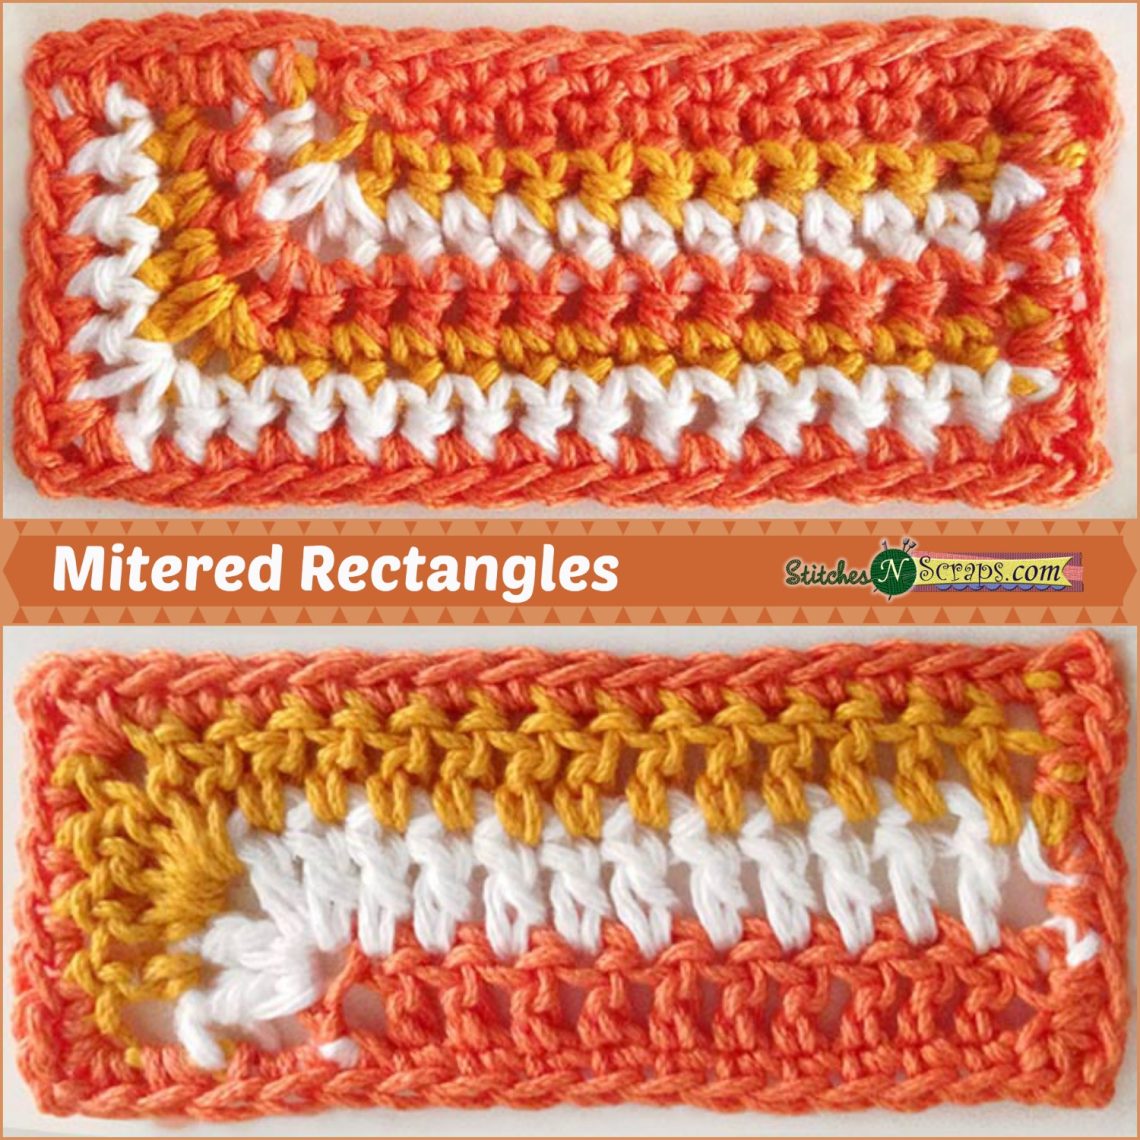
Tutorial – Crochet Mitered Rectangles
Last week we talked about mitered squares. You can use a similar technique to create mitered rectangles, though it does require a little extra planning up front. Sc Mitered Rectangle: With a mitered rectangle, the first row defines the proportions. So to start, we need to decide what we want those proportions to be. What you’re looking for is the final stitch count that you want on each side (not counting the edging). You can determine this by taking your desired length and height, and multiplying those by your stitch gauge to find out how many stitches you need on each side. For this tutorial, let’s make a rectangle that is…