Crochet Tutorials
Crochet tutorials
-
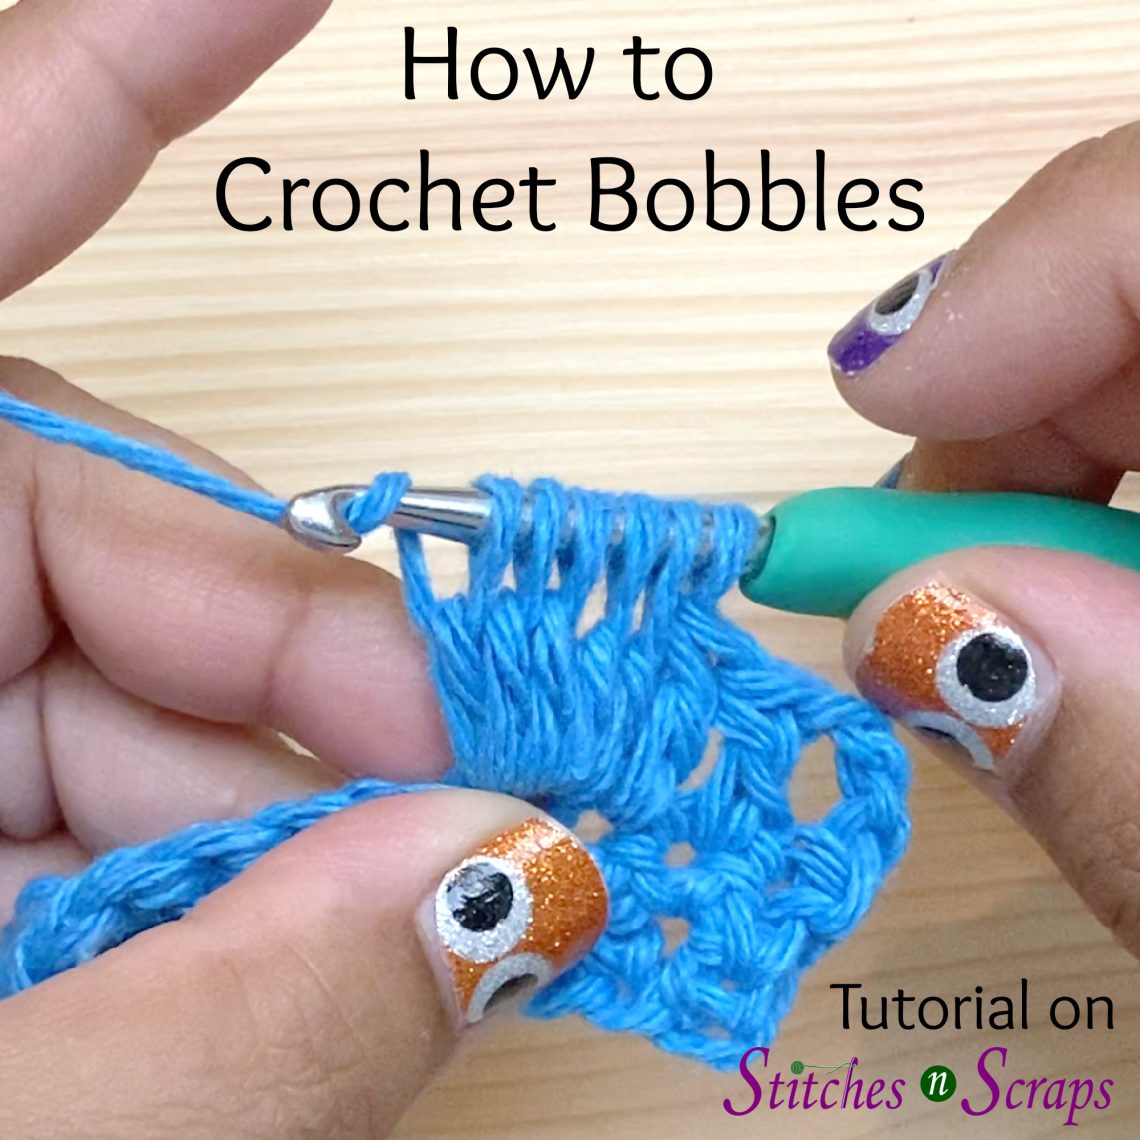
How to Crochet Bobbles – Photo and Video Tutorial
Bobbles, sometimes called clusters, are a wonderful way to add texture to a project. They are more of a technique than a specific stitch, because there are so many ways to make them. Learn how to crochet bobbles, and some of the things you can change to achieve different looks.
-
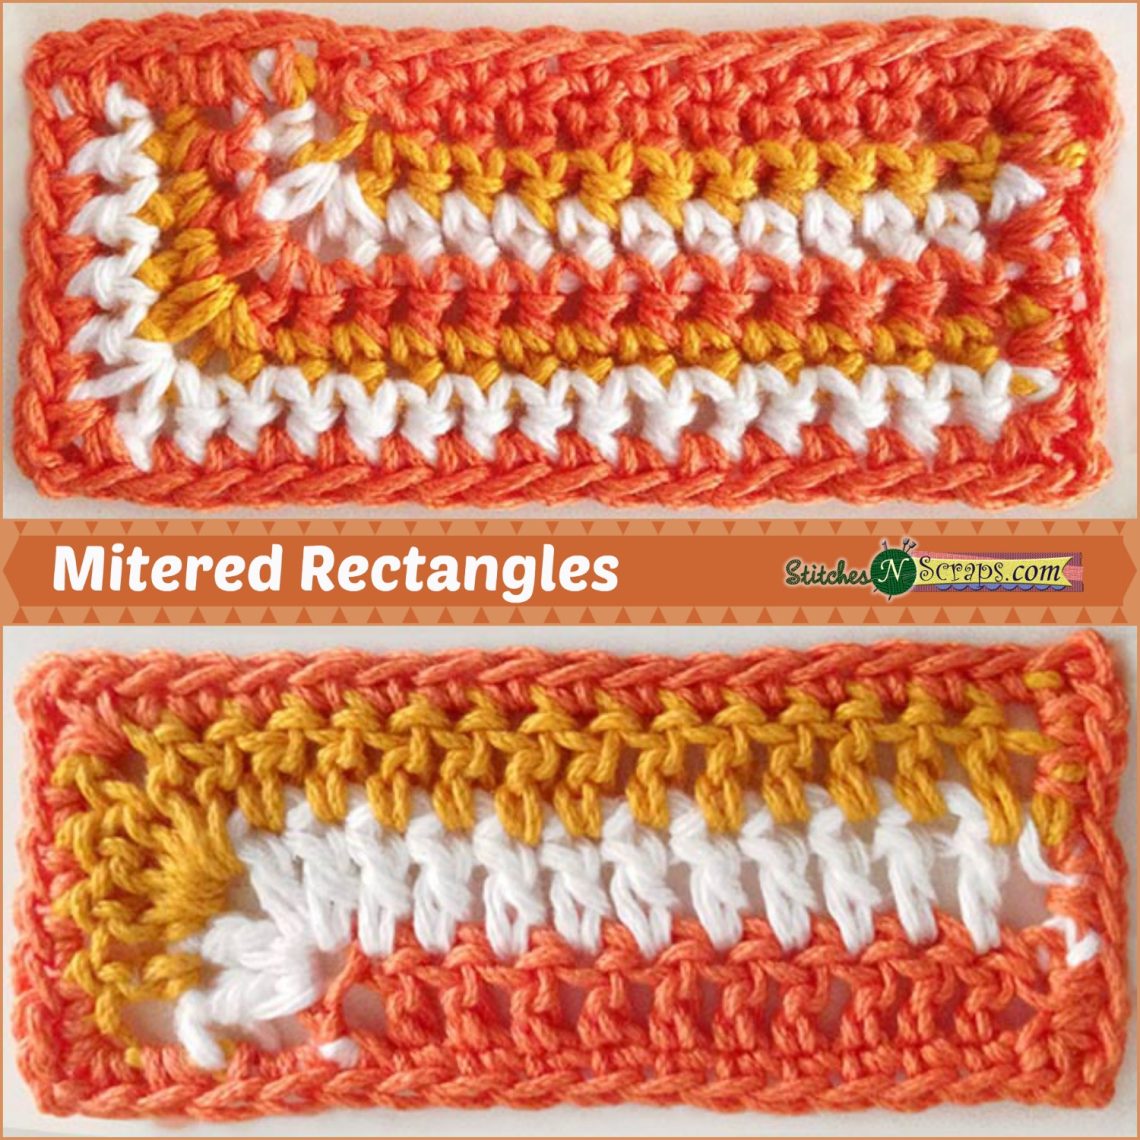
Tutorial – Crochet Mitered Rectangles
Last week we talked about mitered squares. You can use a similar technique to create mitered rectangles, though it does require a little extra planning up front. Sc Mitered Rectangle: With a mitered rectangle, the first row defines the proportions. So to start, we need to decide what we want those proportions to be. What you’re looking for is the final stitch count that you want on each side (not counting the edging). You can determine this by taking your desired length and height, and multiplying those by your stitch gauge to find out how many stitches you need on each side. For this tutorial, let’s make a rectangle that is…
-
Edging – Jacob’s Ladder
I’m mildly obsessed with Jacob’s ladders. Ever since I did the Jake’s Blankie Crochet-Along last year, I’ve been hooked. I used Jacob’s ladders in my Jacob & Julia bracelet, in my Accidental Beanie, and in my Criss Cross Applesauce square. I love the chunky, braided look, and the versatility of this stitch. A bold, Jacob’s Ladder edging just seemed like the perfect way to wrap up our 6 week discussion on crochet edgings. Basic Jacob’s Ladders: The idea of a Jacob’s ladder is to make a series of loops, and then chain those loops together. The loops can be made with chains, or with very tall stitches. If you’re working…
-
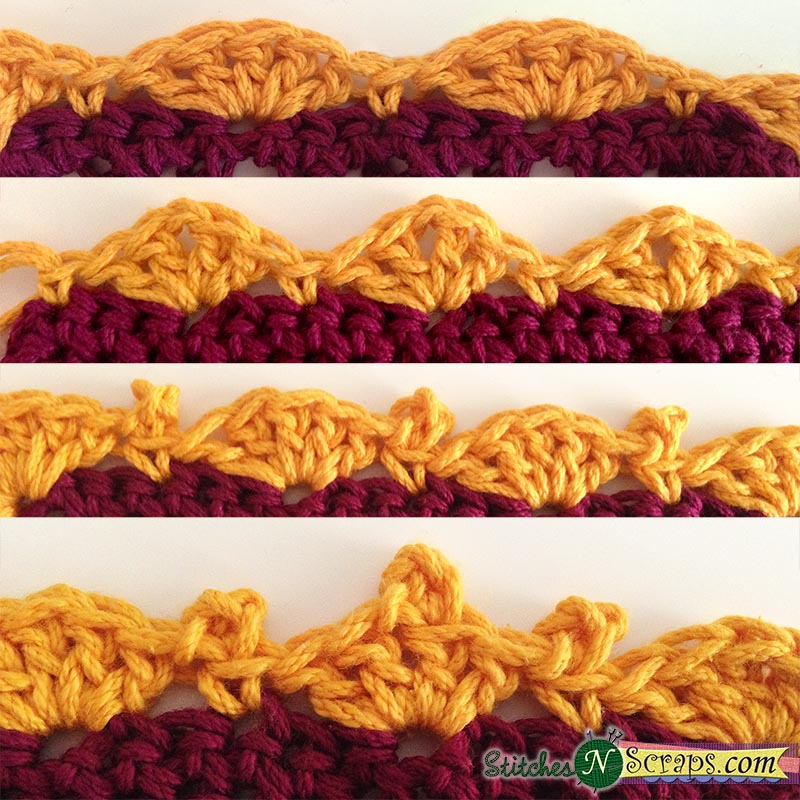
Edging – Shells and picots
Shells or fans are very popular for a decorative edging. If you get them spaced properly, they will lie flat and create a nice scalloped edge. Picots work well with shells too, and can add a little extra elegance and interest.
-
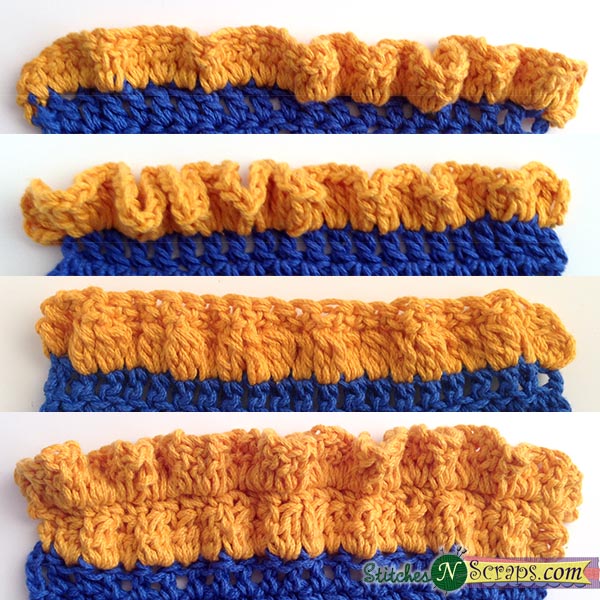
Edging – Ruffles
This week, let’s get frilly! Ruffles are a fun and versatile way to edge your projects. Almost any stitch pattern can become a ruffle. The key is to work extra stitches into every stitch. Simple DC Ruffles If you’ve seen my Anemone blanket, you’ve seen a basic double crochet ruffle. To make this edge, I just worked 2 dc in each stitch. This ruffle isn’t particularly full – since this is a baby blanket, I wanted something that wouldn’t catch on little crawling fingers and toes. You can make a ruffle as flat or as full as you want to, by adding more or fewer stitches. Here is a comparison…
-
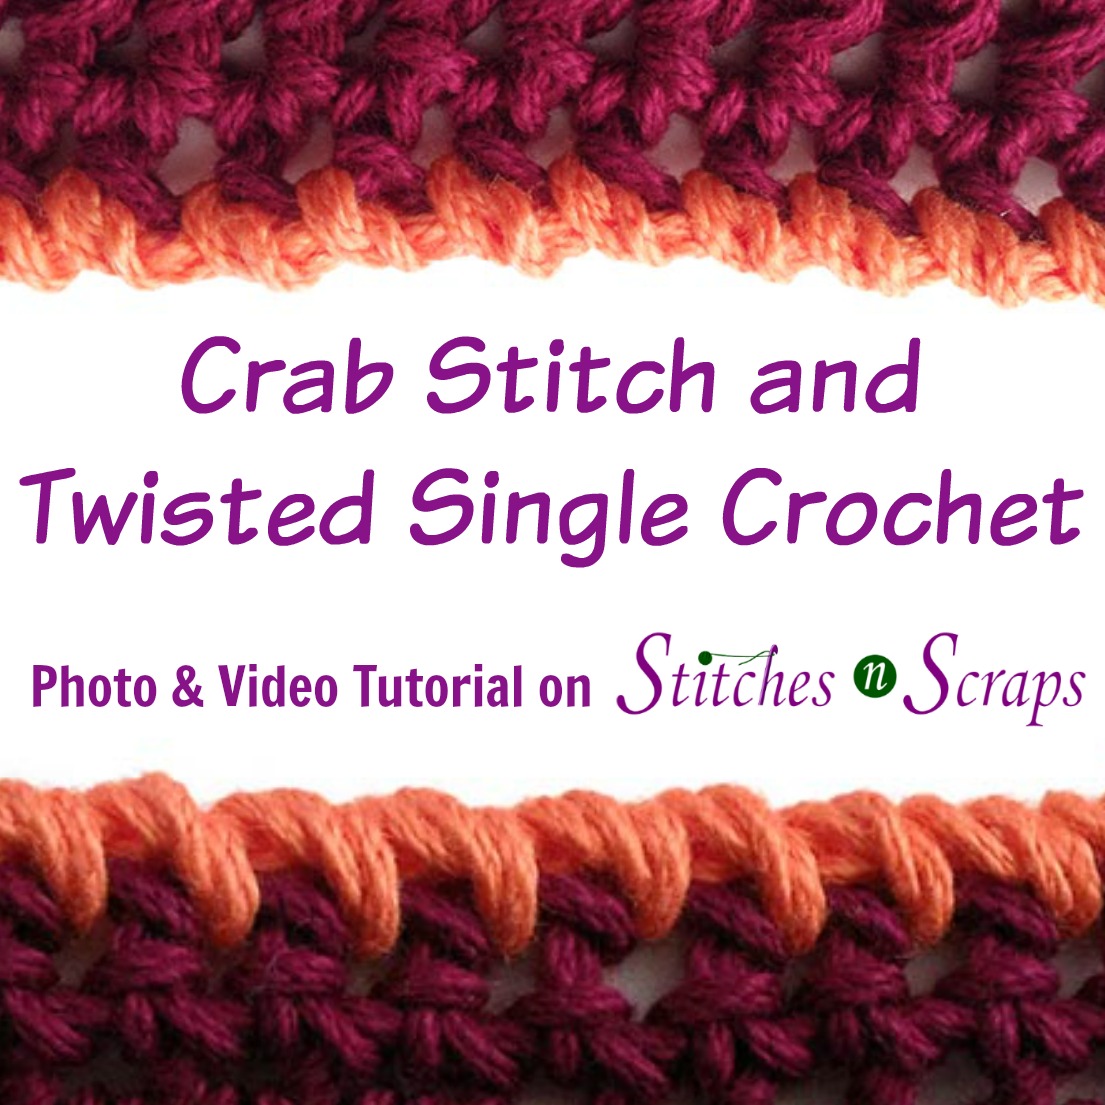
Edging – Crab Stitch & Twisted SC
Crab stitch was one of the first decorative, single row edgings I learned. It creates a rope like edge by working backwards (from left to right). I recently learned a stitch called the twisted single crochet, which creates a very similar edge, but working forwards. Crab Stitch (Reverse Single Crochet) The instructions are simple – single crochet in each stitch, working from left to right. Actually doing it can be a bit awkward. For the first stitch, just make a single crochet as you normally would. Now without changing anything, insert your hook into the next stitch to the right (instead of to the left). The loop on your hook will naturally…
-
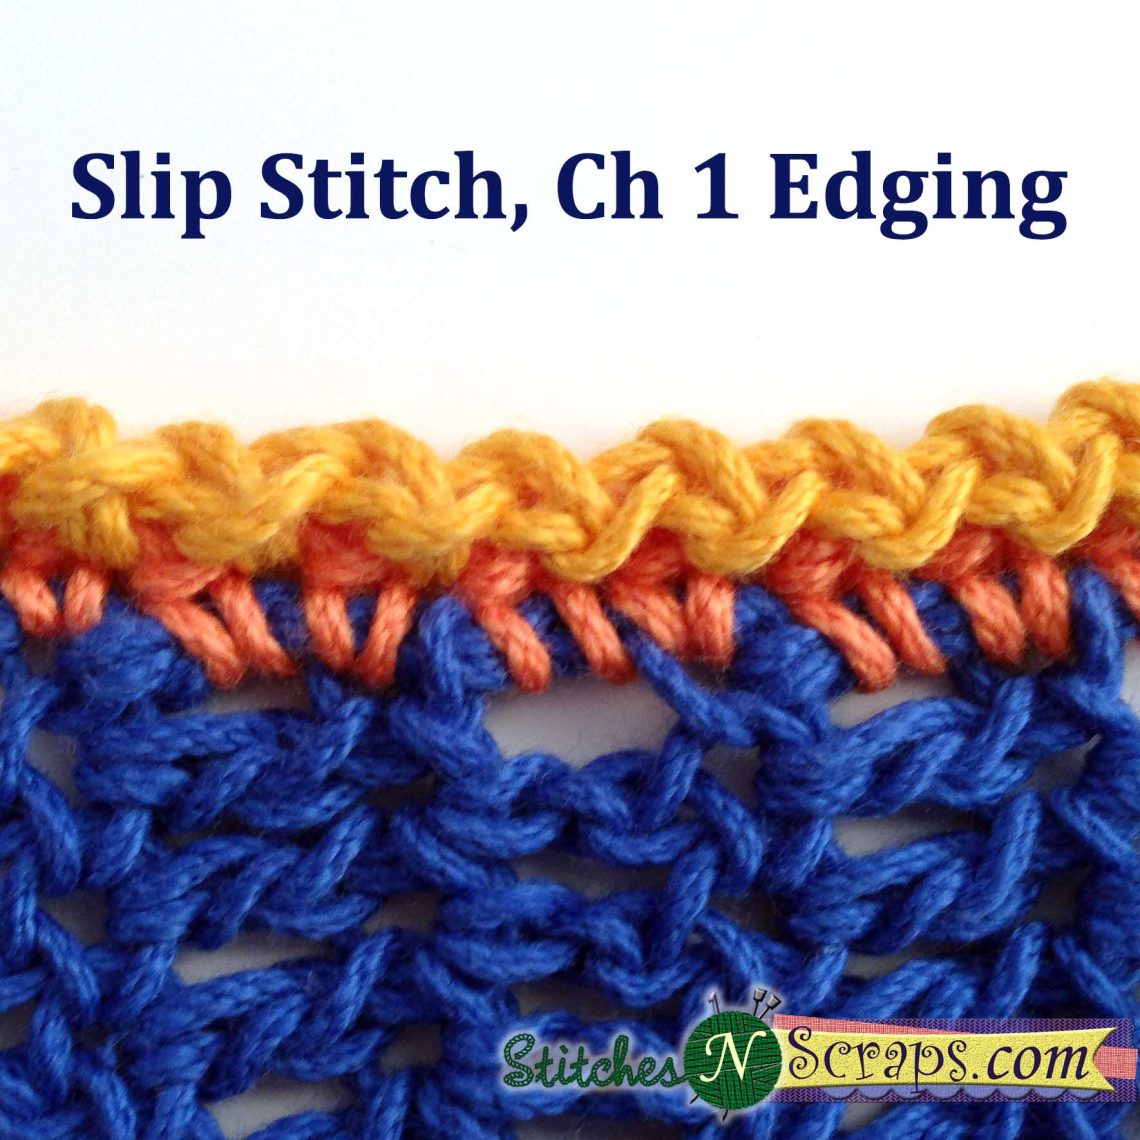
Edging – Slip Stitch Edgings
One very popular edging technique is the slip stitch edging. It’s easy to do and creates a nice, finished edge without adding a lot of bulk or length. By adding a chain between the stitches, you can get an entirely different, stretchier edging. Basic slip stitch edging For this edging, just slip stitch into every stitch.The slip stitches form a 2nd layer of V shapes along the edge, matching the V shapes already there on top of your last row of stitches. You can get 2 different effects, depending on the direction of your work. Here I have worked the yellow row of slip stitches in the same direction as the previous…
-
Edging – Working Evenly Across/Around
Many edgings start by working evenly across or around the edge of your project. To make this edge nice and even, you need to work the right number of stitches, and space them evenly. If your stitches are too close together, you’ll end up with a ruffled effect. If they are too far apart, it will pucker. When using a pattern, it should tell you how many stitches to work. It may even give you an idea of how to space them. If you’re doing your own thing though, or if you’ve made any adjustments to the pattern, you may need to calculate this for yourself. Calculating the number of stitches For squares,…
-
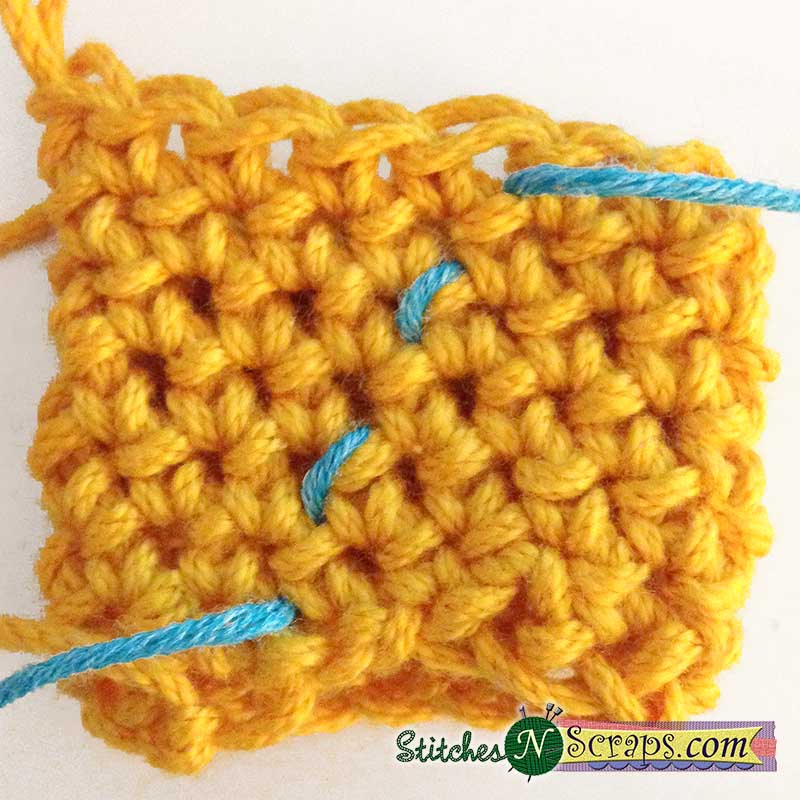
Tutorial – Why Continuous Rounds Shift
Yesterday, we looked at crocheting in continuous rounds and using a running stitch marker. The stitch marker shows clearly that the first stitch of the round shifts slightly to the right (or left, if you’re left handed) with each round. Why does this happen? Let’s look at the way the stitches are lined up in the middle of this swatch. If we look at the posts of the stitches (which in this case are the little V shapes, since this is single crochet), you will see that they don’t line up. In fact, each stitch sits in-between the two stitches below it. Looking at the current round, you can see how this works.…
-
Tutorial – Continuous rounds and running stitch markers
What are continuous rounds? Continuous rounds are a way to work in the round without ever joining or turning your work. When you finish one round, you simply continue working around again. There’s no slip stitch and no chain to start the next round, so there is no visible “seam”. Also, since you never turn, you will always be working on the right side of the fabric. These two characteristics make this an ideal technique for amigurumi, and it’s often used for things like hats and socks as well. Without a visible joining, it’s extremely important to mark the first stitch of each round. You can use a normal stitch marker and move…