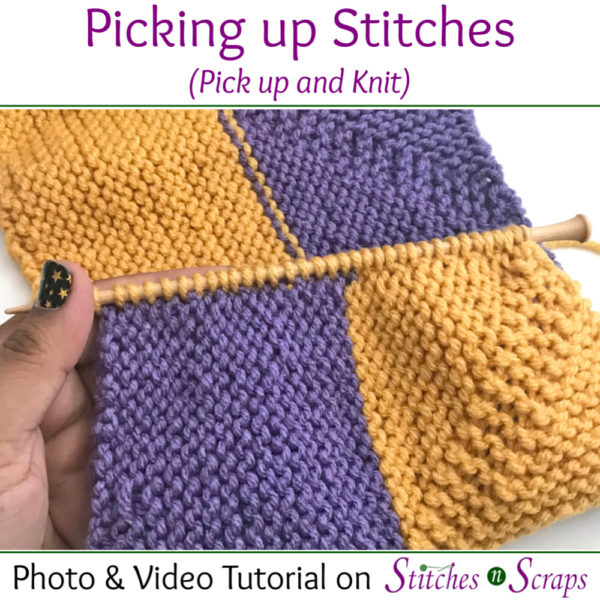
Tutorial – Pick up and Knit
Picking up stitches is an important skill in knitting. It lets you start working in a different direction, from any edge of your work. This is particularly useful for sleeves, collars, and edgings. While it is possible to pick up stitches purlwise, it’s much more common to pick up stitches knitwise, or “pick up and knit”.
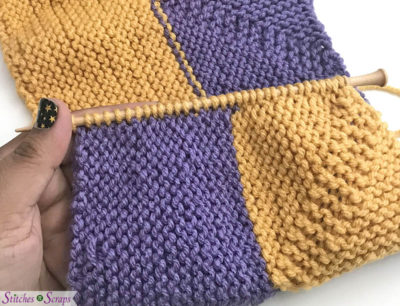
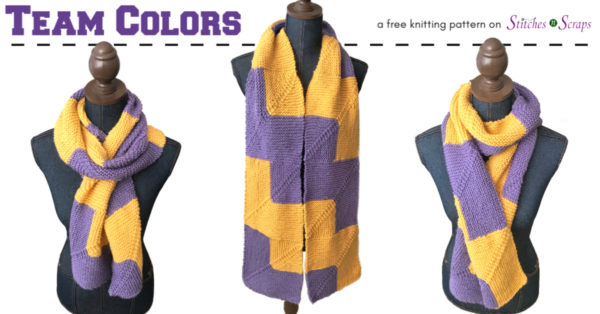
The scarf in these photos is my Team Colors pattern.
Picking Up Stitches – Photo Tutorial:
(Scroll down for video tutorial)
Plan the stitch placement first
When picking up stitches, you usually want to space them evenly across your edge. Any unevenness can cause puckers and ruffles in your work, or otherwise distort the shape. Unless that’s what you’re going for, you will want your stitches to be spread out more evenly.
With a small number of stitches, it may be easy to just “eyeball” the placement. Or, if you are picking up on a straight edge, you may be able to calculate how many rows per stitch you have. For example, picking up 1 stitch for every 2 rows of garter stitch is very easy to do without needing any other guides.
If your edge is more complex though, you may need some help. This is where stitch markers can really come to the rescue. Divide your edge evenly into sections, using stitch markers. Now divide the number of stitches you need to pick up by the number of sections you have.
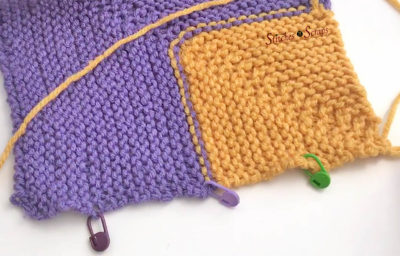
For example, on this edge, I need to pick up 32 stitches. I have divided it into 4 sections, so I know I need to pick up 8 stitches in each section. This is much easier to do than trying to evenly space 32 stitches across the whole thing.
Pick up and knit the first stitch:
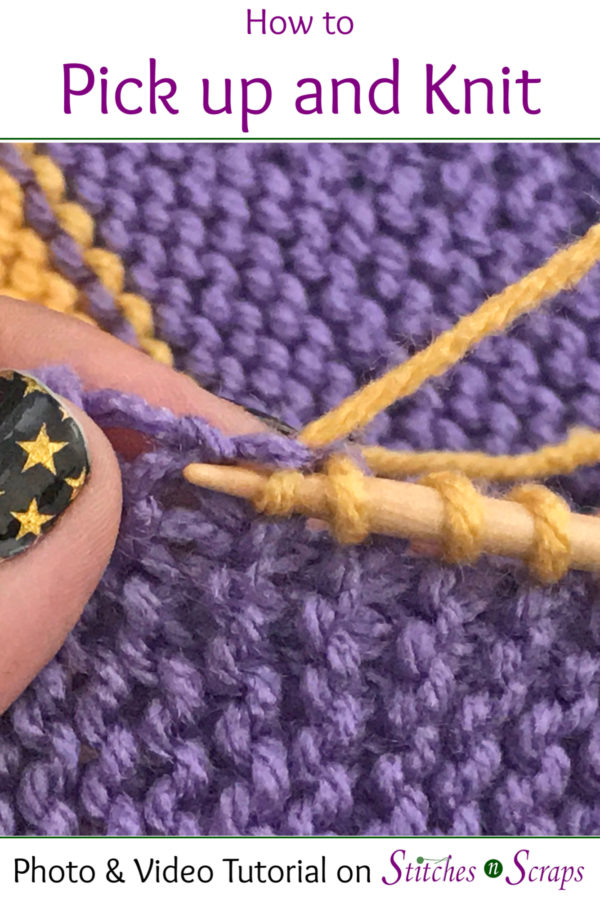
With the right side of your work facing you, and working from right to left, insert your needle into the first spot where you want to pick up a stitch. Try to go as close to the edge as you can. Whatever is on top of your needle will fold back and create a seam or ridge, so I like to make sure I’m only going under 1 loop of yarn if possible.
Make a loop with your working yarn, leaving a tail to work in later, and place that on your needle. Then pull that loop through, just as though you are completing a knit stitch.
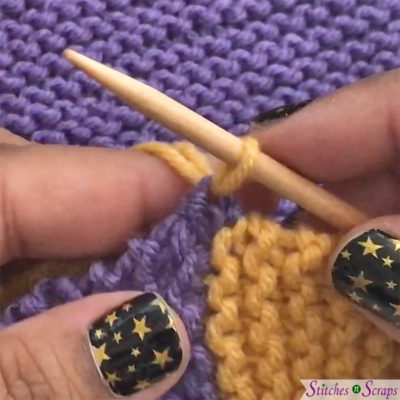
Here I have shown the first stitch in the middle of the edge, where the color changes. For the remaining pictures, I started over and worked all the way across the edge from the beginning.
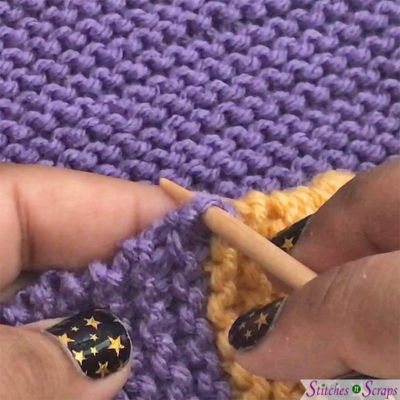
Pick up the remaining stitches:
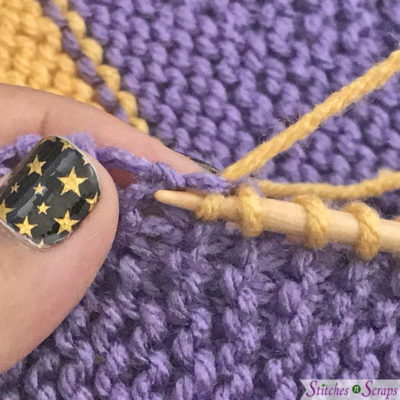
Insert your needle into the next spot where you want to pick up a stitch. Now knit into that space just as though you were knitting into a stitch on the needle. I often prefer to do this continental style, with the yarn in my left hand. Scoop the yarn through the space, just as though you were knitting.
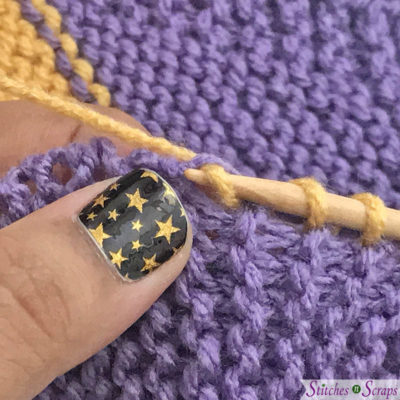
If you prefer to hold the yarn in your right hand, you can do that too. Insert your needle, and wrap the yarn over it just as you would to knit a stitch.
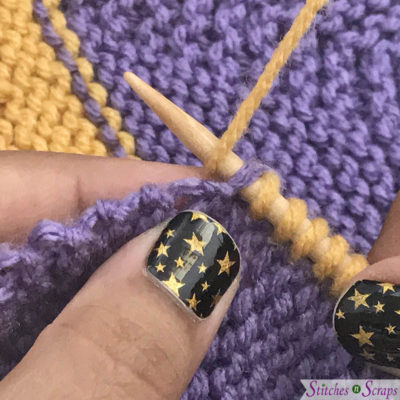
Finish by pulling that loop through.
Continue in this manner, until you have picked up all the stitches that you need.
How to Pick up and Knit – Video Tutorial:
Rate this Pick up and Knit Tutorial!


You May Also Like

Free Pattern – Message in a Bobble – Harmony Blanket Square #19

Knitted Kitchen #11 – Mitered Garter Stitch