Free Crochet Patterns
Find the perfect, free crochet pattern for your next project! Browse them all, or select a category from the dropdown menu. Where will your creativity take you today?
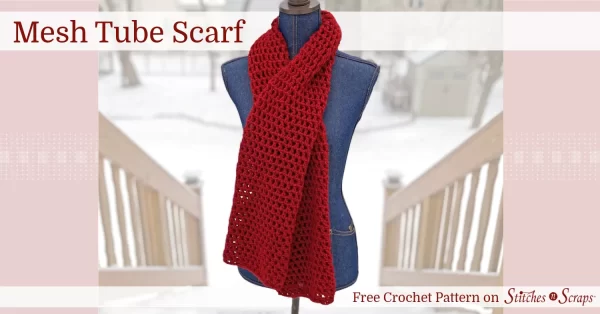
Wrap yourself in the pillowy softness of a mesh tube scarf! This easy crochet scarf pattern creates a tube, which ...More

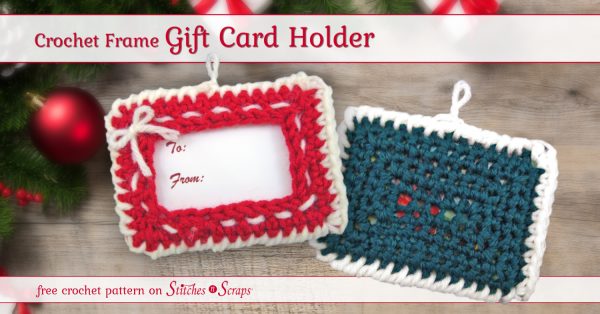
Frame your gift in a Crochet Frame Gift Card Holder! Add a personal touch to your gift cards with this ...More


This simple crochet star pattern makes a great embellishment for headbands, hats, or just about anything else. With only 2 ...More


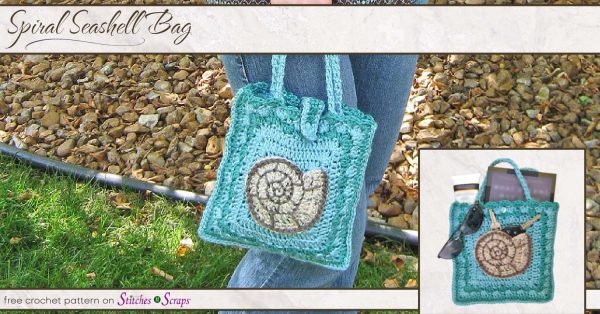
The Spiral Seashell Bag is perfect for a day at the beach or a casual night out, with just enough ...More
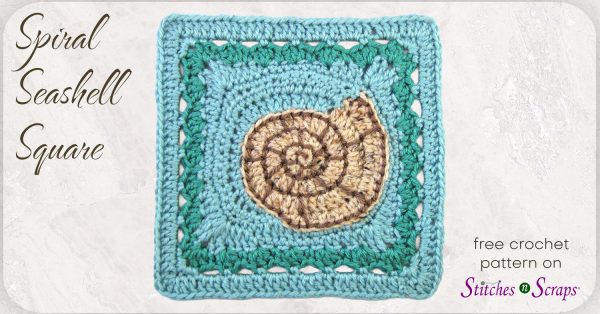
This lovely seashell square crochet pattern starts with a spiral seashell and grows outwards into an ocean-themed square with a ...More

This quick and easy seashell motif crochet pattern offers two different edging options for different uses. Use it as a coaster, ...More