Free Crochet Patterns
Find the perfect, free crochet pattern for your next project! Browse them all, or select a category from the dropdown menu. Where will your creativity take you today?
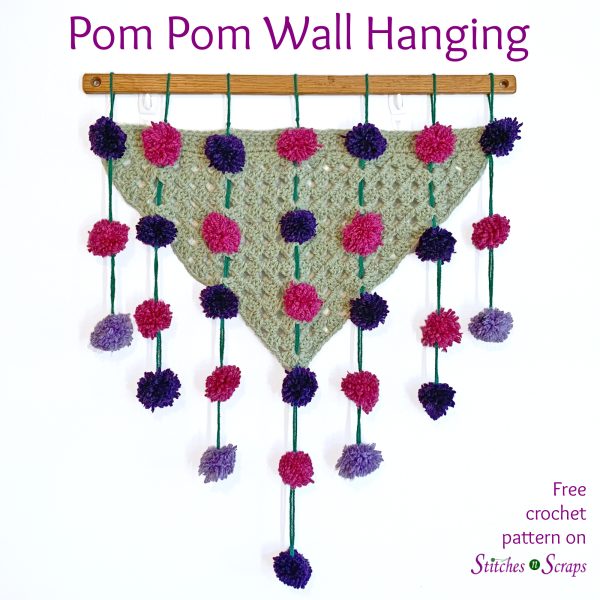
What could be better for using up scraps than fun, fuzzy pom poms? Turn your stash into a lovely pom ...More
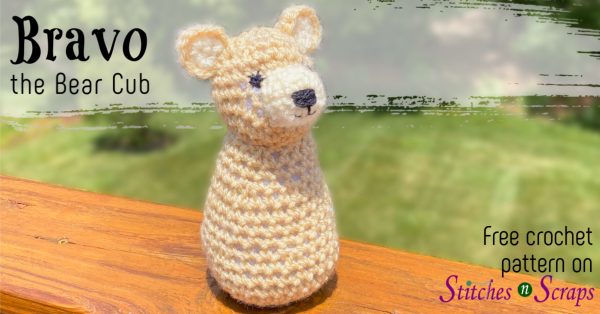
Bravo is a brave little bear cub on the hunt for some fun! He loves to play with his friends, ...More
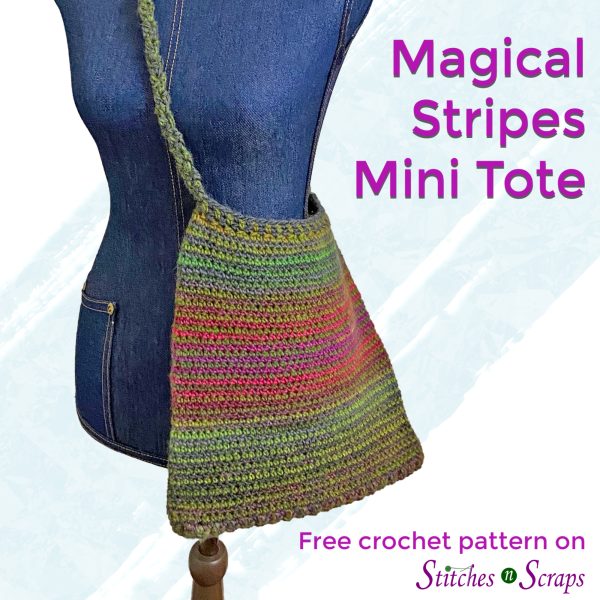
Self striping yarns are fun on their own, but combining 2 different ones can be magic! This crochet bag pattern ...More
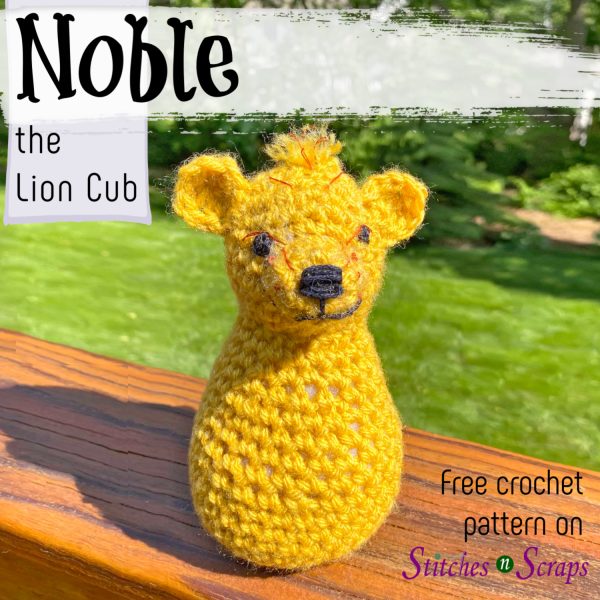
Noble is a little lion cub with a big heart, and he's ready to steal yours! This easy crochet lion ...More

Use up some scraps and get organized at the same time! Crochet nesting bowls are a fun way to store ...More

Forwards, backwards, and round and round - work around this 12 inch crochet square in all different directions! The bold ...More

This sleeveless, crochet summer top is sure to become a wardrobe staple. Pair it with your favorite shorts or jeans ...More

Awesome the baby elephant may be small, but he is big on cuteness! This easy crochet amigurumi pattern is perfect ...More

These days it's clear that many of our real life superheroes wear a different type of mask. Do you know ...More

Early spring brings some crazy weather. It can go from sunny and warm to windy and cold, sometimes even in ...More