Free Crochet Patterns – Home Décor
Find the perfect, free crochet pattern for your next project! Browse them all, or select a category from the dropdown menu. Where will your creativity take you today?

Did you ever make Christmas ornaments by gluing wedges of scrap fabric to a foam ball? This Scrappy Crochet Christmas ...More
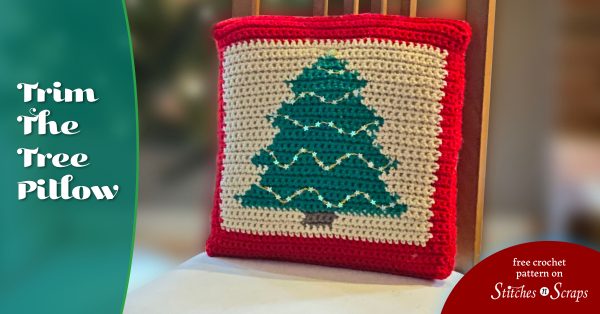
Deck your halls with this Christmas crochet pattern! Just like a real tree, this festive holiday pillow is a blank ...More

Give your dog a cozy, supportive place to sleep! This crochet dog bed has 5 inches of foam inside and ...More
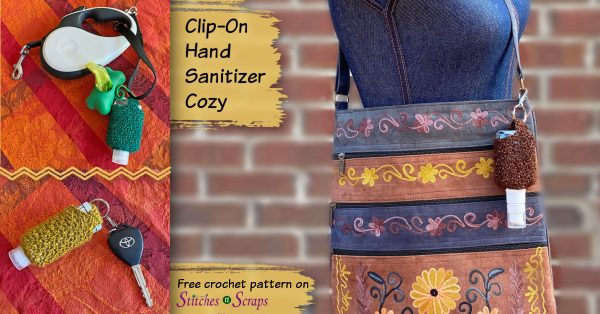
Never be without your hand sanitizer again! Turn your travel size bottle into a clip-on hand sanitizer with this quick ...More
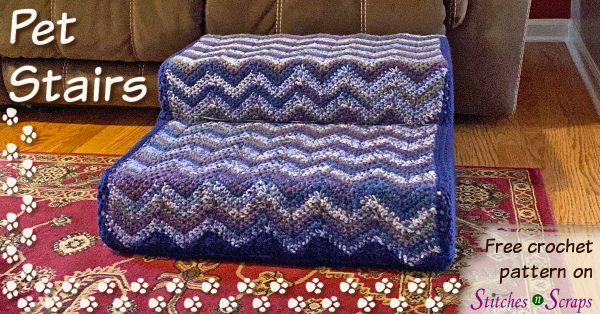
Sometimes our smaller fur babies need a little help to reach high places. Give them a boost with these crochet ...More

Make yourself a sweet treat for Halloween! Put your favorite bar of soap in this Candy Corn Soap Saver. Crochet ...More

Clean up with the Mostly Mesh Scrubbie! This easy crochet scrubbie pattern works up fast with a rolled mesh tube ...More
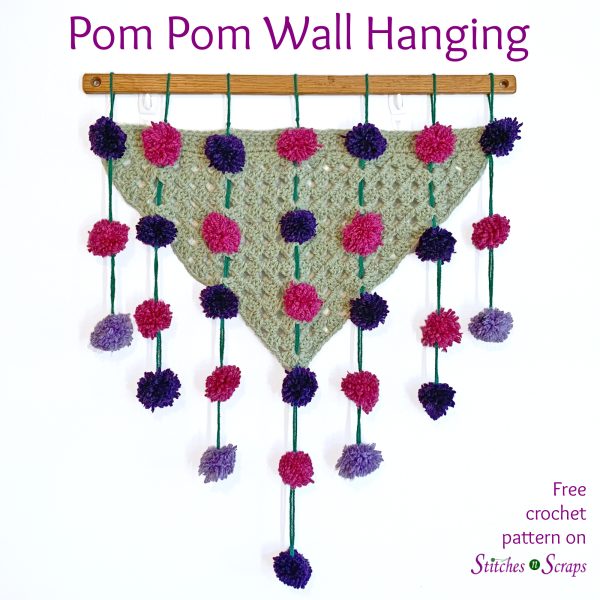
What could be better for using up scraps than fun, fuzzy pom poms? Turn your stash into a lovely pom ...More

Use up some scraps and get organized at the same time! Crochet nesting bowls are a fun way to store ...More

Welcome guests with a jingle when you hang this mini crochet Christmas wreath on your door! Hang one on your ...More