Crochet Sloth Amigurumi – Smiley the Baby Sloth
Smiley the baby sloth likes to keep things low key. Most days you can find them lounging around or hanging out with their other baby buddies. This crochet sloth amigurumi pattern is fast and fun to make, so you can crochet the whole crew!

This content is protected by copyright. See this Terms of Use / Copyright page for more information.
This post contains sponsored content and/or affiliate links. If you click an affiliate link and make a purchase, I may get a commission.
CAL Central Softie CAL
I designed this crochet sloth amigurumi pattern for the 2021 Softie CAL at CAL Central Crochet. Read more about it in the main CAL post, and join in the fun on Facebook!

Poly Fil Poly Pellets
Fairfield World generously offered all the designers free Poly-Fil fiber fill for their designs. It’s my go-to filler for all my amigurumi, but I already had a lot from previous events. So this time they sent me some of their Poly Pellets instead!

This was my first time using any sort of weighted fill, and I was thrilled with the results. It gave Smiley a nice firm base to help them stand still for pictures, even in the wind. I might hesitate to use it for baby gifts though, in case any of the beads works loose and gets swallowed. I’ve made this an optional step in the pattern.
Baby Buddies
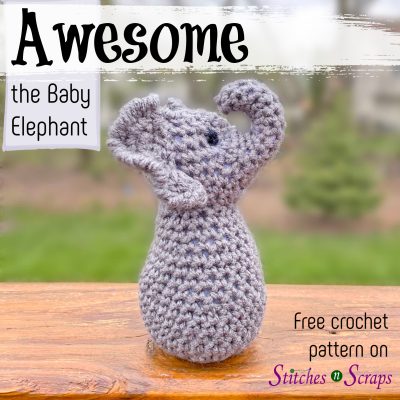
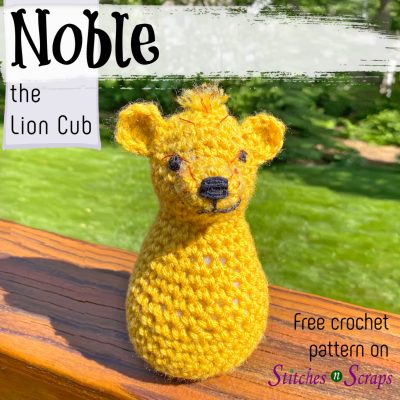
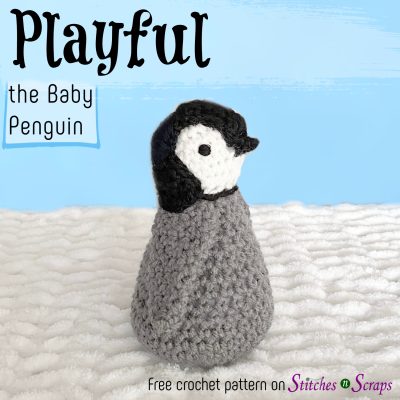
Smiley has a whole family of baby biddies! Meet their friends Awesome the Baby Elephant, Noble the Lion Cub, Bravo the Bear Cub, Sunny the Baby Bunny, Breezy the Baby Bat, and Playful the Baby Penguin. Make them all!


Materials
- Yarn: Worsted weight yarn
- 60 yds body color (A – shown in grey)
- 20 yds head color (B – shown in off-white)
- 1-2 yds black for face.
- Hook: Size H/ 5 mm crochet hook or size needed to match gauge.
- Notions:
- Fairfield Poly-Fil Premium Polyester Fiber Filling
- Yarn Needle
- Stitch Marker or scrap of yarn to use as marker.
- Fairfield Poly Pellets (optional)
- Nylon sock/stocking to hold poly pellets (ankle or knee length – optional)
Project Level
Intermediate: Mostly single crochet in the round, with some increases and decreases, working in back and front loops separately.
Size
7 inches tall
Gauge
14 sc x 14 rows = 4 inches. Use pattern as gauge swatch – Rounds 1 – 4 should measure 2.25 inches in diameter. Exact gauge is not critical.
Abbreviations used
(Pattern is written in US terms)
ch = chain
sc = single crochet
inc = increase (see Special Stitches)
dec = decrease (see Special Stitches)
sk = skip
st(s) = stitch(es)
sl st = slip stitch
sp = space
ch-sp = chain space
rnd = round
RS = right side
Recommended Resources
Special Stitches
Increase (inc): Sc in back loop only of next st, then sc in both loops of the same st. See full tutorial here.

Decrease (dec): Insert hook into front loop only of both of next 2 stitches, yarn over and draw up a loop, yarn over and draw through both loops on hook. This is an alternative to a single crochet 2 together (sc2tog) stitch. If you prefer, you can use the standard sc2tog instead.


Instructions
Weighted Base (optional)
Pour about 1/4 cup of Poly Pellets into the toe of the stocking. A funnel is helpful for this. Tie a knot in the stocking, above the pellets.

Fold the top of the stocking around to the other side, so that the pellets are in 2 layers of stocking.

If desired, you can repeat the last 2 steps, so that the pellets are now in 3 layers.
When stuffing the body, place a thin layer of stuffing at the bottom, then place your weighted base inside. As you finish stuffing, be sure to surround your weighted base entirely with stuffing material all around it so that the nylon does not show through and you can’t feel the knots.
Body
The Body, Head, and Muzzle are worked in continuous rounds. Do not join or turn unless indicated. Mark first stitch of each round.
With A, ch 2
Rnd 1 (RS): 6 sc in 2nd ch from hook. (6 sc)
Rnd 2: Inc around. (12 sc)
Rnd 3: (Inc in next st, sc in next st) around. (18 sc)
Rnd 4: (Inc in next st, sc in each of next 2 sts) around. (24 sc)
Rnd 5: Sc in each st around.
Rnd 6: (Inc in next st, sc in each of next 3 sts) around. (30 sc)
Rnds 7-10: Sc in each st around.
Rnd 11: (Dec, sc in each of next 3 sts) around. (24 sts)
Rnds 12-15: Sc in each st around.
Rnd 16: (Dec, sc in each of next 2 sts) around. (18 sts)
Rnds 17-18: Sc in each st around.
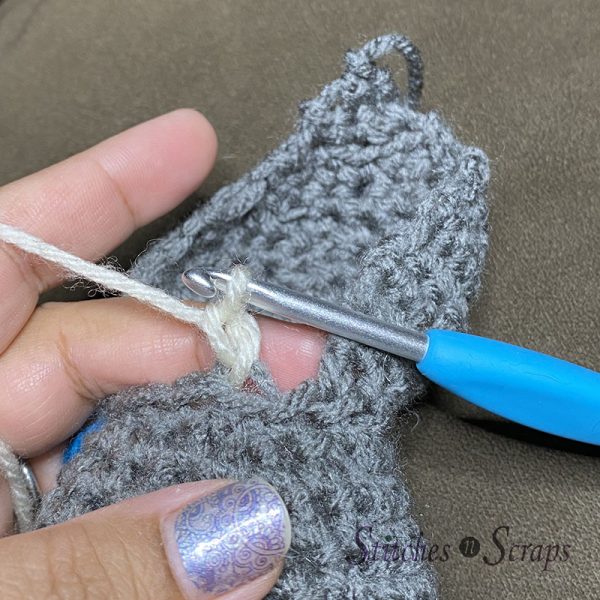
Rnd 19: (Dec, sc in next st) around, join with sl st to flo of first st. Do not fasten off (12 sts)
Stuff body most of the way full and continue stuffing as you go. (If you made a weighted base, this is where you insert it.)

Hood
Continuing from body
Row 1: Ch 1, sc in flo of same st and flo of each of next 8 sts, leaving 3 sts unworked. (9 sts)
Row 2: Ch 1, turn, sc in first st, (inc, sc in next st) across. (13 sts)
Row 3: Ch 1, turn, sc in first st, (inc, sc in next 2 sts) across. (17 sts)
Rows 4-7: Ch 1, turn, sc in each st across. (17 sts)
Row 8: Ch 1, turn, sc in first st, (dec, sc in next 2 sts) across. (13 sts)
Row 9: Ch 1, turn, sc in first st, (dec, sc in next st) across. (9 sts)
Rows 10-11: Ch 1, turn, sc in first st, dec, sc across to last 3 sts, dec, sc in last st (5 sts).
Row 12: Ch 1, turn, sk first st, sc in next 2 sts, dec. (3 sts)
Row 13: Ch 1, turn, sk first st, dec. (1 st)
Fasten off, leaving a 12 inch tail for sewing.

Head
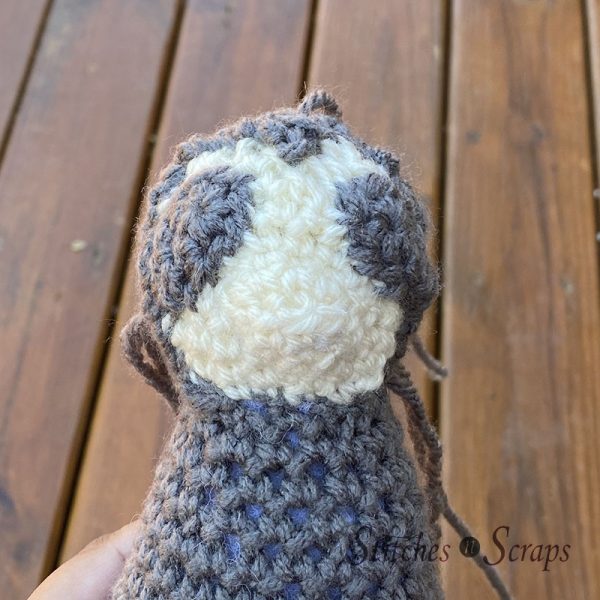
Fold hood back and out of the way. With RS facing, Join B with sl st in blo of first unworked st on body.
Rnd 1: Inc in same st, sc in next st, inc in next st. working in unworked back loops in front of hood, (sc in blo of next st, 2 sc in blo of next st) 4 times, sc in blo of last st. (18 sts)
Rnd 2-3: Repeat rnds 4-5 of body
Rnd 4: Sc in next 2 sts, ch 4, sk next 4 sts, sc in last 15 sts. (21 sc and ch-4 sp for muzzle)
Muzzle opening should be centered directly opposite the hood, so that when the hood is folded up, the point at the top lines up with the center of the muzzle opening.
Rnd 5: Sc in each st and each ch around. (24 sc)
Rnd 6: Sc in each st around.
Rnd 7: (Dec, sc in next 2 sts) around. (18 sc)
Rnd 8: (Dec, sc in next st) around. (12 sc)
Rnd 9: Dec around, fasten off. (6 sc)
Using tails, sew top of head and bottom of body closed, then weave in all ends except for long tail on hood.
Finish stuffing head through muzzle opening.

Muzzle
Rnd 1: Join B with sc in any st around muzzle opening, sc in each remaining st around. (8 sc)
Rnd 2: Sc in each st around. Fasten off, leaving a long tail for sewing. (8 sc)
Stuff the muzzle.
Line the stitches up so that there are 4 on top and 4 on the bottom. Sew the opening closed with the tail, using a mattress stitch.
Weave in ends from the muzzle.

Eye Patches (Make 2)
With A, ch 2
Rnd 1 (RS): 6 sc in 2nd ch from hook, join with sl st to first st. (6 sc)
Row 2: Ch 1, sc in first 3 sts, leaving remaining sts unworked. (3 sc)
Row 3: Ch 1, sk first st, sc in next 2 sts. (2 sc)
Row 4: Ch 1, sk first st, sc in last st. (1 sc)
Fasten off, leaving an 8 inch tail for sewing.

Assembly
Using tails, sew eye patches on to head. The circle part of the eye patch should rest just above the muzzle, with the pointed end turned down slightly. The pointed end should end up under the edge of the hood, once the hood is in place.

Weave in ends from eye patches.
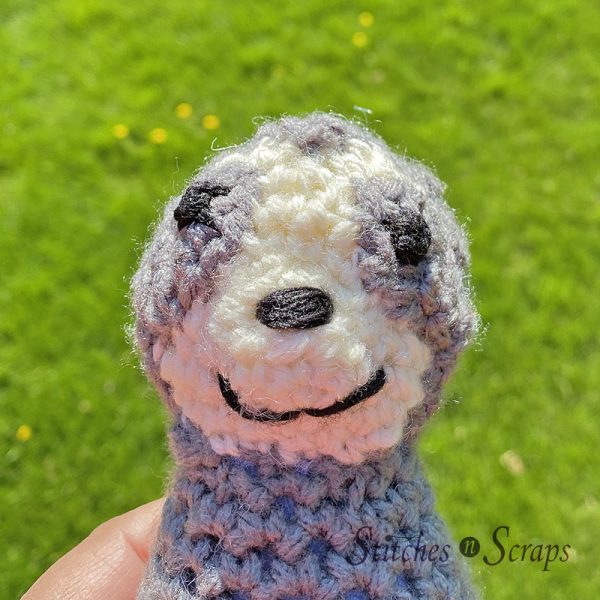
Fold hood up so that the point is centered between and slightly above the eye patches. The edges of the hood should cover the pointy end of the eye patch. With the long tail, sew hood in place around the edge, all around the face.
Weave in all ends.
With Black, embroider the eyes, nose, and mouth.
Weave in any remaining ends.

Rate this Crochet Sloth Amigurumi Pattern!
I hope you enjoyed this crochet sloth amigurumi pattern. A downloadable pdf of this pattern is available on Ravelry for a small fee. The fee for the pdf format is to offset the advertising revenue lost when you print or download the pattern rather than viewing it online.
Do you want the best of Stitches n Scraps delivered right to your inbox? The Stitches n Scraps email newsletter includes highlights from the blog as well as special features not available elsewhere. Don’t miss a stitch – Subscribe now!


You May Also Like

Free Pattern – Tulip the Bunny Rabbit

Halloween Crochet Amigurumi – Breezy the Baby Bat
