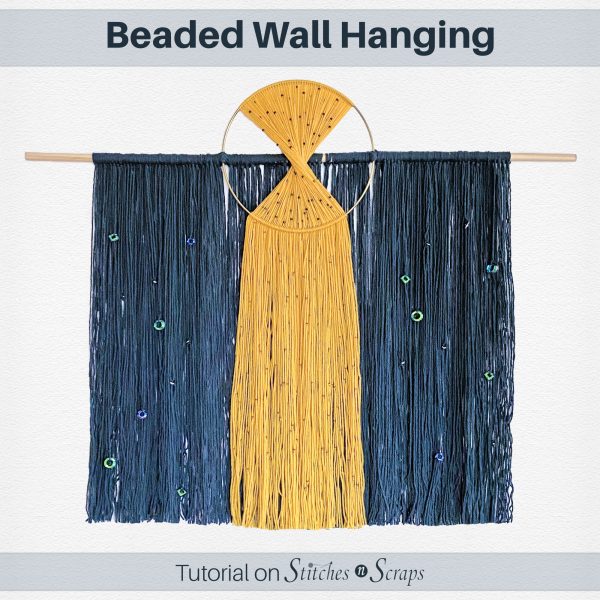
Beaded Wall Hanging
Add a touch of warmth to any room with this lovely, beaded wall hanging! The soft, flowing yarn is peppered with delicate, sparkling beads.
This content is protected by copyright. See this Terms of Use / Copyright page for more information.
This post contains sponsored content and/or affiliate links. If you click an affiliate link and make a purchase, I may get a commission.
Potomac Beads
Potomac Beads sent me an assortment of beads to try out with some projects. They included a few varieties of Crystal Cosmic Rings, two types of seed beads, and some buttons.

Matubo hex cut seed beads, instead of being smooth all the way around, are cut like hexagons. The O-beads are about half the thickness of normal seed beads and look like little donuts. I used some of these O-beads earlier, on the hem of my knit ghost pattern.

For this beaded wall hanging project, I used up all the rest of these beads, each in a different way. I still have the buttons left for a future project!
Beaded Wall Hanging
Scroll down for the video tutorial
Materials
- Potomac Beads
- An assortment of Crystal Cosmic Rings. Sample shown with: 20mm in Blue Emerald, 14mm in Colorshift Sphinx, 8mm in Silver Comet, and 14mm square rings in Blue Emerald
- 2 tubes of seed beads. Sample shown with: 6/0 Matubo hex cut seed beads in Jet Bronze, and O-Beads in Ancient Gold
- Yarn: Worsted weight yarn cut into 2 yd strands. Sample shown in Cascade 220 (100% wool, 100g / 220 yds per skein)
- 60 strands of yellow (shown in Goldenrod – 120 yds total)
- 220 strands of blue (shown in Veridian – 440 yds total)
- Dowel Rod: 1/2 inch diameter, 36 inches length
- Brass Ring: 10 inches diameter
- Needles:
- Beading needle
- Tapestry needle
Instructions
Center Ring
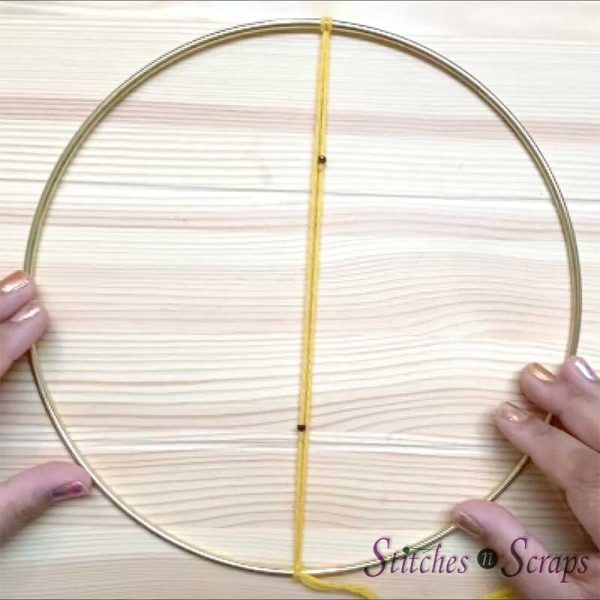
String 2 matubo seed beads onto a strand of yellow yarn. Fold the yarn in half, creating a loop at the center with 1 bead on each side of the center. Wrap this loop around the brass ring, and then pull the tails through to secure it.

This is now the top of the ring, and is the wrong side of your work. Be sure that one bead remains on each tail.
For each tail, move the bead to the position where you want it, then tie a small knot below the bead to hold it in place.
Pass both tails together, straight across the center of the brass ring. Tie them with a half knot to the opposite end (bottom) of the ring.
String 2 beads onto the next strand and attach it in the same way, just to one side (left or right) of the first strand.
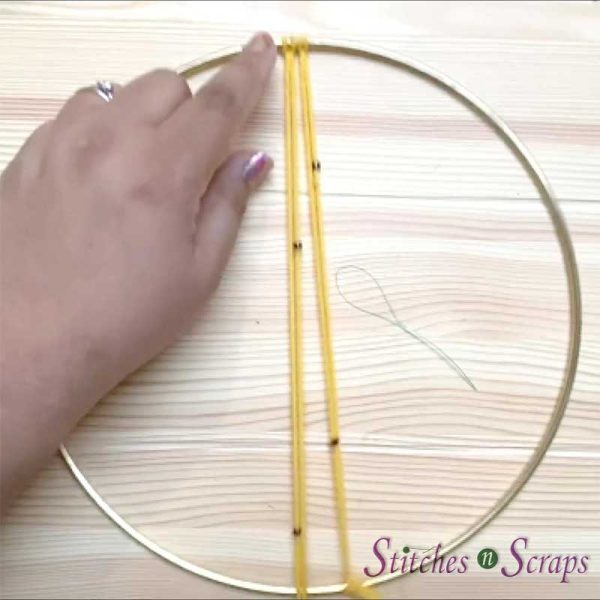
Tie the knots to place the beads, then pass both tails across the ring to the bottom edge, so that they cross over the first strand. Tie the tails to the bottom of the ring, just to the opposite side (right or left) of the first strand.

Repeat with each of the remaining yellow strands, crossing each one over the center and tying it on in the same way. Try to stagger the beads randomly.
Flip the ring over so that the right side is up (notice the little lines under the top knots).

String the O-beads onto the yellow tails, placing them randomly and tying knots beneath them to hold them in place. You will be trimming off the bottom, so don’t place any beads in the bottom 6 inches or so.
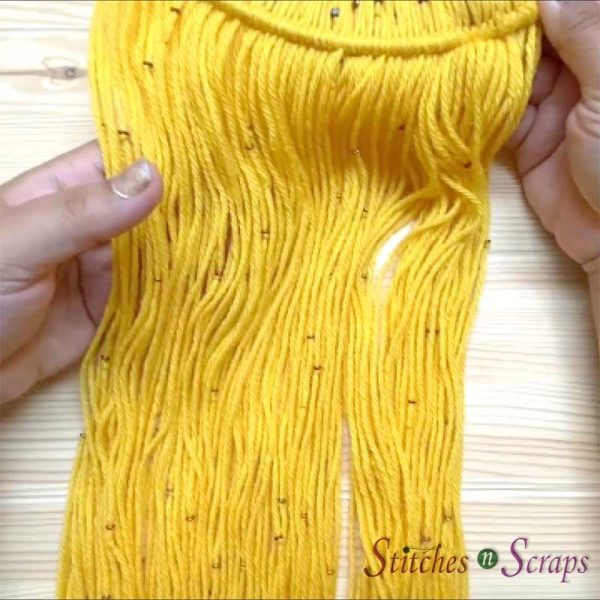
Set the center ring aside.
Background
Set 2 strands of blue yarn aside for joining later.
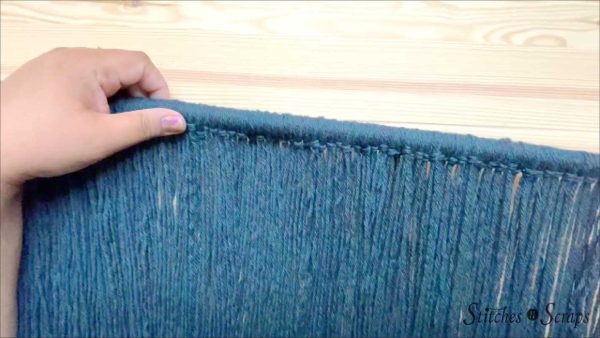
Holding 2 strands of blue yarn together, fold them in half and attach the to the dowel rod in the same way that you attached the yellow yarn to the top of the brass ring. This is the wrong side of your work.
Continue attaching the remaining blue yarn in the same way, spreading the strands out evenly across the dowel rod. Leave at least 3 inches empty on each end of the dowel rod, and remember to save 2 strands for joining.
Turn the dowel rod over so the right side is up.
When all the blue strands are attached, tie on the cosmic rings. Remember that the yellow tails will be hanging down in the center, so avoid the center 8 inches or so. Also avoid the bottom 6 inches where we will be trimming later.

Tie two tails together in a square knot, just above where you want a ring. Place one of the 2 tails through the ring from front to back, then tie the two tails in another square knot just below the ring. The ring should hang in the space between the two knots. Attach all the cosmic rings in this way, placing them randomly.
Joining
Find the center group of strands on the dowel rod, and count an equal number of groups on each side to span the 10 inches of the center ring. I had 1 group in the center and 14 additional groups on each side. Move the rest of the blue yarn over a bit to make some space for tying on the ring.
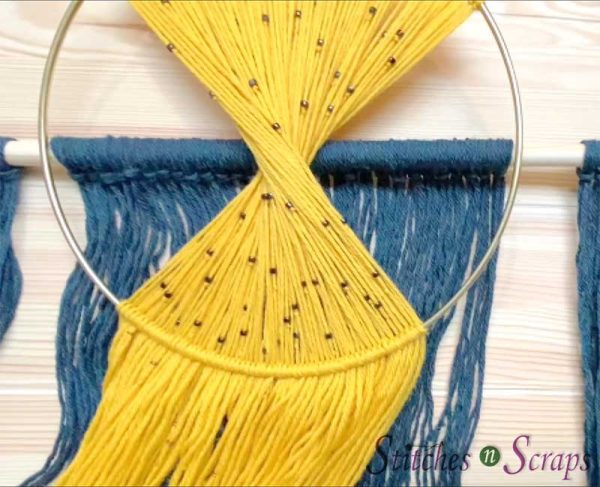
Center the ring over the dowel bar, lining it up with the spaces you made. Take one of the blue strands you set aside and wrap it in a figure 8 pattern around the ring and dowel rod where they meet on one side. When the yarn is almost completely wrapped, weave the tails under the nearby groups of yarn on the dowel rod.

Repeat for the other side.
Finishing
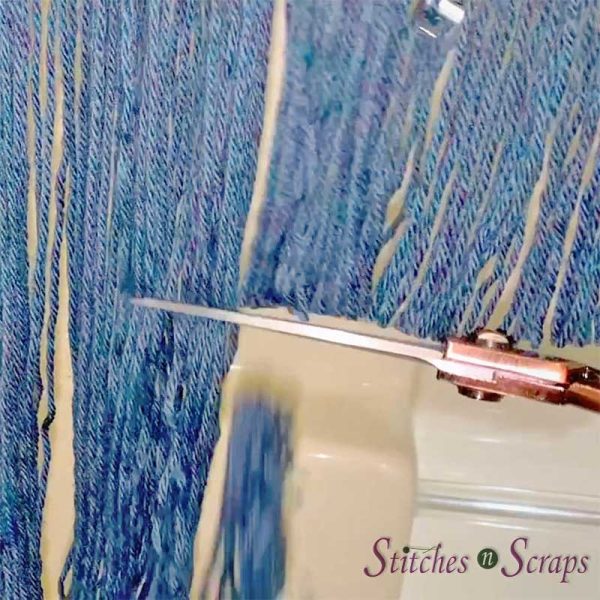
Hang your beaded wall hanging up and steam it gently to relax all the yarn. Let it hang overnight so that it’s completely dry and all the strands of yarn are hanging straight. Then hang it against a wall or flat surface and trim the bottom evenly across.
Hang your new beaded wall hanging up on the wall and enjoy!
Beaded Wall Hanging video tutorial
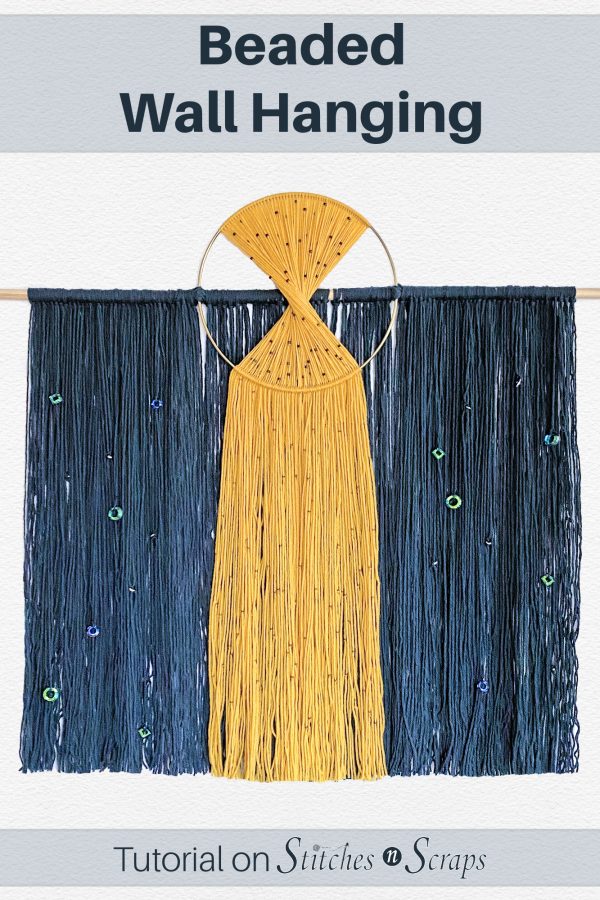
Share this beaded wall hanging tutorial on Pinterest! Here’s an image perfect for pinning:
Rate this Beaded Wall Hanging Tutorial!
Do you want the best of Stitches n Scraps delivered right to your inbox? Don’t miss a stitch – Subscribe now!


You May Also Like

Design it, Promote it, Sell it – Author Interview with Marie Segares

Scrappy Stitchers Link Party #40
