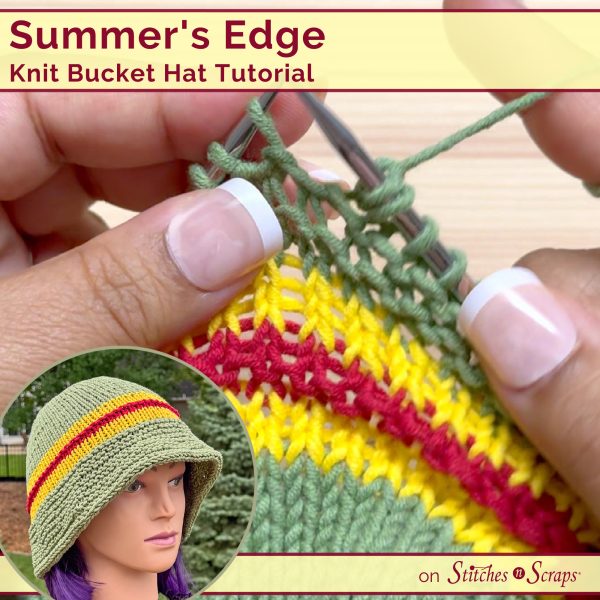
Summer’s Edge Knit Bucket Hat Tutorial
Keep your cool with the Summer’s Edge Bucket Hat! This knit bucket hat tutorial takes you step by step through this top-down hat pattern. Start with a smooth, stockinette body, followed by playful stripes, flared garter stitch brim, and I-cord bind-off. Grab the pattern and follow along!
This content is protected by copyright. See this Terms of Use / Copyright page for more information.
This post contains sponsored content and/or affiliate links. If you click an affiliate link and make a purchase, I may get a commission.
Get the Pattern
Follow along with the written pattern for the Summer’s Edge Bucket Hat. The video references the instructions in the pattern, including stitch counts and number of repeats.

The knit bucket hat pattern starts at the very top with just a few stitches cast-on. From there, increases in stockinette stitch shape the crown. Then, playful stripes flow into a flared, face-framing, garter stitch brim. The hat ends with an I-cord bind-off for a structured edge that doesn’t roll.
Cast-On
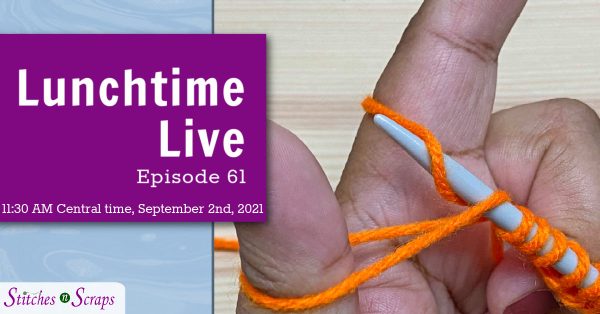
The pattern scarf begins with a basic, long tail cast-on, which is not shown in the tutorial. For a refresher on this technique, check out the demo portion of Lunchtime Live episode 61.
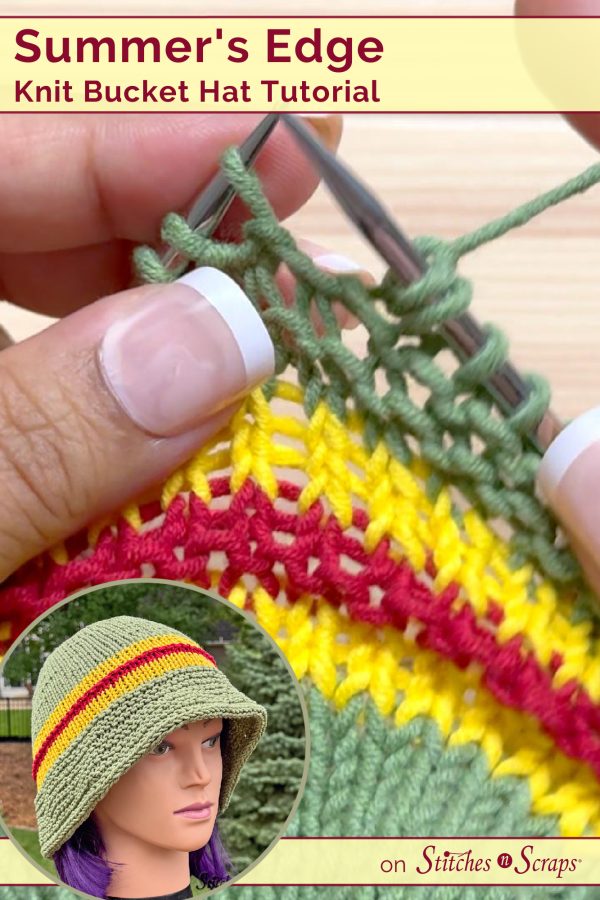
Jogless Stripes
Color changes while knitting in the round can create a distinct shift or jog where the first and last stitch of the round meet. Slipping the first stitch of the 2nd round minimizes this jog and creates more seamless or jogless stripes. You’ll see this technique in the striping section of the tutorial.
M1L and Kfb Increases
This pattern uses 2 different types of increases. This tutorial shows both techniques, and there are also full tutorials available for each.
In the crown and body of the hat, make 1 left (m1L) increases blend in with the stockinette stitch.

In the garter stitch brim, easier knit front and back (kfb) increases blend in nicely, though you could substitue m1L increases here as well if preferred.

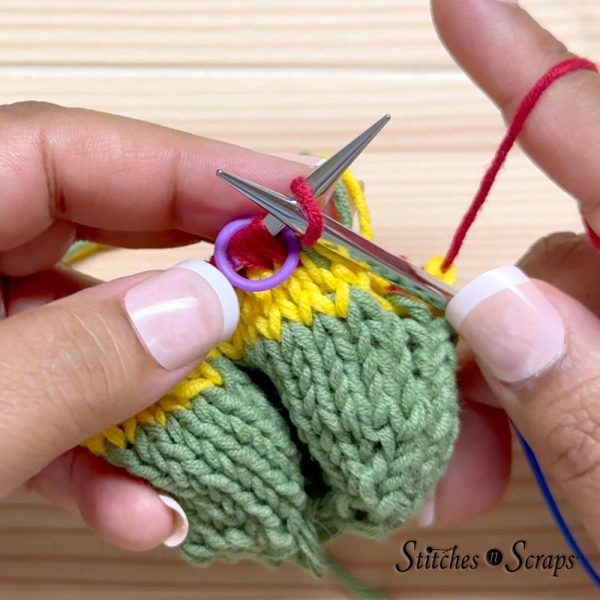
I-cord Bind-Off
Finally, an I-cord bind-off creates a firm, structured edge for the brim, which prevents curling. This technique combines a 3-stitch I-cord with decreases to attach it to the hat. The knit 2 together (k2tog) decreases join the last stitch of the i-cord with the next stitch on the hat, effectively binding off that stitch.
The video goes through the bind-off in detail, including seaming the ends of the I-cord together. For a closer look at just the decrease, see this knit 2 together decrease tutorial.

Summer’s Edge Knit Bucket Hat Video Tutorial
Embed not working? Watch this video on YouTube.
Want to jump to a specific section? Click on the timestamp below to go directly to that spot in the video! These links open on YouTube, in a new window or tab.
- 00:00 Intro
- 00:13 Get the Pattern
- 00:24 Materials
- 00:38 Cast-On and Magic Loop
- 01:39 Crown – Round 1
- 06:15 Crown – Round 2
- 06:55 Crown – Round 3
- 08:38 Crown – Repeats
- 09:48 Last Increase Round
- 11:41 Body – Before Stripes
- 12:29 First Color B Stripe
- 14:14 Color C Stripe
- 15:57 2nd Color B Stripe
- 16:31 Brim – Round 1
- 18:05 Brim – Rounds 2-4
- 20:11 Brim – Round 5
- 21:27 Brim – Repeats
- 22:40 I-cord Bind-Off
- 26:40 Seaming the Bind-Off
- 30:24 Finishing
Share this Knit Bucket Hat Tutorial on Pinterest!
Here’s an image perfect for pinning:
Rate this Knit Bucket Hat Tutorial!
Do you want the best of Stitches n Scraps delivered right to your inbox? Don’t miss a stitch – Subscribe now!


You May Also Like

Summer’s Edge Knit Bucket Hat

Knit Scrunchie Pattern – Rosette Stitch