Free Crochet Patterns
Find the perfect, free crochet pattern for your next project! Browse them all, or select a category from the dropdown menu. Where will your creativity take you today?
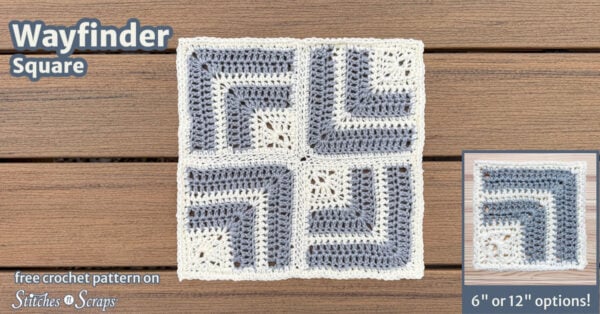
Find your own way with the Wayfinder Square. Graphic and versatile, this mitered crochet square is designed to make a ...More
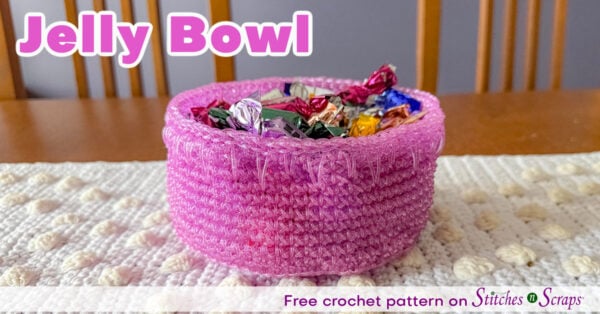
Remember those jelly shoes from the 80s? Relive the fun (minus the sore toes) with this jelly yarn crochet pattern! ...More
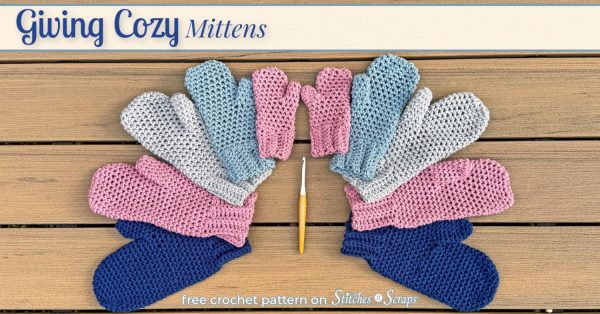
Give the gift of comfort where it's needed most with Giving Cozy Mittens! Made entirely in single crochet, this easy ...More

Indulge your sanguine desires with the dark elegance of Bloodlines. Bands of claret and crimson bring a touch of gothic ...More

Feisty the Baby Fox is full of mischief and fun! They love to play chase and hunting games with their ...More

Need a hat that's not too light and not too warm? You need the syncopated rythym of the Backbeat Beanie! ...More

Bursting with texture, the Wild Jasmine blanket square is a floral-inspired journey through a variety of engaging stitch patterns. Fans, ...More

Add some drama and flair to your decor with the Flynnster! Bold stripes, dynamic chevrons, and playful textures come together ...More

Combine linen stitch and puff stitches in this totally textured crochet washcloth! The Linen Puff Washcloth is crocheted from the ...More

Every little gardener needs a little watering can! This crochet amigurumi watering can is an adorable essential for a garden ...More