German Twisted Cast-On Knitting Tutorial
The German Twisted Cast-On is my go-to cast on for most projects. It’s a relatively stretchy cast-on that creates a first row of stitches. Learn the technique in this knitting tutorial!

This content is protected by copyright. See this Terms of Use / Copyright page for more information.
This post contains sponsored content and/or affiliate links. If you click an affiliate link and make a purchase, I may get a commission.
Long Tail Cast-On
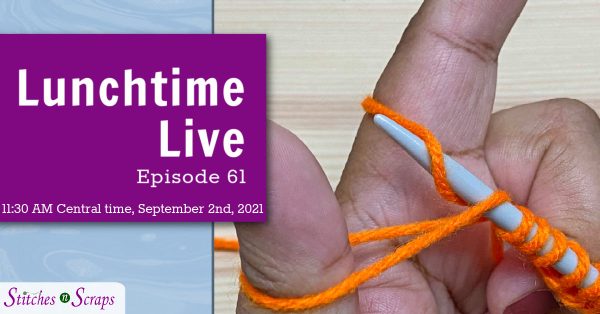
Many of us learned a long tail cast-on early in our knitting journey. The German twisted cast-on is just a slight variation of that cast-on. See a demonstration of the long tail cast-on in Lunchtime Live Episode 61. The demo portion is near the end of the video.
How to Knit the German Twisted Cast-On
(Scroll down for video tutorial)
This cast-on requires only one needle. When you are first learning it, I suggest using a needle 1 size larger than you will be knitting with, as it tends to get tight until you are used to the motions.
First, make a slip knot leaving a tail about 3-4 times the length of your cast-on edge. Place the slip knot on your needle and hold it in your dominant hand. This slip knot counts as your first stitch cast on. Then lay both the tail and ball end of the yarn across your other palm and grip it with your last 3 fingers (middle, ring, and pinky).

Next, insert your thumb and index fingers between the two strands.

Turn your hand so that your thumb and index finger are pointing up, creating a V or Y shape with the yarn between your hand and the needle. There should be one loop around your thumb and one loop around your index finger. Each has an inner and outer strand.

Now begin the repeating steps to cast on each stitch: *Insert your needle under both strands on your thumb. Twist it backwards and insert it between the strands to twist the loop that is on your thumb.

Allow your thumb to bend, opening up the loop. Bring the needle over and around the inside strand on your index finger and pull that strand through the twisted loop on your thumb.

Release the loop from your thumb and tighten while repositioning your thumb as before. You have now cast on 1 more stitch.

Repeat these motions (from *) to cast on as many stitches as needed.
German Twisted Cast-On Video Tutorial
Share this Tutorial on Pinterest!
Here’s an image perfect for pinning:

Rate this German Twisted Cast-On Tutorial!
Do you want the best of Stitches n Scraps delivered right to your inbox? Don’t miss a stitch – Subscribe now!


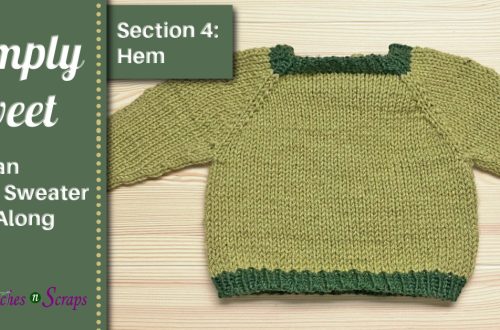
You May Also Like
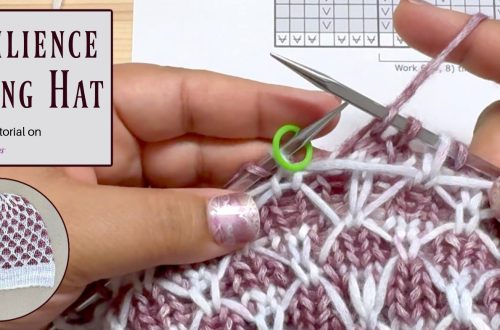
Resilience Rising Lattice Knit Hat Tutorial

Tea Cozy Tuesday – March – Week #2