Free Knitting Patterns

Take a stroll down a winding, cobblestone lane on a crisp spring day, and see what adventures you can find. ...More

Bundle up on game day with the soft, squishy warmth of the Team Colors scarf. Mitered squares give this scarf ...More

By request, Edison Park is the knit version of my Norwood Park pattern, and features the same, asymmetrical, V shape. ...More

When I published the Boo Blocks pattern for Halloween, many of you said you would like to use the same ...More

Groove is in the Chart is pattern #45 in the 2018 Harmony Blanket Knit Along. The ridges and valleys in ...More
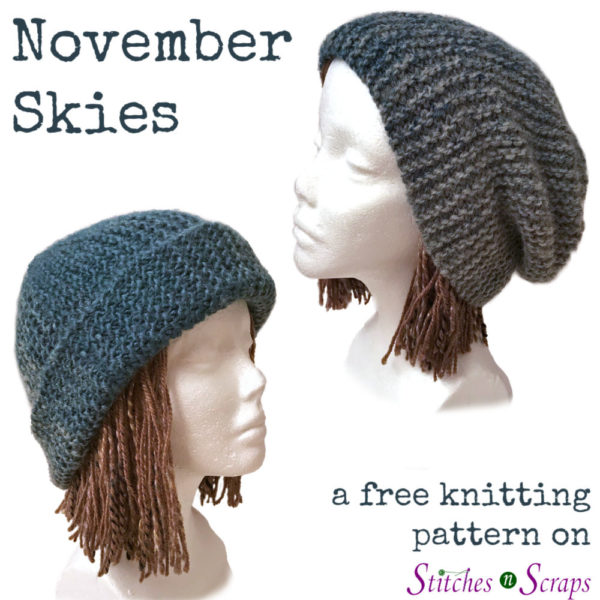
November will be here soon, and there's already a brisk chill in the dusky, evening skies. It's time for a ...More
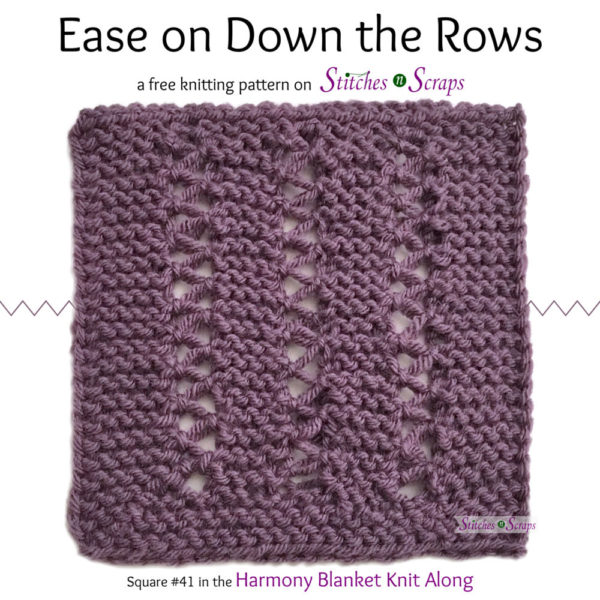
Ease on Down the Rows is pattern #41 in the 2018 Harmony Blanket Knit Along. This unique square combines intentionally ...More
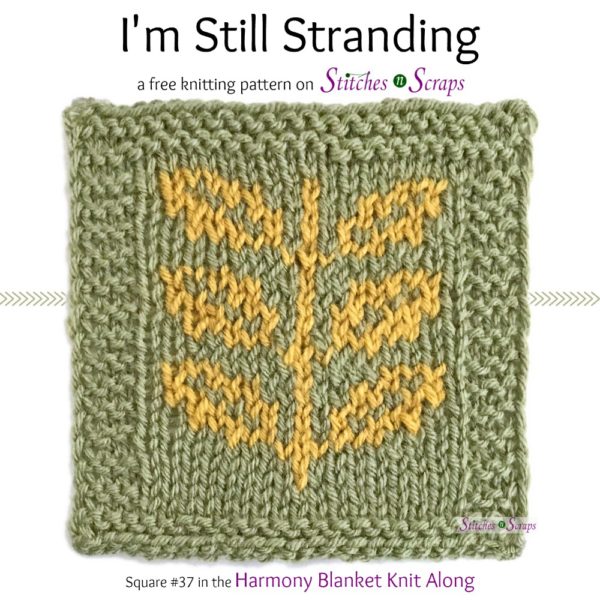
I'm Still Stranding is pattern #37 in the 2018 Harmony Blanket Knit Along. The simple, fair isle leaf design fits ...More

By request, this is the knit version of my popular, crochet Bandkerchief pattern. Just like the original, this knit headband ...More
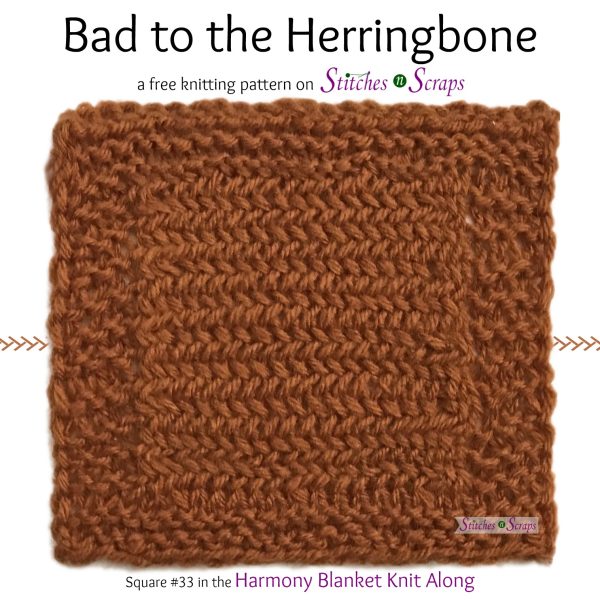
Bad to the Herringbone is pattern #33 in the 2018 Harmony Blanket Knit Along. This square uses common decreases with ...More