Free Knitting Patterns
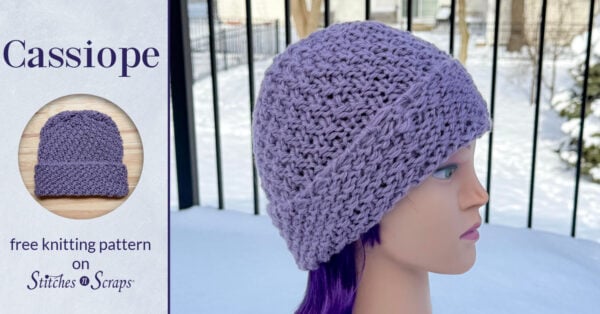
Vines creep along stone walls, their shadows dancing in the frosted glow of streetlights. Stay snug, wrapped in the meandering ...More

Vines creep along stone walls, their shadows dancing in the frosted glow of streetlights. Stay snug, wrapped in the meandering ...More
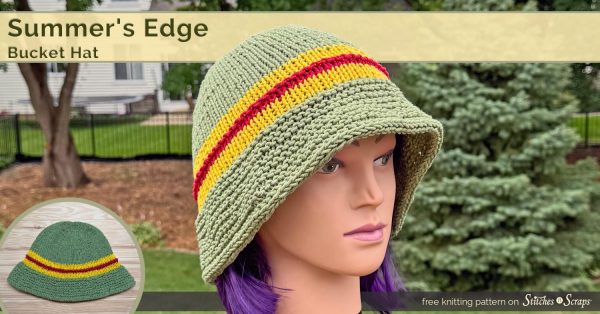
Shade your eyes in effortless comfort with the Summer's Edge Bucket Hat! This knit bucket hat is worked from the ...More
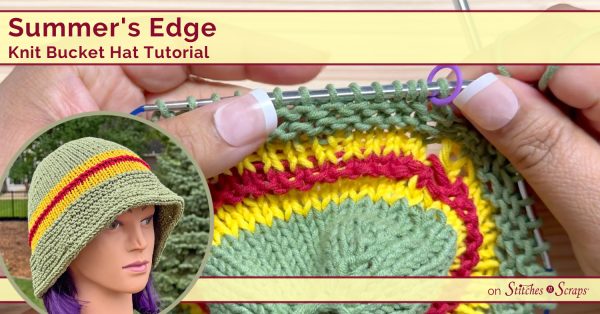
Keep your cool with the Summer's Edge Bucket Hat! This knit bucket hat tutorial takes you step by step through ...More

Escape to the tropics with the Beach Day Scarf! This light and breezy lace knit scarf captures the feel of ...More

Spring is a season of resilience as brilliant, floral hues rise up from a frosty winter. Knit in a unique, ...More

Slip on the comfort of a favorite, well-worn pair of jeans with the Favorite Jeans Scarf. Soft panels of different ...More
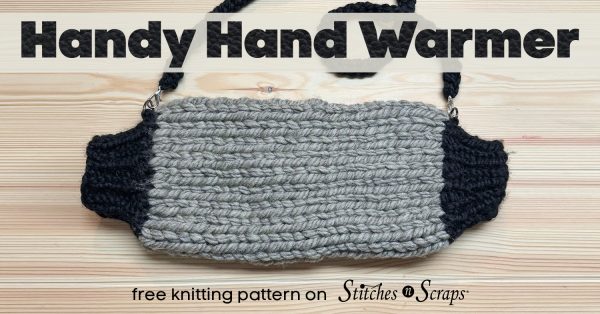
Keep your hands cozy in a Handy Hand Warmer while you cheer for your favorite team! This knit muff hand ...More

Treat your feet to classic, cabled comfort! A chunky, 3-part cable climbs the leg of these braided cable knit socks. ...More

Protect your face from wild winter winds with this knit balaclava pattern. Short rows at the opening and decreases under ...More