Free Crochet Patterns
Find the perfect, free crochet pattern for your next project! Browse them all, or select a category from the dropdown menu. Where will your creativity take you today?

Top off your winter wardrobe with the big, bold stripes in the Bandy Beanie! This warm and squishy, striped crochet ...More
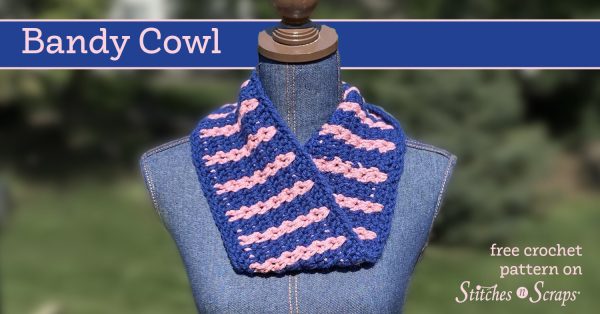
Stay cozy with big, bold stripes in the Bandy Cowl! This warm and squishy, striped crochet cowl works up super ...More

Add lovely leaves to your fall decor with this crochet Eastern cottonwood leaf pattern! Make leaves of all different sizes ...More

Welcome fall with this iconic, crochet sugar maple leaf pattern! Make leaves of all different sizes and textures by switching ...More

Add a leaf to any project with this crochet elm leaf pattern! Make leaves of all different sizes and textures ...More

Grow a garden ringed with the delicate blossoms of this primrose stitch crochet square! The light and lacy Primrose Garden ...More

Stir up some Halloween fun with this cauldron crochet pattern! Get creative with overflowing stuffing, or crochet the optional cover. ...More

Even the pickiest of pups will be ready to party in this sparkly, holiday dog bandana! Slide it onto a ...More
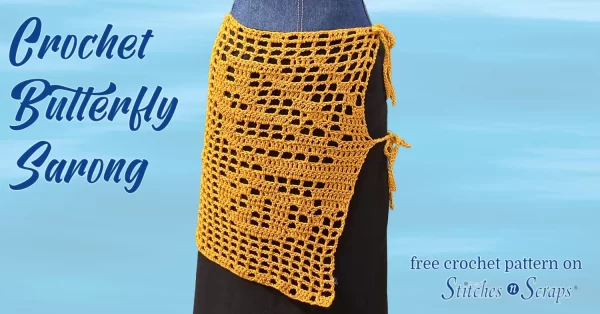
Cover up at the pool with this crochet butterfly sarong! Open and airy mesh with a lacy butterfly is the ...More

A triangle, a circle, and then a square. Constantly shifting shapes make this a fun and exciting square to crochet! ...More