Free Crochet Patterns
Find the perfect, free crochet pattern for your next project! Browse them all, or select a category from the dropdown menu. Where will your creativity take you today?

Use this Seed Stitch Bow to trim your tree, or when wrapping the presents underneath it. It's also a great ...More
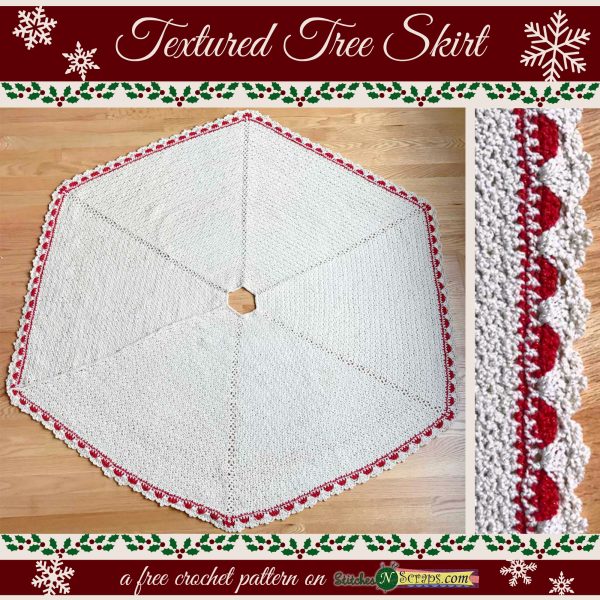
Wrap your holiday tree in the simple elegance of this textured tree skirt. It's made in Red Heart Holiday yarn, ...More

These little crochet frog closures are fast and fun to make, and can be added to almost anything! Put them on ...More