Free Crochet Patterns
Find the perfect, free crochet pattern for your next project! Browse them all, or select a category from the dropdown menu. Where will your creativity take you today?

Brighten up your holidays with this cute little stocking ornament. Hang it on your tree, tie it on a present, ...More

Spooky, or cute? Whichever your Halloween decorating style, these little ghosts will fit right in! Make this Ghostly Garland in ...More
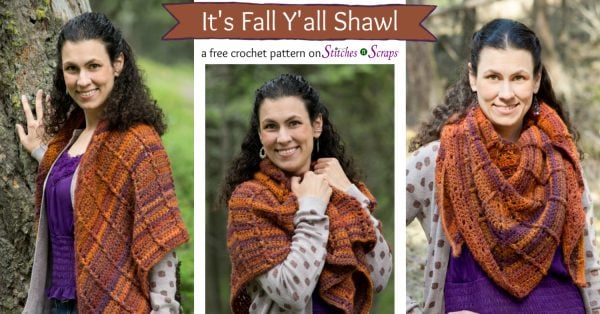
It's fall, y'all! Wrap yourself in this fall shawl, with self-striping yarn in the colors of the season. Or opt ...More
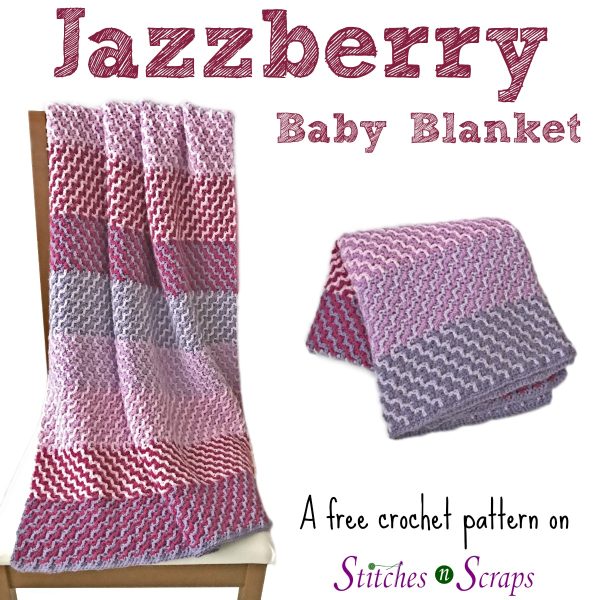
Jazz up baby's room with the fun and squishy Jazzberry Baby Blanket! Intermeshing crochet, using 2 strands at once, creates ...More

Add a bit of sparkle to any outfit with A Simple Twist Beaded Necklace and Bracelet set. Long chains of ...More
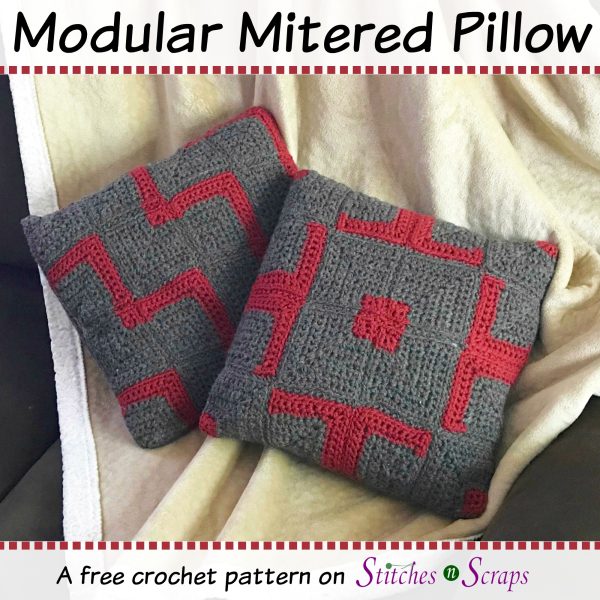
Mitered squares in 2 different color patterns offer a kaleidoscope of possible combinations. Use one of the provided layouts, or ...More
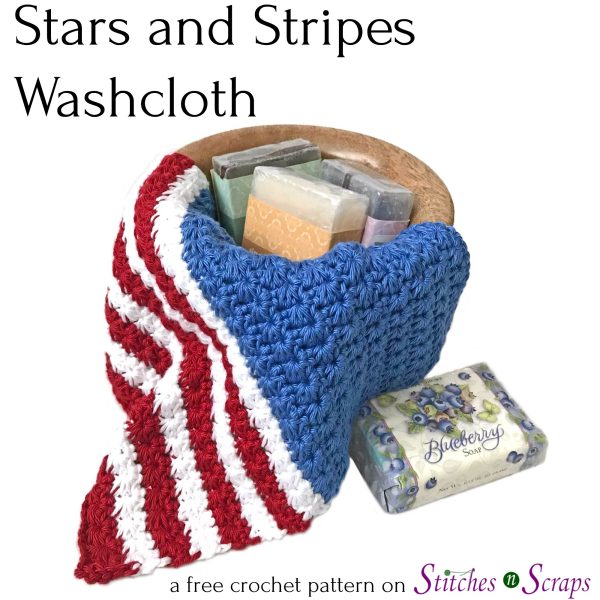
Celebrate this summer with the Stars & Stripes Washcloth! This design works well for team or school colors too. The star stitch ...More
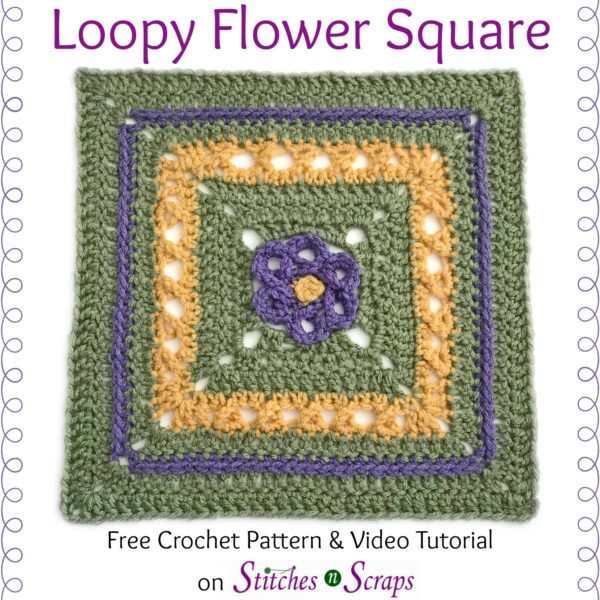
Brighten up your day with this fun, Loopy Flower Square. Use it as a blanket square, trivet, or just for ...More
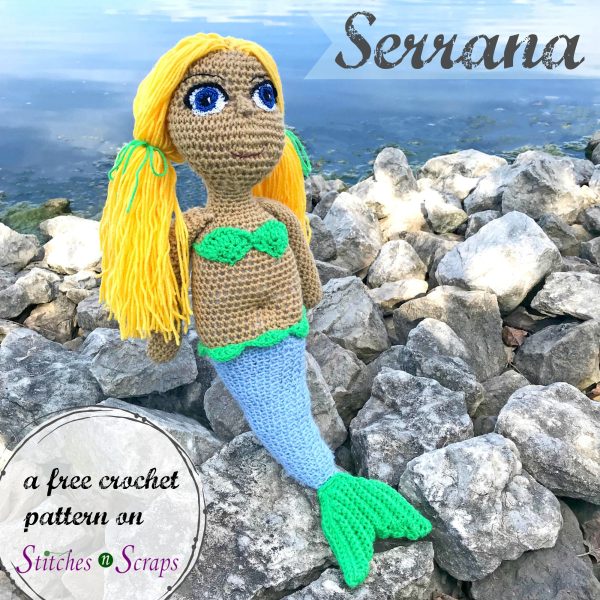
Meet my new friend Serrana! This sweet, 19-inch doll is sure to delight mermaid fans and amigurumi enthusiasts alike. She's ...More
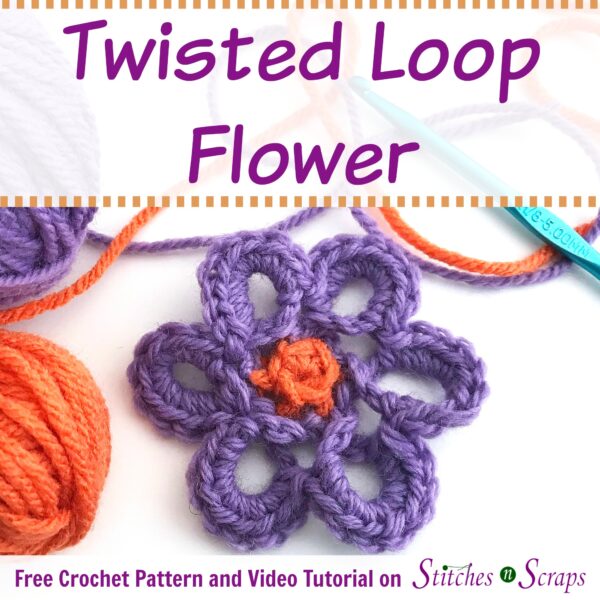
Nothing says Spring like brightly colored flowers. Use them to dress up headbands, bags, or just about anything. These twisted ...More