Free Crochet Patterns
Find the perfect, free crochet pattern for your next project! Browse them all, or select a category from the dropdown menu. Where will your creativity take you today?

Show your love to someone special with this soft and squishy heart. The simple heart shapes are joined together with ...More
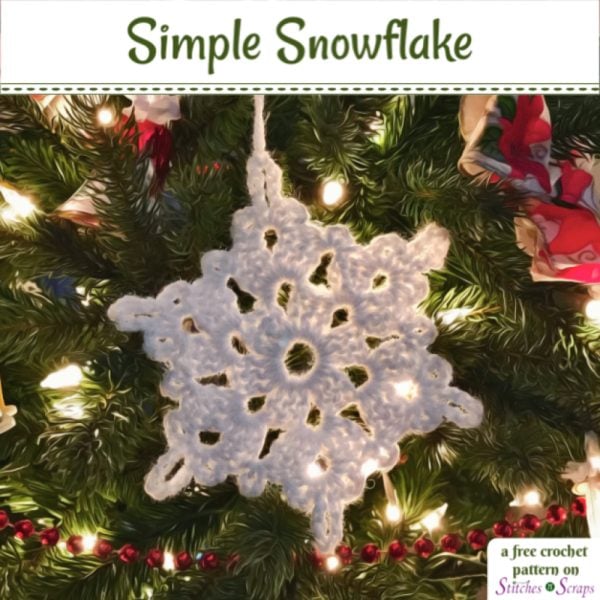
With just three rounds, this simple snowflake is easy and fast to crochet, and can be made in any size ...More

Stay warm this winter with candy colored stripes! The Candy Cane Mobius Cowl is super easy to make and can ...More

Make some for yourself, and make more for your friends. This sweet little angel works up in under an hour, ...More

Everything's better with ruffles! This Ruffled Mini Tree Skirt is only 12 inches in diameter, to fit a small, tabletop ...More

When I published the Boo Blocks pattern for Halloween, many of you said you would like to use the same ...More

Funky, fun, and festive, everything about this towel is just a little bit off kilter. The uneven stripes have raised ...More

Add a ghostly greeting to your Halloween decor with these Boo Blocks! Display them on a shelf, or hang them ...More

Autumn is in the air! The Autumn Air cowl, with its blocks of fall colors, will take you through the ...More
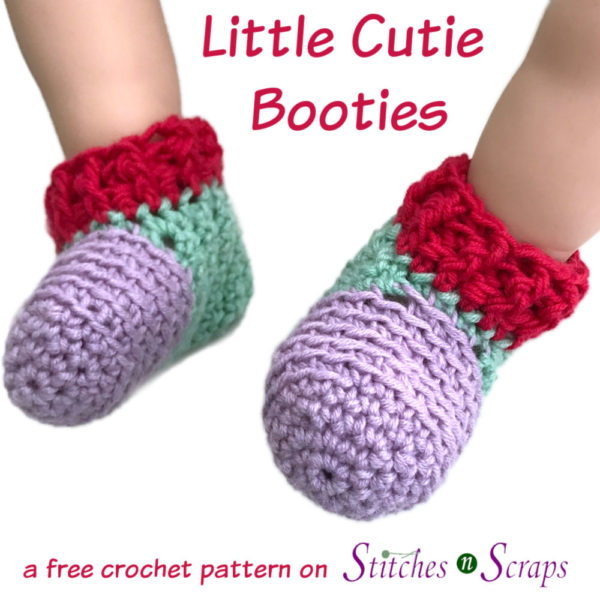
Warm up little feet with these Little Cutie Booties! They feature blocks of bright, berry colors, and a bit of ...More