Free Crochet Patterns – Babies and Children
Find the perfect, free crochet pattern for your next project! Browse them all, or select a category from the dropdown menu. Where will your creativity take you today?

Keep baby comfy and cozy in style with the Rolling Hills Sweater. Rows of gently rolling hills fade into the ...More

Dress baby for fun in this adorable baby romper crochet pattern! Easy wavelets flow gently across the main portion of ...More

Use up your yarn scraps to make your own crochet footbag! Footbags work up quickly and are great for family ...More

Tame those tresses with a touch of spring! This Sweet and Simple Flower Headband adds a pop of color, with ...More

Add a stylish finishing touch to your little one's outfit with the Sapling Sweater Vest. The lightweight fabric is perfect ...More
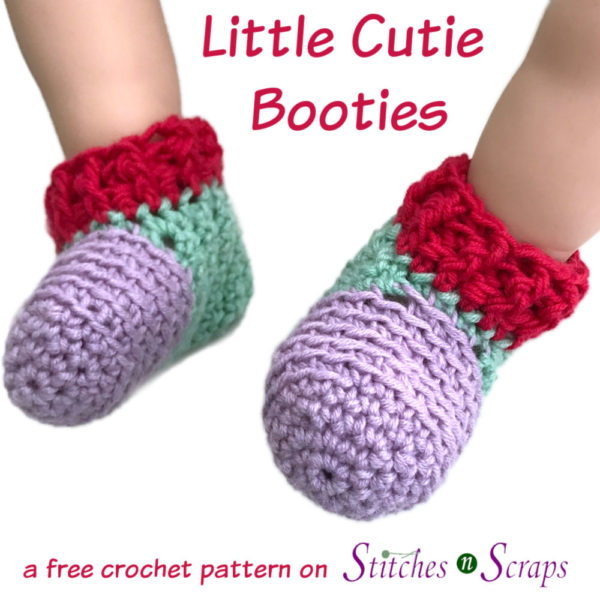
Warm up little feet with these Little Cutie Booties! They feature blocks of bright, berry colors, and a bit of ...More
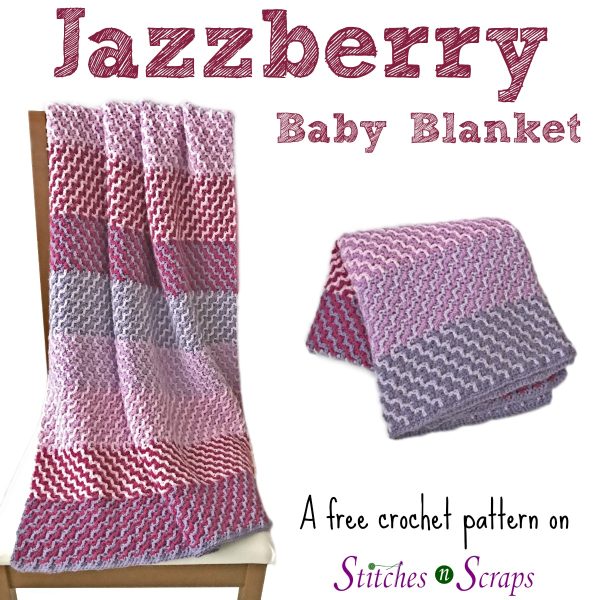
Jazz up baby's room with the fun and squishy Jazzberry Baby Blanket! Intermeshing crochet, using 2 strands at once, creates ...More
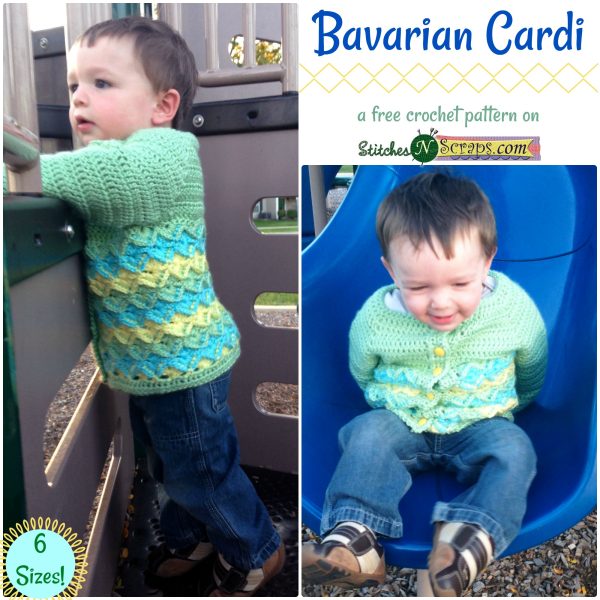
Comfy and warm, the Bavarian Cardi is heavy enough for layering on cold winter days. The stitch pattern is fun ...More
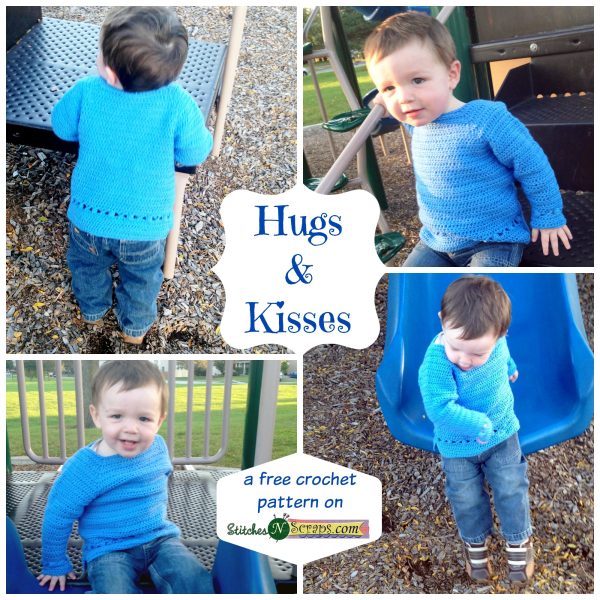
Wrap your child in love with this lightweight, tunic length pullover. The hugs & kisses detail on the hem and ...More

This easy design is decorated with pretty ruffles around the collar, hem, and sleeves. With a lightweight yarn and frilly ...More