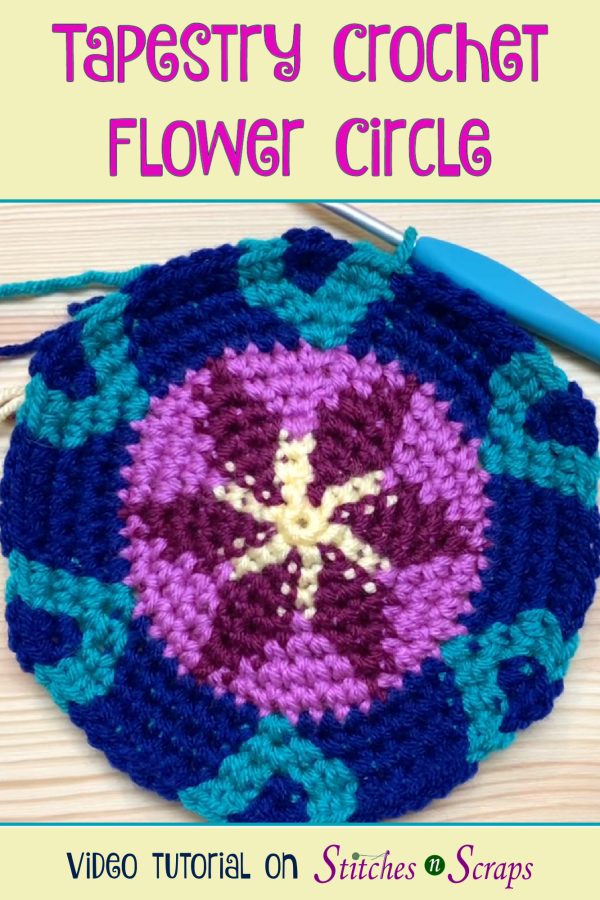
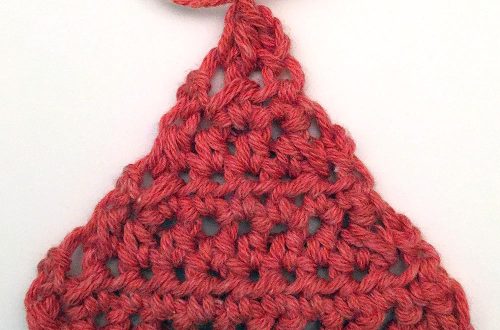
Tapestry Crochet Flower Circle Tutorial
Learn how to make a 6-inch, tapestry crochet flower circle! Use it as the base of a bag or basket, or on its own as a trivet or doily. You can even make just the center for a set of coasters!

This content is protected by copyright. See this Terms of Use / Copyright page for more information.
This post contains sponsored content and/or affiliate links. If you click an affiliate link and make a purchase, I may get a commission.
Bag Along CAL
The flower circle design shown in this video is the bottom of the Tapestry Crochet Project Bag. This is the second of 6 bag patterns in the 2022 Bag Along CAL. See the full schedule and learn how to join in the fun, in the main Bag Along CAL post.
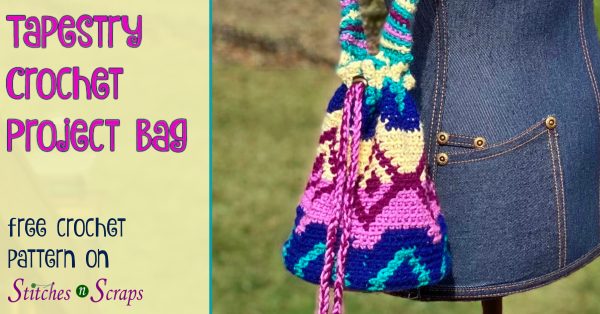
Featured in this tutorial – Knit Picks Brava Minis yarn
WeCrochet provided the Brava Minis yarn that I used for the project bag design. This is the same Brava yarn you know and love, but in mini skeins perfect for colorwork!

In the video, you will see the colors Custard, Lady Slipper, Fairy Tale, Marina, and Celestial.
Tapestry crochet in a flat circle
There are a few things to consider when designing a flat circle in tapestry crochet.
Make it flat
First, it needs to make a flat circle. Each round has to have the right number of increases (6, for single crochet) to make the circle grow without curling or flaring.
Shifting rounds
Second, it has to make the colorwork design, preferably without too much distortion. We’re working in the round without turning. Because of the way crochet stitches come together, this creates a natural shifting or spiraling effect. The start of the round shifts by half a stitch each round. See this post for a closer look.

Increases to the rescue!
By placing the increases strategically, we can make the design lean back in the opposite direction. This at least partially counteracts the shifting rounds.
In other tapestry crochet shapes and projects that don’t have the increases, we can change where we place the stitches for a similar effect. But that’s a story for a different tutorial!
Reading the Chart
Charts are a great way to visualize the tapestry crochet design and see how it comes together.
Follow Along
In the video, we’ll take the first few minutes to go over the chart. Then for each round, I’ve added the relevant chart section in the corner of the video, so you can follow along.
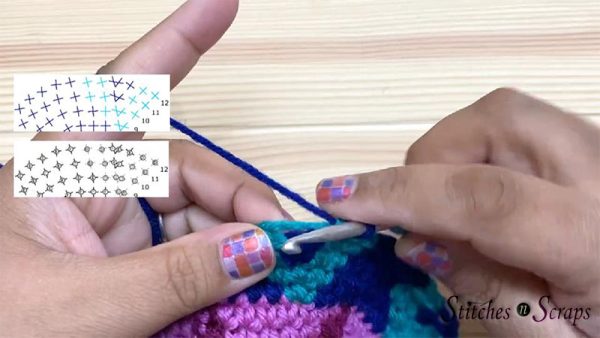
If it’s too small in the video, you can see a larger chart image in the Tapestry Crochet Project Bag pattern. The pattern includes full written instructions for this circle and the whole bag as well.
2 chart versions
I’ve included 2 versions of the chart in the pattern. One is in color, showing each stitch in its indicated color. But that’s hard to see for some, and impossible to print on a black and white printer. So I also included a black and white version. In this version, each stitch has a circle on top of it, indicating the color for that stitch.
All single crochet
Every stitch on this chart is a single crochet. It’s either 1 single crochet into 1 stitch, or 2 single crochet into the same stitch (for the increases). To work the pattern, simply single crochet in the indicated stitch and in the indicated color.
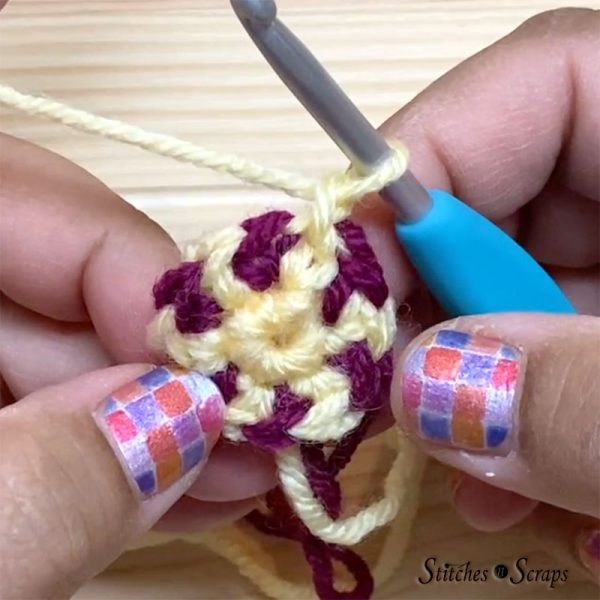
Sometimes this will mean working one single crochet in one color, and another single crochet in the other color, both into the same stitch.
2 colors at a time
With the exception of rnd 1, each rnd has 2 colors. When working any stitch, always work over the yarn of the opposite color, so that it gets trapped or carried within the stitch.

Tapestry Crochet Flower Circle Video Tutorial
Share this tutorial on Pinterest! Here’s an image perfect for pinning:
Rate this tapestry crochet flower circle video!
Do you want the best of Stitches n Scraps delivered right to your inbox? Don’t miss a stitch – Subscribe now!


You May Also Like
Alternative Half Double Crochet Decrease
Tea Cozy Tuesday – April – Week #4
